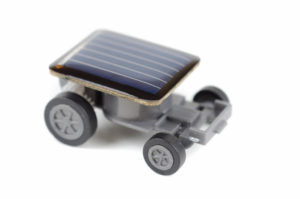
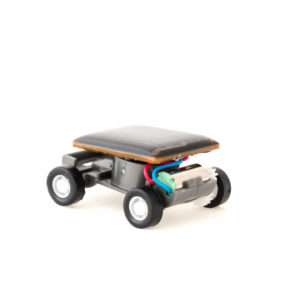
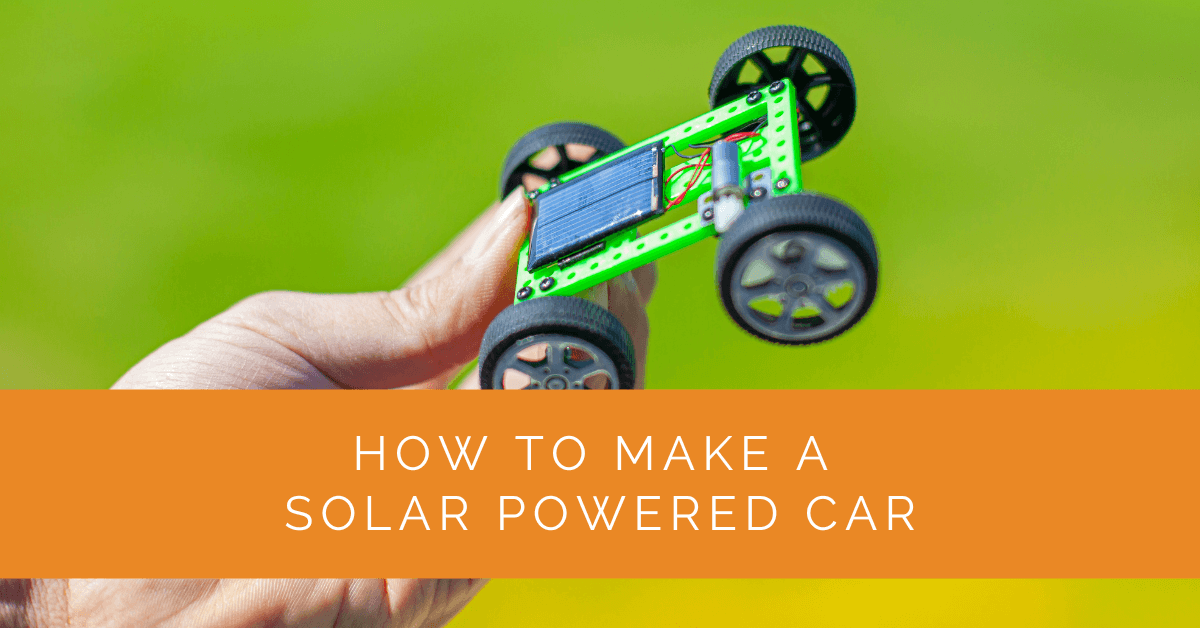
In a world seeking sustainable alternatives, the popularity of solar-powered toys has surged, with the ability to harness the sun’s energy captivating the imagination of eco-conscious enthusiasts. Solar-powered cars, in particular, provide a clean and renewable energy solution, significantly reducing our reliance on fossil fuels. This comprehensive article will guide you through designing, building, and assembling your solar-powered car. This exciting journey combines science, engineering, and renewable energy elements, empowering you to create a captivating and eco-friendly toy vehicle.
Contents
- 1 Materials Needed to Make a Solar Car
- 2 Design and Planning
- 3 Assembling the Chassis
- 4 Installing the Wheels and Axles
- 5 Connecting the Motor
- 6 Mounting the Solar Panel
- 7 Electrical Wiring and Soldering
- 8 Final Assembly and Testing Your Solar Car
- 9 Case Study: Building a Solar-Powered Car for Educational Purposes
- 10 Expert Insights From Our Solar Panel Installers About How to Make a Solar Powered Car
- 11 Conclusion
Materials Needed to Make a Solar Car
To embark on your solar-powered car project, gather the following materials:
- Solar panel: A photovoltaic (PV) panel that converts sunlight into electricity.
- DC motor: The motor that powers the movement of your solar car.
- Motor mount: A sturdy structure to securely hold the DC motor.
- Soldering machine: A tool for creating reliable electrical connections.
- Craft knife: Used for precision cutting and shaping of materials.
- Tubes: Cylindrical components used for structural support or wheel axles.
- Cardboard: Sturdy and versatile material for constructing the car’s body and chassis.
- Four wheels: Provides mobility and allows the car to move smoothly.
- Steel wires: Used for wiring connections and reinforcement.
- Hot glue: Adhesive for securing components together.
- Straw: Can be utilized as a makeshift axle or for other purposes.
- Rubber band: Provides tension and acts as a driving mechanism in some designs.
- Bottle cap: Can be repurposed as a wheel or for other creative elements in the car’s design.
- Additional components: Depending on your specific design, you may need gears, pulleys, or a small light bulb for added features.
Design and Planning
Designing and planning your solar-powered car is a crucial first step in the construction process. By carefully considering various factors, you can ensure the successful creation of your eco-friendly vehicle.
To begin, gain an understanding of the basic structure of a solar-powered car. Consider the dimensions you desire for your car’s body and choose an appropriate chassis design. The chassis is the foundation, providing stability and support for the car’s components. Consider using sturdy materials like cardboard to create a durable structure.
During the planning phase, it’s important to calculate the energy requirements for your solar-powered car. This calculation will help determine the size and placement of the solar panels. Ideally, you want to maximize sunlight capture to optimize energy generation. Carefully plan the positioning of the solar panels on the car’s body, ensuring they receive direct sunlight throughout the day.

Assembling the Chassis
Assembling the chassis is a fundamental step in building your solar-powered car. It involves creating a sturdy framework that will hold the various components together.
Cut the cardboard into the desired shape for your car’s body. Ensure that it is of sufficient thickness to provide stability. Next, attach the motor mount securely to the chassis, aligning it properly. This will serve as the base for mounting the motor.
To enhance the overall structure, consider creating compartments within the chassis. These compartments can keep the motor, battery, and wiring organized and protected. Additionally, reinforcing the joints and edges of the chassis with extra layers of cardboard or adhesive can add strength and durability.
Installing the Wheels and Axles
Installing the wheels and axles is critical in ensuring smooth movement and stability for your solar-powered car.
Start by mounting the four wheels onto the chassis. Pay attention to proper alignment and ensure the wheels can rotate freely. This will provide the necessary mobility for your vehicle. Properly aligned and secured wheels will prevent unnecessary friction or interference during movement.
Next, attach the axles securely to the chassis. The axles should be positioned parallel to each other and perpendicular to the chassis. This alignment allows the wheels to turn freely and ensures the car’s stability.
Perform a thorough check to ensure the wheels and axles are properly installed and balanced. Any imbalance could lead to issues such as wobbling or uneven movement. Make any necessary adjustments to ensure a smooth and stable ride.
Connecting the Motor
Connecting the motor is crucial in bringing your solar-powered car to life. It involves wiring the DC motor to the chassis and ensuring proper polarity and secure connections.
Begin by identifying the positive and negative terminals of the DC motor. Take note of their corresponding connections on the chassis. Carefully connect the motor to the designated terminals, ensuring the polarity is correct. Proper polarity is essential for the motor to function correctly.
Secure the connections by soldering or using appropriate connectors. This will ensure reliable power transfer and minimize the risk of loose connections or power interruptions. Insulate the wiring with electrical tape or heat shrink tubing to protect against short circuits and accidental contact.
Before proceeding, test the motor’s functionality. Apply power and observe the movement of the motor. Ensure that it rotates smoothly and in the desired direction. Any issues or irregularities should be addressed before moving on to the next steps.
Mounting the Solar Panel
Mounting the solar panel is critical in harnessing the sun’s power for your solar-powered car. Proper installation and positioning will ensure optimal sunlight capture and maximize energy generation.
Prepare the solar panel for installation by cleaning its surface and removing dirt or debris. This will ensure efficient light absorption. Choose an ideal location on the car’s body for mounting the solar panel. Consider areas that receive direct sunlight for a significant portion of the day.
Securely attach the solar panel to the chosen location on the car’s body. One common method is to use hot glue or adhesive to affix the panel firmly. Ensure the surface is clean and free from obstructions before applying the adhesive.
When mounting the solar panel, consider the angle at which it will receive sunlight. Tilting the panel slightly towards the sun’s path can optimize energy capture throughout the day. Experiment with different angles to find the most effective position.
Take extra precautions to secure the solar panel, especially if your car will experience movement or vibrations. Use additional adhesive or fasteners to reinforce its attachment. This will prevent any unintended detachment during operation.

Electrical Wiring and Soldering
Proper electrical wiring and soldering are vital for the efficient functioning of your solar-powered car. These steps ensure secure connections and reliable power transfer between the solar panel, motor, and other components.
Connect the solar panel to the DC motor using the appropriate electrical wires. Select wires that can handle the voltage and current requirements of your system. Strip the wire ends and attach them securely to the corresponding terminals on the solar panel and motor. Pay close attention to the polarity, matching positive and negative terminals correctly.
For a more robust and reliable connection, consider soldering the wire connections. Soldering creates a strong bond between the wires and terminals, minimizing the risk of loose connections. Apply soldering flux to the wires and terminals, heat them with a soldering iron, and join them using solder. Remember to allow the connections to cool before proceeding.
Cover the connections with electrical tape or heat-shrink tubing to cover the connections and ensure electrical insulation. This insulation prevents accidental short circuits and enhances the safety of your solar-powered car.
Final Assembly and Testing Your Solar Car
The final assembly phase brings together all the components of your solar-powered car. It is crucial to conduct thorough testing to ensure that everything is functioning properly before taking your vehicle for a spin.
Double-check all the connections, including the motor, solar panel, and wiring. Verify that all fasteners are tightened securely and that there are no loose parts. Confirm that the solar panel is firmly attached and properly aligned to receive maximum sunlight exposure.
Once you have completed the assembly, it’s time to test your solar-powered car. Place it under direct sunlight and observe its performance. Does the motor run smoothly? Are the wheels rotating freely? Pay attention to potential issues, such as insufficient power or irregular movement.
If you encounter any problems during testing, troubleshoot the specific areas. Check the wiring connections, the solar panel’s position, or the motor functionality. Make necessary adjustments or repairs to address the issues. Remember, troubleshooting is essential to the process, allowing you to fine-tune your solar-powered car for optimal performance.
Only when you are satisfied with the performance and functionality of your solar-powered car should you consider your project complete. Congratulations on successfully designing, building, and assembling your eco-friendly vehicle!
Case Study: Building a Solar-Powered Car for Educational Purposes
Background
Solar Panels Network USA partnered with a local school to introduce students to renewable energy concepts through a hands-on project. The goal was to build a solar-powered car that would serve as an educational tool, demonstrating the principles of solar energy, engineering, and sustainable transportation.
Project Overview
The school’s science department aimed to provide students with a practical understanding of solar energy by constructing a solar-powered car. This project intended to foster an interest in renewable energy and engineering among students, emphasizing the importance of sustainability and innovation.
Implementation
Design and Planning
Our team began by outlining the basic structure of the solar-powered car. We chose a simple yet effective design that incorporated a photovoltaic (PV) panel, a DC motor, and a sturdy chassis made from cardboard. The design phase included calculating the energy requirements and determining the optimal placement of the solar panels to ensure maximum sunlight capture.
Assembling the Chassis
Students cut the cardboard into the desired shape for the car’s body, ensuring it was thick enough to provide stability. The motor mount was securely attached to the chassis, serving as the base for the motor. Compartments were created within the chassis to organize and protect the motor, battery, and wiring.
Installing Wheels and Axles
The next step involved mounting the four wheels onto the chassis. Proper alignment was crucial to ensure smooth movement and stability. Axles were securely attached parallel to each other, allowing the wheels to turn freely. Students were taught to check for any imbalances and make necessary adjustments to achieve a stable ride.
Connecting the Motor
Students learned to connect the DC motor to the chassis, ensuring correct polarity and secure connections. They used wire strippers to expose the wire ends and soldered the connections to ensure reliable power transfer. The wires were insulated with heat shrink tubing to prevent short circuits.
Mounting the Solar Panel
The solar panel was prepared for installation by cleaning its surface. It was then securely attached to the car’s body using hot glue, ensuring it was positioned to receive maximum sunlight. Students experimented with different angles to find the most effective position for the solar panel.
Electrical Wiring and Soldering
Students connected the solar panel to the DC motor using appropriate electrical wires, ensuring correct polarity. They soldered the wire connections for robustness and insulated them with heat shrink tubing. This process ensured secure connections and reliable power transfer.
Results
The project successfully demonstrated the principles of solar energy and engineering. Students engaged in hands-on learning, understanding the importance of each component and the role of proper assembly and connections. The solar-powered car performed well, showcasing the potential of renewable energy in transportation.
Summary
This case study highlights the educational value of building a solar-powered car. Through careful design, precise assembly, and effective teaching, Solar Panels Network USA provided students with a practical understanding of solar energy and engineering. The project not only fostered interest in renewable energy but also emphasized the importance of sustainability and innovation. By engaging in this hands-on project, students gained valuable knowledge and skills, contributing to their overall education and awareness of eco-friendly solutions.
Expert Insights From Our Solar Panel Installers About How to Make a Solar Powered Car
Designing a solar-powered car requires precise calculations of energy needs and efficient placement of solar panels to maximize sunlight capture. Proper planning ensures that your vehicle will run smoothly and effectively.
Senior Solar Installer
Securing and aligning the wheels and axles properly is crucial for the car’s stability and performance. Ensuring that these components are well-mounted can prevent issues like wobbling or friction during movement.
Lead Solar Technician
Reliable electrical connections are essential for the smooth operation of your solar-powered car. Soldering the wires and using heat shrink tubing for insulation ensures a durable and safe electrical system.
Solar Installation Expert
Conclusion
Building a solar-powered car provides a hands-on opportunity to learn about renewable energy, engineering, and sustainable transportation. By harnessing the sun’s power, we can reduce our reliance on fossil fuels and contribute to a greener future. Through this comprehensive guide, we hope you feel inspired to embark on your solar car project, embracing the potential of solar energy to drive positive change.
By following the steps outlined above, you can design and build your very own solar-powered car, showcasing the incredible possibilities of solar energy in transportation. So, gather your materials, put your engineering skills to the test, and embark on an exciting journey toward a sustainable and eco-friendly future. Convert sunlight into electricity and hit the road with your DIY solar car creation!
About the Author
Solar Panels Network USA stands at the forefront of solar energy solutions, driven by a team of seasoned solar engineers and energy consultants. With over decades of experience in delivering high-quality solar installations and maintenance, we are committed to promoting sustainable energy through customer-centric, tailored solutions. Our articles reflect this commitment, crafted collaboratively by experts to provide accurate, up-to-date insights into solar technology, ensuring our readers are well-informed and empowered in their solar energy decisions.

