

Yes — you must remove the protective film from solar lights before use. The thin plastic or adhesive film covering the solar panel on new lights is a shipping protector, not a permanent fixture. Leaving it in place blocks sunlight from reaching the photovoltaic cells and can cause the solar panel to produce little or no charge, which means the battery won’t charge and the light won’t work.
What Is the Protective Film on Solar Lights?
Most solar garden lights, pathway lights, spotlights, and string lights arrive from the factory with a protective film applied over the solar panel. This transparent or semi-transparent covering serves a specific purpose during manufacturing and shipping: it prevents scratches, dust, and fingerprints from reaching the solar panel’s surface before the product reaches the end user.
The film is typically made of one of three materials. Thin adhesive plastic is the most common — it peels off in one piece and leaves no residue. Some products use a paper-backed adhesive sheet with a peel tab. A few use a hard plastic shield clipped or snapped over the panel, which simply lifts off. In all cases, the film is clearly a temporary shipping protector and is not intended to remain on the product during use.
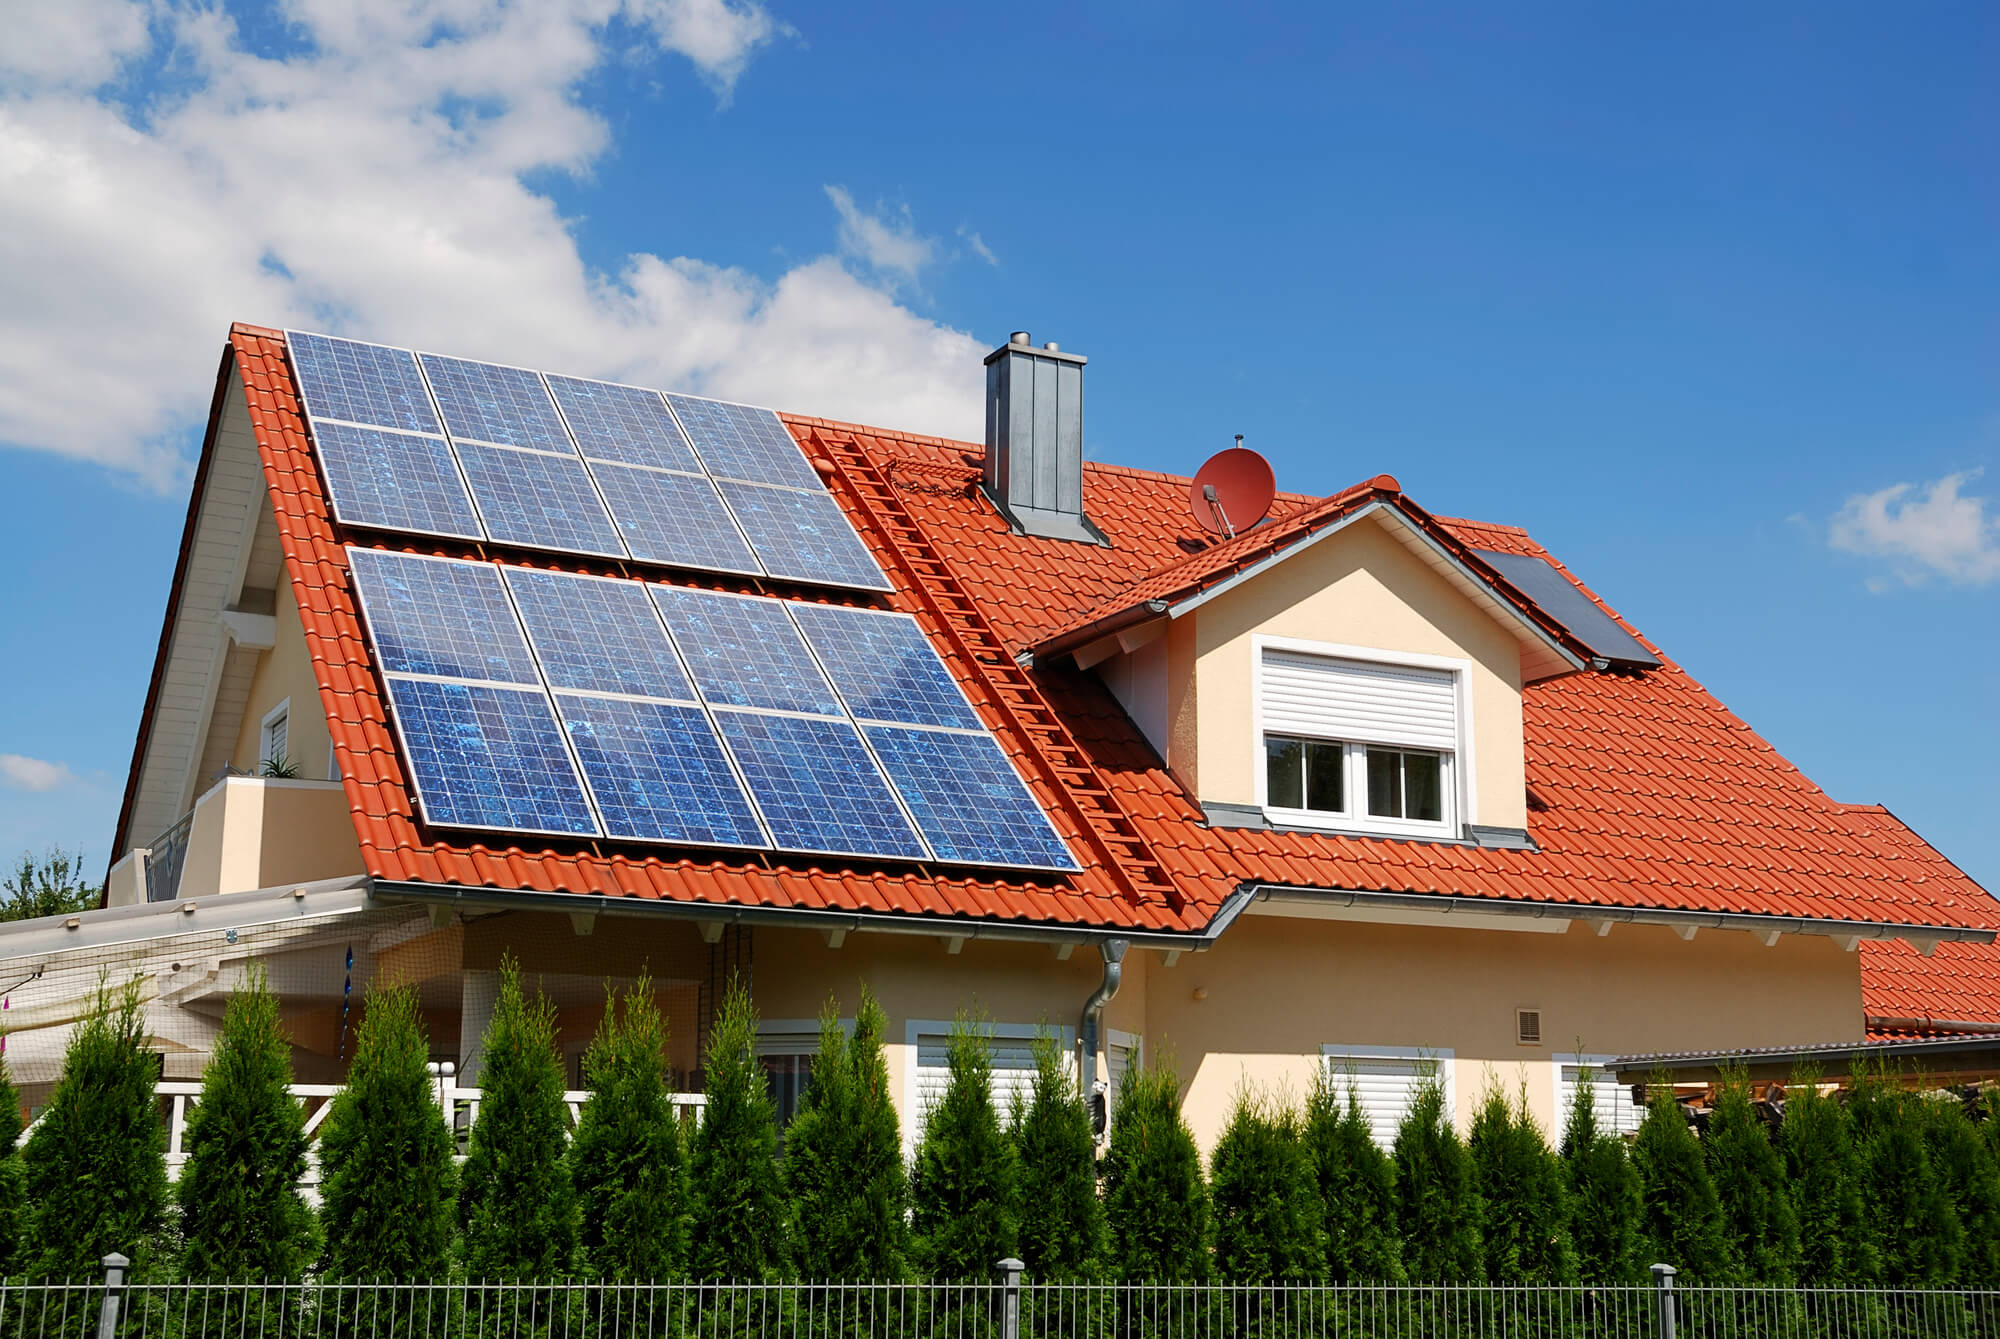
The solar panel underneath is a small photovoltaic cell — the same technology used in rooftop solar panels but at a much smaller scale. Even a thin transparent film significantly reduces the amount of light reaching the solar cell, reducing charge output. Opaque or partially opaque films block the panel almost entirely.
What Happens If You Don’t Remove the Film?
The light won’t work properly — or at all. The most common report from customers who receive “faulty” solar lights is that the light turns on briefly then dies quickly, or never turns on. In a large percentage of these cases, the protective film was never removed. The battery failed to charge during the day because the solar panel was blocked.
With the film in place, the solar cell’s output drops dramatically. A solar cell that would normally deliver 5–6 volts at 100–200 milliamps under full sunlight might produce only 1–2 volts at 20–40 milliamps with a film covering it. This is too weak to charge the NiMH or LiFePO4 battery pack inside the light, especially if there’s any self-discharge to overcome.
The battery will discharge without being recharged. If you leave the light switched on with the film in place, the battery drains overnight. Each subsequent day, the blocked solar panel fails to recharge it. After 2–3 days, the battery is fully depleted and the light won’t turn on even briefly. At this point, some users assume the product is faulty — but it simply needed the film removed and a full initial charge in direct sunlight.
How to Find and Remove the Film
Finding the film is usually straightforward. Look for a shiny, slightly different surface on the solar panel — most films have a slightly different sheen than the bare glass of the solar cell. Many films have a small pull tab, a corner that’s peeled back, or a small paper sticker with instructions to remove the film before use. Run your fingernail along the edges of the solar panel housing — if there’s a film, you’ll feel the edge lifting.
To remove an adhesive film: Use your fingernail or a plastic tool to lift a corner, then peel it smoothly and evenly across the surface. Pull slowly to avoid leaving adhesive residue. If the film tears, use a piece of tape to lift the remaining sections.
If residue remains after peeling: A small amount of isopropyl alcohol (70% or 90%) on a soft cloth removes adhesive residue without damaging the solar panel’s surface. Avoid abrasive materials that could scratch the panel. After cleaning, rinse with plain water and allow to dry before placing in sunlight.
For hard plastic clip-on covers: These typically have a small tab or notch that releases the clip. Press or pull the tab to release the cover. Don’t force it — if it doesn’t release easily, look for a second clip point on the opposite side.
First-Time Setup: What to Do After Removing the Film
After removing the protective film, there are a few important steps before the light will perform at its best:
Step 1 — Check the on/off switch. Many solar lights ship with the switch in the OFF position to prevent battery drain during transit. Locate the switch (usually on the underside of the light housing) and move it to ON before placing the light in its final position.
Step 2 — Give it a full initial charge. Place the light in direct sunlight for a full day (6–8 hours minimum) before its first use. Many solar lights arrive with the battery at 20–50% charge from factory testing. A full initial charge ensures maximum runtime on the first night. During initial charging, keep the light in the ON position so the charge controller can properly calibrate.
Step 3 — Position the solar panel correctly. The solar panel must face the sky — ideally tilted toward the south in the northern hemisphere at roughly the angle of your latitude. Many small solar garden lights have a fixed panel integrated into the light head, so the key is placing the light where it receives at least 6 hours of direct sunlight per day. Shade from trees, fences, or buildings will significantly reduce charging and runtime.
Step 4 — Test the light sensor. Most solar lights use a light-dependent resistor (LDR) to detect nightfall. After charging, cover the solar panel completely with your hand or move the light into shade — the light should turn on within 5–15 seconds. This confirms the sensor and light circuit are working correctly.
What If the Light Still Doesn’t Work After Removing the Film?
If you’ve removed the film, confirmed the switch is ON, and given the light a full day’s charge in direct sunlight and it still doesn’t work, troubleshoot in this order:
Check the battery tab: Some lights include a battery isolation tab — a small plastic strip inserted between the battery and the contact to prevent discharge during shipping. Look inside the battery compartment for a thin plastic tab or strip and remove it. This is less common on solar garden lights than on electronic devices, but some manufacturers do use them.
Check for residual film: Inspect the solar panel closely in good light. Some films are very thin and almost invisible. Run a clean cloth over the surface — if there’s residue or a remaining film section, clean it off with isopropyl alcohol.
Verify direct sunlight: “Full sun” matters. A location that receives 6 hours of dappled or filtered light (through a tree canopy, near a fence) may charge the battery to only 30–40% of capacity. Move the light to the sunniest available spot for a test charge.
Check battery health: If the light was stored for a long time before purchase, the battery may be deeply discharged. Some NiMH batteries can fail to accept charge if they’ve been in deep discharge for extended periods. Try replacing the batteries with fresh NiMH AA or AAA cells of the same voltage and capacity rating as the originals.
Test in darkness: Cover the solar panel with your hand while the switch is in the ON position. If the LED activates, the light is working — the issue may be that the auto-on threshold requires deeper darkness than your test environment provides.
Frequently Asked Questions
Do all solar lights come with a protective film?
Most do, but not all. Budget solar lights from some manufacturers skip the film entirely. Premium brands almost always include a film. If you’ve inspected the panel surface carefully and found no film or residue, the panel is bare and ready to use — move straight to setup and initial charging.
Can the protective film damage the solar panel if left on for a long time?
Most adhesive films won’t permanently damage the solar panel’s surface if removed within a few months. However, if the film is exposed to extended heat and UV (months of summer sun with the film in place), the adhesive can bond more firmly to the panel surface and become harder to remove cleanly. Remove it before first use to avoid this issue.
Is the film on the outside or inside of the panel?
Always on the outside — the exterior surface of the solar panel facing the sky. It’s a shipping protector applied to the surface, not an internal component. The solar cells are inside the panel, protected by tempered glass or ETFE sheeting above them.
Why do solar lights come with this film if it’s just going to be removed?
Quality control and shipping. A scratch on the solar panel surface, while usually not affecting performance significantly, looks like a defect to consumers. The film protects the finish during manufacturing, boxing, shipping, and retail handling. It’s a cosmetic protection measure, not a functional component.
My light has a sticker with instructions on the panel — is that the film?
Not necessarily — but check. Some manufacturers place an instruction sticker directly on the solar panel. The sticker itself must be removed — leaving it in place blocks the panel just like a film does. Peel it off carefully and clean any residue with isopropyl alcohol before charging.
Summing Up
Remove the protective film from your solar lights before first use — this is the single most common cause of “broken” solar lights that are actually functioning correctly. After removing the film, flip the switch to ON and give the light a full day of direct sunlight before its first overnight use. If the light still doesn’t work after a full charge, work through the troubleshooting steps: battery tab, residual film, sun exposure quality, and battery health. Most solar light issues that appear to be product defects trace back to a missed setup step rather than a hardware fault.
Updated