
Got a new set of solar lights and wondering why they’re not performing right out of the box? You’re not alone. The first charge is one of the most important steps in getting your solar lights to work the way they’re supposed to, and skipping it (or doing it wrong) can leave you with underwhelming results for weeks.
The good news is that charging solar lights for the first time is simple once you know what to do. This guide walks you through every step, from unboxing to that first night of use, including the common mistakes that trip people up and how to avoid them. Whether you’re setting up garden path lights, outdoor security lights, or decorative string lights, the process is essentially the same.
Contents
- 1 Key Takeaways
- 2 Step-by-Step: How to Charge Solar Lights for the First Time
- 3 Should Solar Lights Be On or Off During the First Charge?
- 4 How Long Does the First Charge Take?
- 5 Best Placement Tips for Maximum Charging
- 6 How to Charge Solar Lights Without Direct Sunlight
- 7 Common First-Time Charging Problems and Fixes
- 8 Solar Charging Time Calculator
- 9 Case Study: First-Time Setup of Solar Garden Lights
- 10 Expert Insights From Our Solar Panel Installers About Charging Solar Lights
- 11 Frequently Asked Questions
- 12 Summing Up
Key Takeaways
- Always give new solar lights a full initial charge of 8 to 10 hours in direct sunlight before first use
- Set the ON/OFF switch to OFF during the first charge so the battery fills completely without being drained
- Position the solar panel where it gets the most direct sunlight, angled toward the south if you’re in the Northern Hemisphere
- If lights flicker or don’t reach full brightness after the first charge, give them 2 to 3 more full charge cycles
- Cloudy days can still charge solar lights but much more slowly, typically taking 2 to 3 times longer than direct sun
Step-by-Step: How to Charge Solar Lights for the First Time
Follow these steps in order and your solar lights will be ready to perform at their best from night one.
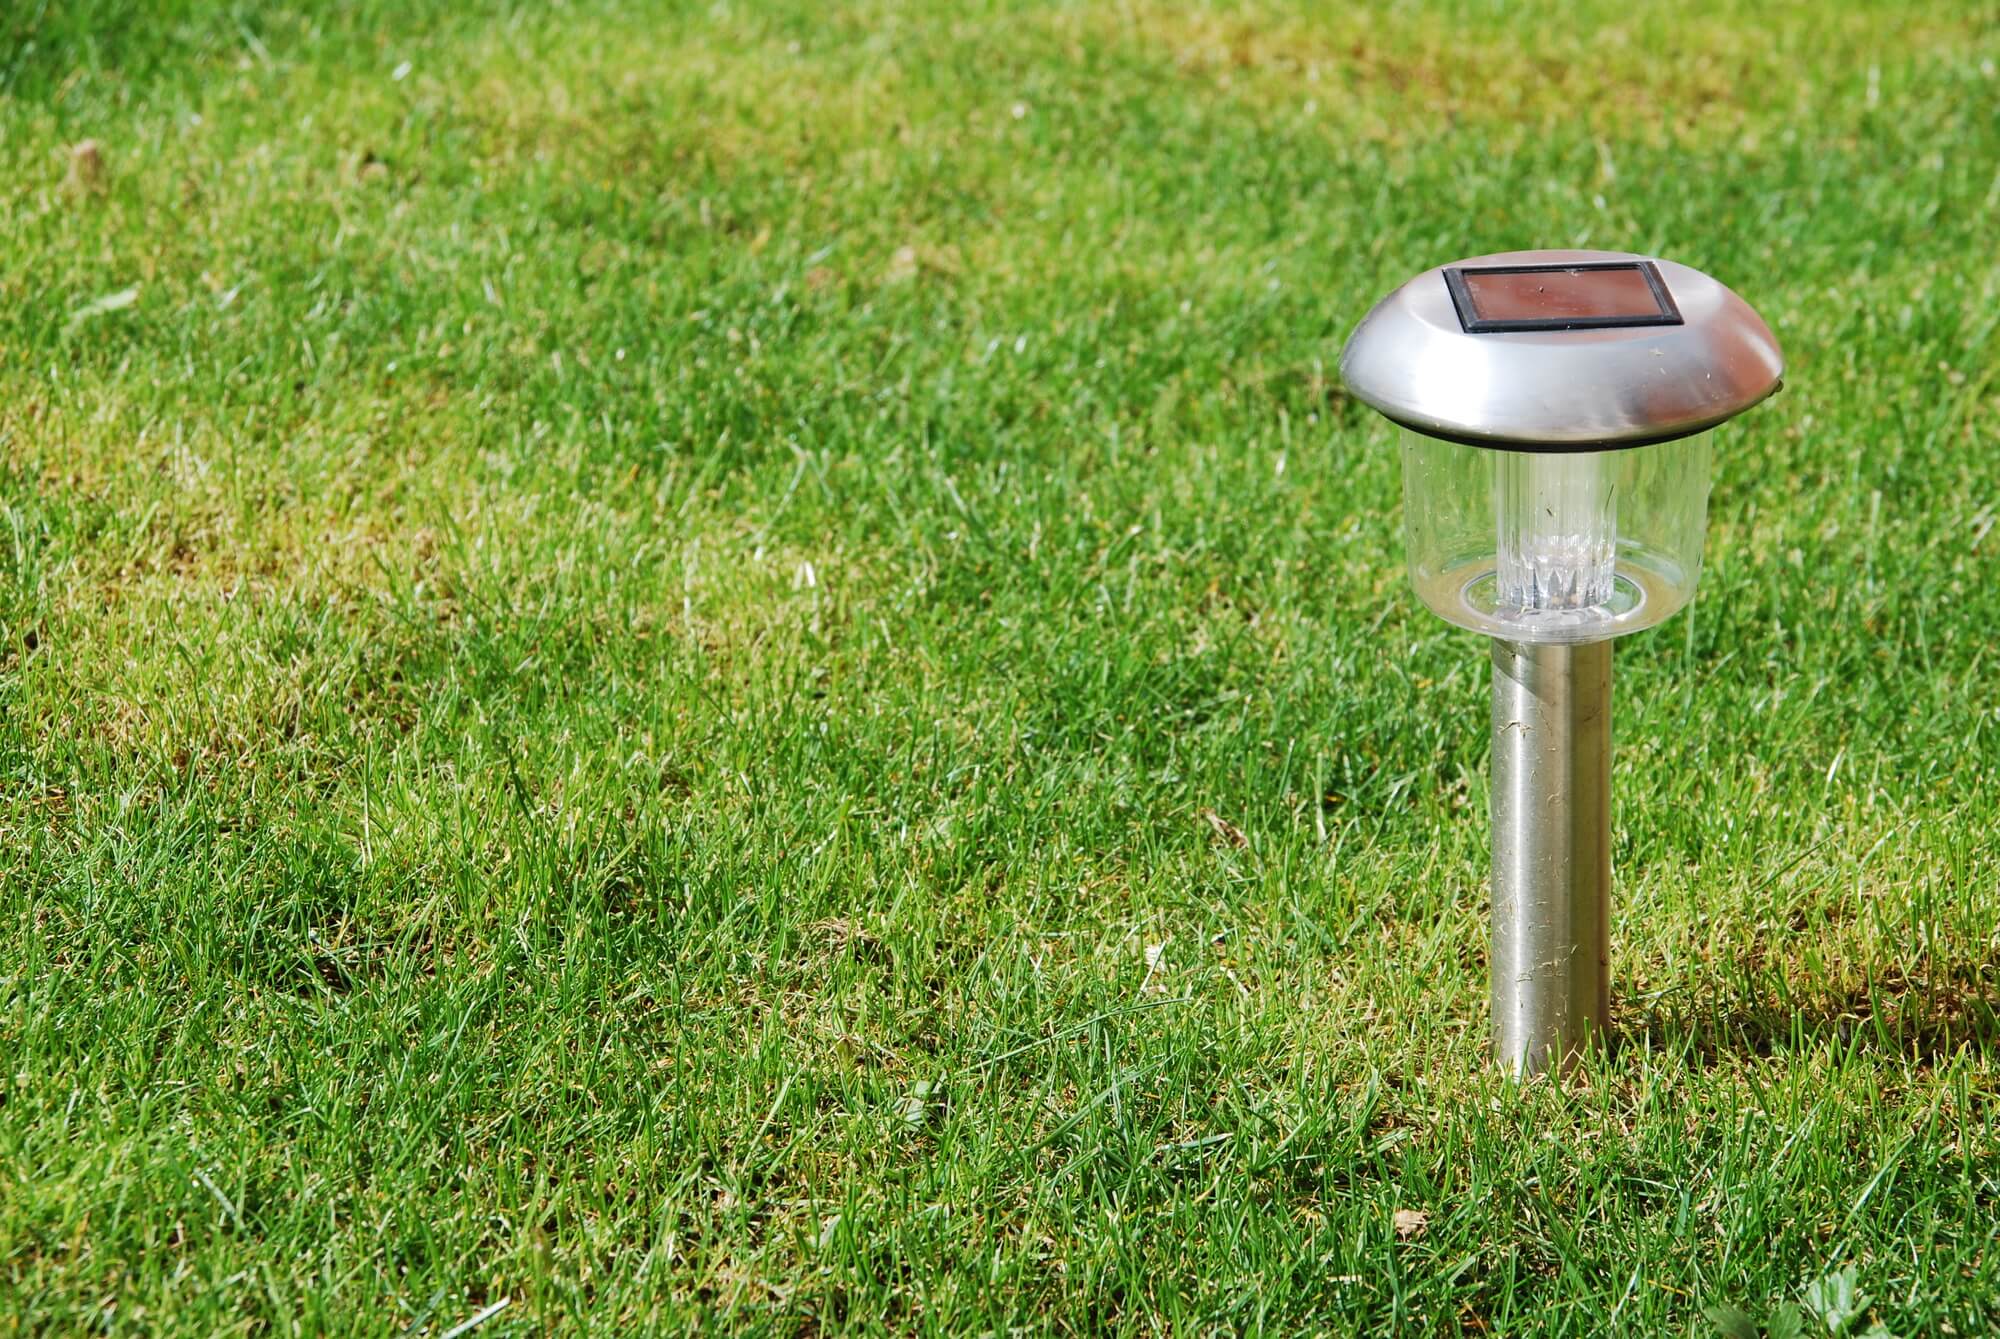
Step 1: Remove the Pull Tab or Insulation Strip
Most solar lights ship with a small plastic pull tab or insulation strip between the battery contacts. This protects the battery during shipping but also prevents it from charging or powering on. Look for a small tab sticking out from the battery compartment on the back or base of the unit, and pull it out completely before doing anything else.
If you skip this step, nothing will work no matter how long you leave the lights in the sun. It’s the most common reason people think a new solar light is defective when it’s actually fine.
Step 2: Set the Switch to OFF
Before placing your lights in sunlight, find the ON/OFF switch (usually on the side or bottom of the light unit) and make sure it’s set to OFF. This feels counterintuitive but it’s important.
When the switch is ON, the light’s automatic sensor is active. During daylight hours it won’t illuminate, but when clouds pass over or if the panel gets briefly shaded, the sensor may try to activate the light and draw from the battery at exactly the moment you want it to fill up. Keeping the switch OFF during the initial charge ensures all incoming solar energy goes straight into the battery without interruption.
Step 3: Place the Solar Panel in Direct Sunlight
Set the lights (or the solar panel, if it’s a separate component) in the best sun exposure spot you have. A south-facing location that gets unobstructed sun from around 9am to 4pm is ideal. Avoid shaded areas, spots near trees or overhangs, and north-facing walls.
The angle matters too. Solar panels charge most efficiently when facing the sun directly rather than lying flat on the ground. If your light has an adjustable panel, tilt it to face south at roughly the same angle as your latitude. For most of the US, somewhere between 25 and 45 degrees works well year-round.
Step 4: Let It Charge for 8 to 10 Hours
Leave the lights charging in full sunlight for a complete day, ideally from morning to late afternoon. Most solar light batteries need around 8 hours of good direct sun to reach a full charge from empty.
Pick a clear, sunny day for the first charge if you can. If your area has been overcast for days, wait for a sunny forecast rather than giving the lights a weak partial charge on day one. A good first charge sets the baseline for battery performance going forward.
Step 5: Switch On and Test
Once the day’s charging is done, set the switch to ON. Take the light somewhere dark (a closet works fine) and cover the solar panel with your hand. The light should activate within a second or two once the sensor detects darkness.
If it lights up, you’re good to go. Install the lights in their permanent spots and they’ll run automatically every night from here on. If the light seems dim or doesn’t come on at all, give it 2 to 3 more full charge cycles before concluding there’s a problem. Some batteries need a few cycles to reach their full rated capacity.
Should Solar Lights Be On or Off During the First Charge?
The switch should be set to OFF during the first charge. This is one of the most common points of confusion for new solar light owners, so it’s worth explaining why in plain terms.
When the switch is in the ON position, the light unit is actively monitoring light levels through its sensor. It won’t illuminate during daylight hours, but the sensor circuit itself draws a small amount of power continuously. On a bright sunny day this drain is negligible, but on a marginal day or during partial shading, it can slow the charging process or even create a net loss.
More importantly, having the switch ON means the light will activate the moment it detects darkness. If a cloud passes over and briefly shadows the panel, or if someone walks past and blocks the light, the unit may try to switch on and pull from the battery while you’re trying to fill it. Keeping it OFF removes that risk entirely.
Keep it simple: switch OFF until the first charge is complete. After that, leave it ON and the automatic sensor handles everything with no input needed from you.
How Long Does the First Charge Take?
In direct sunlight, most solar lights take 6 to 10 hours to fully charge for the first time. Budget for a full day of sun.
The actual time depends on several factors. Battery capacity is the biggest one: larger batteries (2000mAh and up) take longer than smaller ones in the 500 to 1000mAh range. Panel size matters too, since bigger solar panels generate more current and charge faster. Sun intensity varies by season and location, with peak summer sun charging panels much faster than weak winter light. Finally, brand new lithium batteries sometimes need 2 to 3 full charge cycles before they hold a complete charge reliably.
As a general rule: if you’re not sure, give it a full sunny day. More time in the sun never hurts during those first few charges.
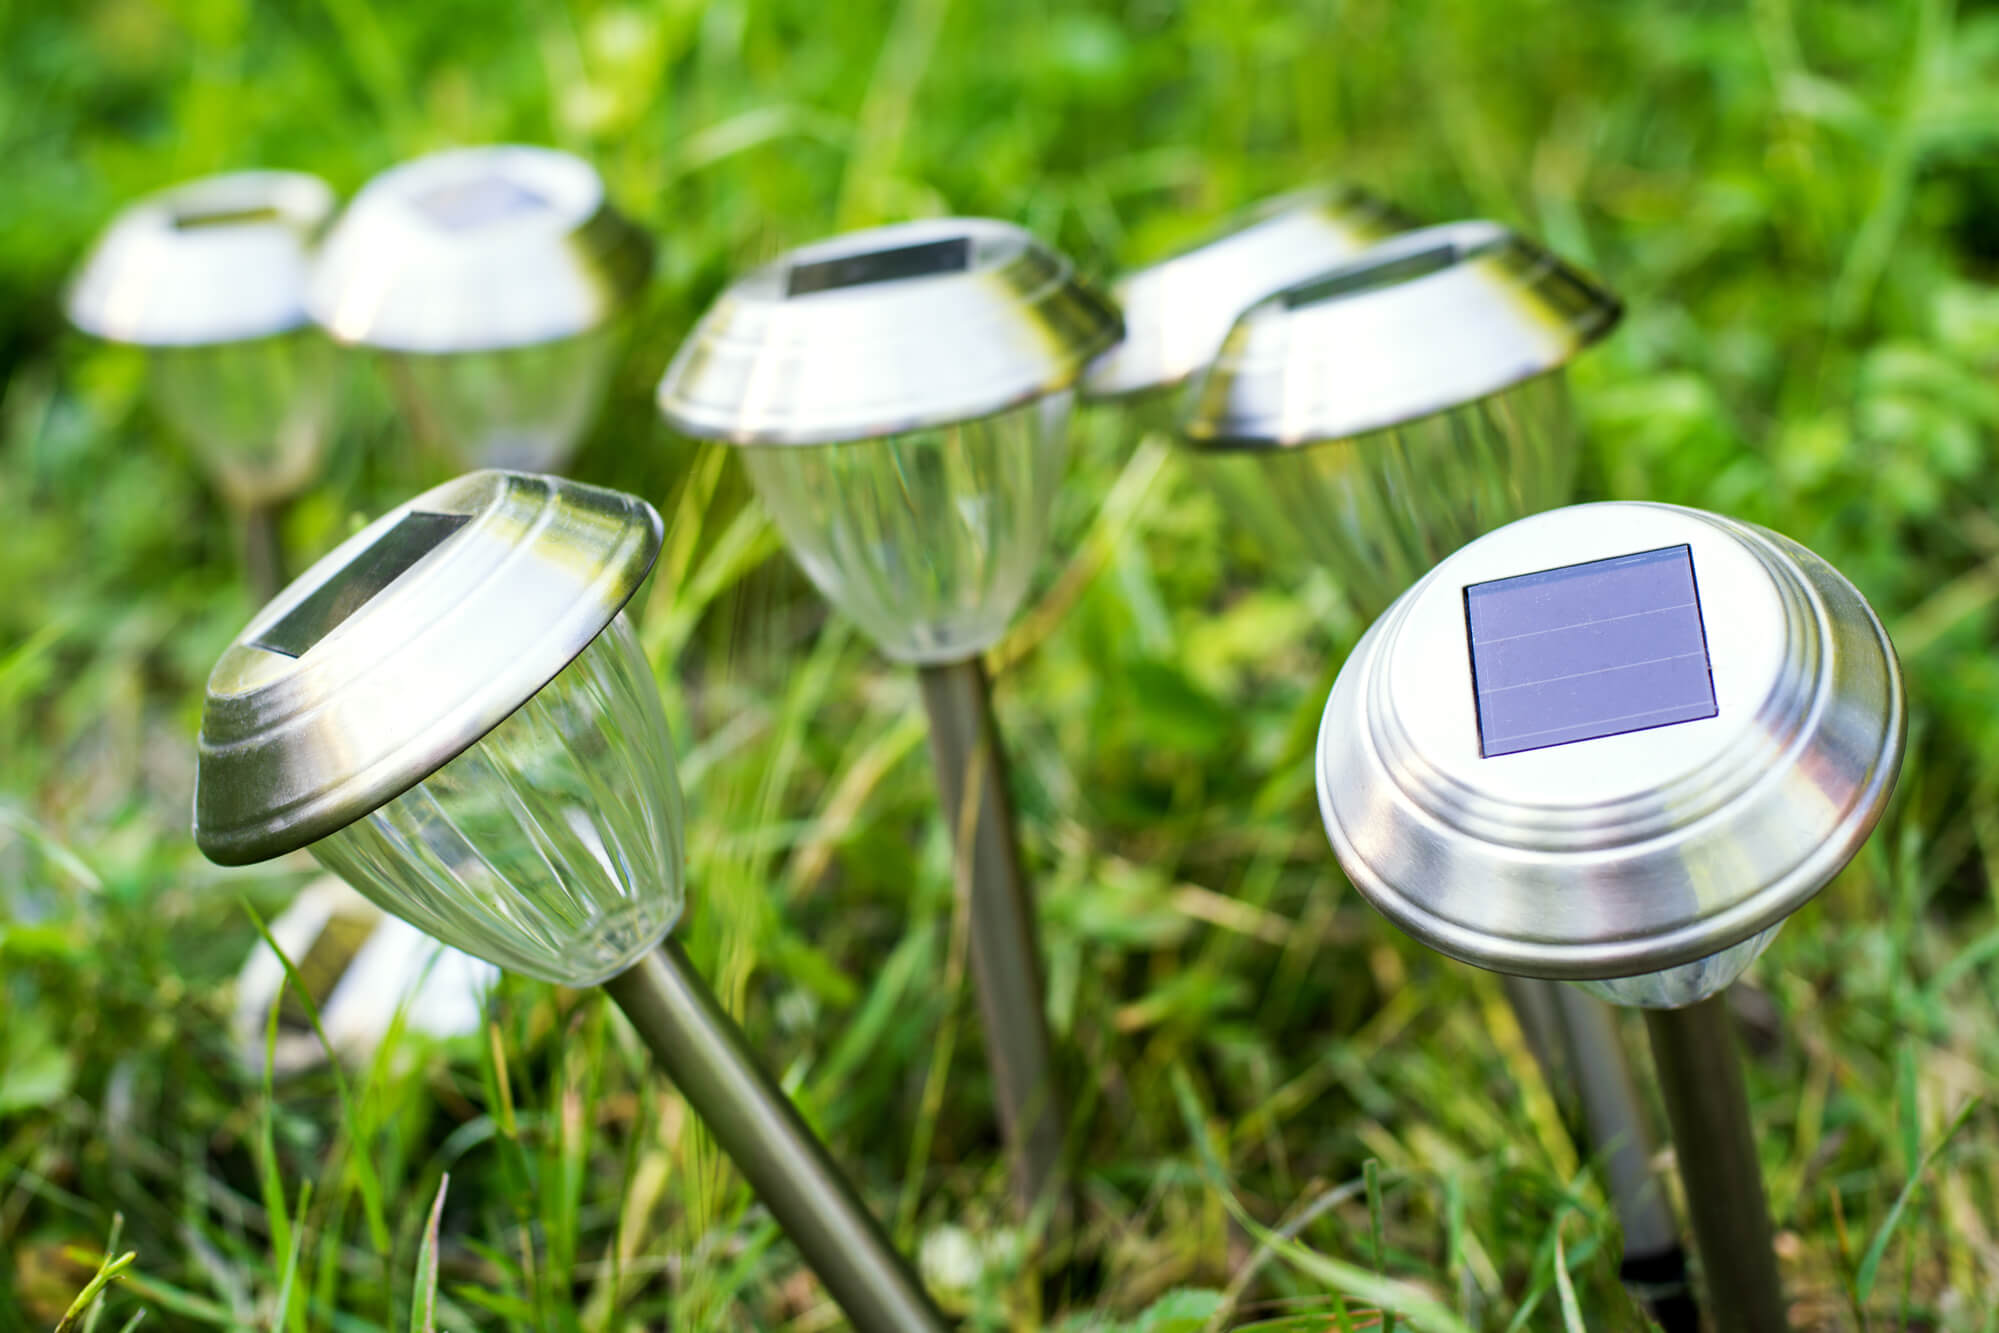
Best Placement Tips for Maximum Charging
Where you put your solar lights matters a lot more than most people realize. A poorly placed panel can cut your charging efficiency in half, which means shorter runtime every night.
Face South in the Northern Hemisphere
The sun tracks across the southern portion of the sky if you’re located in the US or Canada. Solar panels facing south receive direct sunlight for the longest portion of the day. Panels facing east or west get morning or afternoon sun only. North-facing panels are mostly in shadow and will charge very slowly or not at all, depending on your latitude.
Avoid Shade at All Costs
Even partial shading from a tree branch, fence post, or building overhang can dramatically reduce panel output. Solar cells in most panels work in series, so shading even a small section of the panel can cut total output by 50% or more. Scout your planned installation spot at different times of day to check for moving shadows before committing to a location.
Clear Any Obstructions
Trim back overhanging branches that cast shadows on your panel area. Remove any debris, bird droppings, or grime from the panel surface. A dirty panel loses efficiency quickly, and a clean panel surface is one of the easiest maintenance steps you can take to keep performance up. For more on keeping your lights in top shape, see our guide on why solar lights stop working and how to fix them.
Angle the Panel Toward the Sun
If your solar light has an adjustable panel that mounts separately from the light fixture, tilt it toward the sun rather than leaving it lying flat. For most of the continental US, an angle between 30 and 40 degrees facing south is close to optimal year-round and gives you the best balance of summer and winter sun exposure.
How to Charge Solar Lights Without Direct Sunlight
You’ve just bought solar lights and the forecast shows a week of clouds. Does that mean you have to wait? Not necessarily, though your options are more limited than a clear day.
Cloudy Days Still Work (Just Slowly)
Solar panels generate power even on overcast days, just much less of it. On a heavily overcast day, expect roughly 10 to 25% of the output you’d get in full sun. That means an 8-hour cloudy charging day might yield the equivalent of only 1 to 2 hours of sunny charging. The first charge will be partial at best, and the light may run for only a couple of hours at night rather than a full cycle.
This isn’t ideal for the first charge, but it won’t damage the battery. If clouds are all you have, let it charge as long as possible and run the light that night. Repeat over several days until a sunny day arrives to top it off properly.
Use Artificial Light as a Last Resort
Solar panels respond to a broad spectrum of light, and in a real pinch you can charge them under a bright incandescent or LED lamp. Position the panel 6 to 12 inches below a bright bulb and leave it for several hours. This is much less efficient than sunlight and won’t deliver a full charge, but it can give the battery enough power to run the light briefly while you wait for better weather.
LED grow lights work better than standard fluorescent bulbs because they produce a spectrum closer to sunlight. But nothing replaces actual sun, so use artificial light only as a temporary measure.
Common First-Time Charging Problems and Fixes
Light Won’t Turn On After First Charge
Check these things in order. First, confirm the pull tab has been fully removed from the battery compartment. Second, make sure the switch is set to ON. Third, cover the solar panel completely with your hand to trigger the darkness sensor. If it still doesn’t activate, the battery may simply need more conditioning. Give it 2 to 3 more full charge cycles on sunny days and retest before assuming the light is faulty.
Light Is Very Dim
Dim output after the first charge usually means the battery didn’t reach a full charge. This happens most often because of a cloudy first day, insufficient sun hours, or a partially shaded panel. Put it back in the sunniest spot you have for another full day and retest that evening.
If the light is still dim after 3 to 4 full charge cycles, check for dirt or a film on the panel surface and clean it with a damp cloth. If cleaning doesn’t help, contact the manufacturer since the panel or battery may be defective.
Light Turns Off After Just a Few Hours
Short runtime usually points to an incomplete charge or a battery that hasn’t been conditioned yet. Run 3 to 5 full charge and discharge cycles (charge all day, let it run all night) before drawing any firm conclusions about battery performance. Many solar light batteries improve noticeably over the first several cycles as the cells condition to regular use.
Light Flickers or Blinks
Flickering typically means low battery or a loose connection. If it’s flickering early in the night (within the first hour or two), the battery needs more charge cycles. If it flickers from the moment it switches on, check that the battery is seated properly in its compartment and that the contacts are clean and free of corrosion.
Solar Panel Gets Hot During Charging
Solar panels do warm up in direct sunlight, and this is completely normal. A warm panel is not a problem. However, extreme heat can reduce efficiency slightly. If the panel is mounted flush against a surface that traps heat (like dark asphalt or a black roof), allow some airflow underneath if the mounting setup permits.
Solar Charging Time Calculator
Use this calculator to estimate how long your solar lights will take to reach a full charge and how many hours of runtime you can expect each night.
Solar Light Charging Calculator
Clear sunny day: 5 to 6 hours. Partly cloudy: 2 to 3 hours. Overcast: 1 to 2 hours.
Case Study: First-Time Setup of Solar Garden Lights
Background
A homeowner in the Midwest purchased a set of 12 solar pathway lights for a garden border in late spring. They unboxed the lights on a Saturday afternoon and immediately installed them in the garden with the switches set to ON, expecting them to glow that evening. They didn’t. By Sunday after another partial day of sun, a few flickered dimly but most didn’t activate at all.
Project Overview
The issue wasn’t faulty lights. It was a combination of the most common first-charge mistakes: two lights still had their insulation strips in place, all the switches were ON during charging, and the first charge session was only a few hours on a partly cloudy afternoon.
Implementation
After some troubleshooting, the homeowner collected all 12 lights, removed the remaining pull tabs, set every switch to OFF, and arranged the units in the sunniest part of the yard for a full charge day. The following Monday was clear, so the lights charged from 8am to 5pm. That evening the homeowner switched them all to ON and installed them along the garden path.
Results
All 12 lights worked that night, running for around 7 to 8 hours before fading near dawn. By the end of the first week, after several complete charge cycles, runtime extended to 9 to 10 hours consistently. The homeowner noted that the two lights that had shipped without pull tabs removed initially performed slightly below the others for the first couple of weeks before normalizing, which suggests those batteries benefited from extra conditioning cycles after the delayed start.
Expert Insights From Our Solar Panel Installers About Charging Solar Lights
One of our senior solar panel installers, with over 12 years of experience working on solar installations across the Midwest and Southeast, offered this perspective on first-time solar light setup:
“The number one call I get from customers who think their new solar lights are broken is that they didn’t do the initial charge correctly. Nine times out of ten the lights are fine. They either left the pull tab in, kept the switch on, or tried to charge on a cloudy day and gave up after a few hours. Solar light batteries are like any rechargeable battery: they need proper charge cycles to perform at their rated capacity. Give them a real full day of sun with the switch off, and almost every ‘defective’ light suddenly works perfectly.”
This tracks with what solar light manufacturers consistently see in their support queues. A proper first charge isn’t just about getting the lights working tonight. It sets the baseline for battery health and longevity over the years ahead. Lights that get a correct first charge tend to hold their performance much longer than those that don’t.
Frequently Asked Questions
Give solar lights a full 8 to 10 hours of direct sunlight for the first charge. This ensures the battery reaches its full capacity from the start. Choose a clear, sunny day for the initial charge rather than a cloudy one for best results.
Set the switch to OFF during the first charge. This prevents the sensor circuit from drawing power and stops the light from activating if clouds create momentary darkness. Once the first full charge is complete, switch it to ON and leave it there permanently.
The most common reasons are: the pull tab was not removed from the battery compartment, the switch is still set to OFF, or the first charge was incomplete due to cloudy conditions or panel shading. Check each of these before assuming the lights are defective. Give the lights 2 to 3 more full charge cycles if everything looks correct mechanically.
Yes, solar panels generate power even on cloudy days, but output is typically 10 to 25% of what they produce in full sun. This means charging takes much longer. For the first charge, wait for a clear sunny day if you can. After that, the lights will continue to charge on cloudy days at a reduced rate without any issues.
Most solar lights provide 6 to 10 hours of light after a full charge, depending on battery size and brightness setting. Higher-capacity batteries (2000mAh and up) and lights with dimming features can extend runtime to 12 hours or more. Your first few nights may show shorter runtime as the battery conditions through the initial cycles.
Solar lights charge best in direct sunlight but will charge in any daylight conditions. Indirect or diffuse light (such as through thin cloud cover or in a partially shaded area with good ambient light) produces a partial charge. For the most reliable nightly performance, position solar panels where they get at least 6 hours of direct sun each day.
Summing Up
Getting your solar lights off to a good start comes down to three things: remove the pull tab, set the switch to OFF, and give it a full day of direct sun. Those three steps are what separate a solar light that works reliably from day one from one that frustrates you for weeks.
After that first proper charge, the lights take care of themselves. The sensor handles the on/off switching automatically, the panel tops up the battery every day, and you get reliable nightly light without touching anything. And if you’re ready to explore more of what solar lighting can do around your home, our guide to the best indoor solar lights is a good place to start.
The initial setup is the one moment where your attention makes the biggest difference. Get it right and your solar lights will reward you with seasons of effortless, cost-free light.
Updated