
Solar string lights are one of the most common solar light failures — and also one of the most fixable. Most problems trace to a handful of root causes: a depleted or dead battery, a dirty or poorly positioned solar panel, a failed LED section, or a water-damaged controller. Systematic troubleshooting finds the problem quickly.
Step 1: Check the Basics First
Before diagnosing any component, confirm the basics that are frequently overlooked:
On/off switch: Most solar string lights have a physical switch on the control box or battery pack. Verify it’s in the ON position. After storage, shipping, or a battery replacement, lights are often left in the OFF position.
Pull tab on battery compartment: New solar string lights often have a plastic pull tab between the battery terminals and the battery to prevent discharge during shipping. Check the battery compartment and remove the tab if present.
Daylight sensor mode: Solar string lights won’t turn on in daylight — they have a built-in photosensor that activates the lights only when ambient light is low. If you’re testing in daylight, cover the solar panel completely with your hand or a cloth for 10–15 seconds to trigger night mode and test whether the lights illuminate.
Charge before first use: New lights should be charged in full sun for at least one full day before expecting normal nighttime operation.
Step 2: Assess Solar Panel Charging
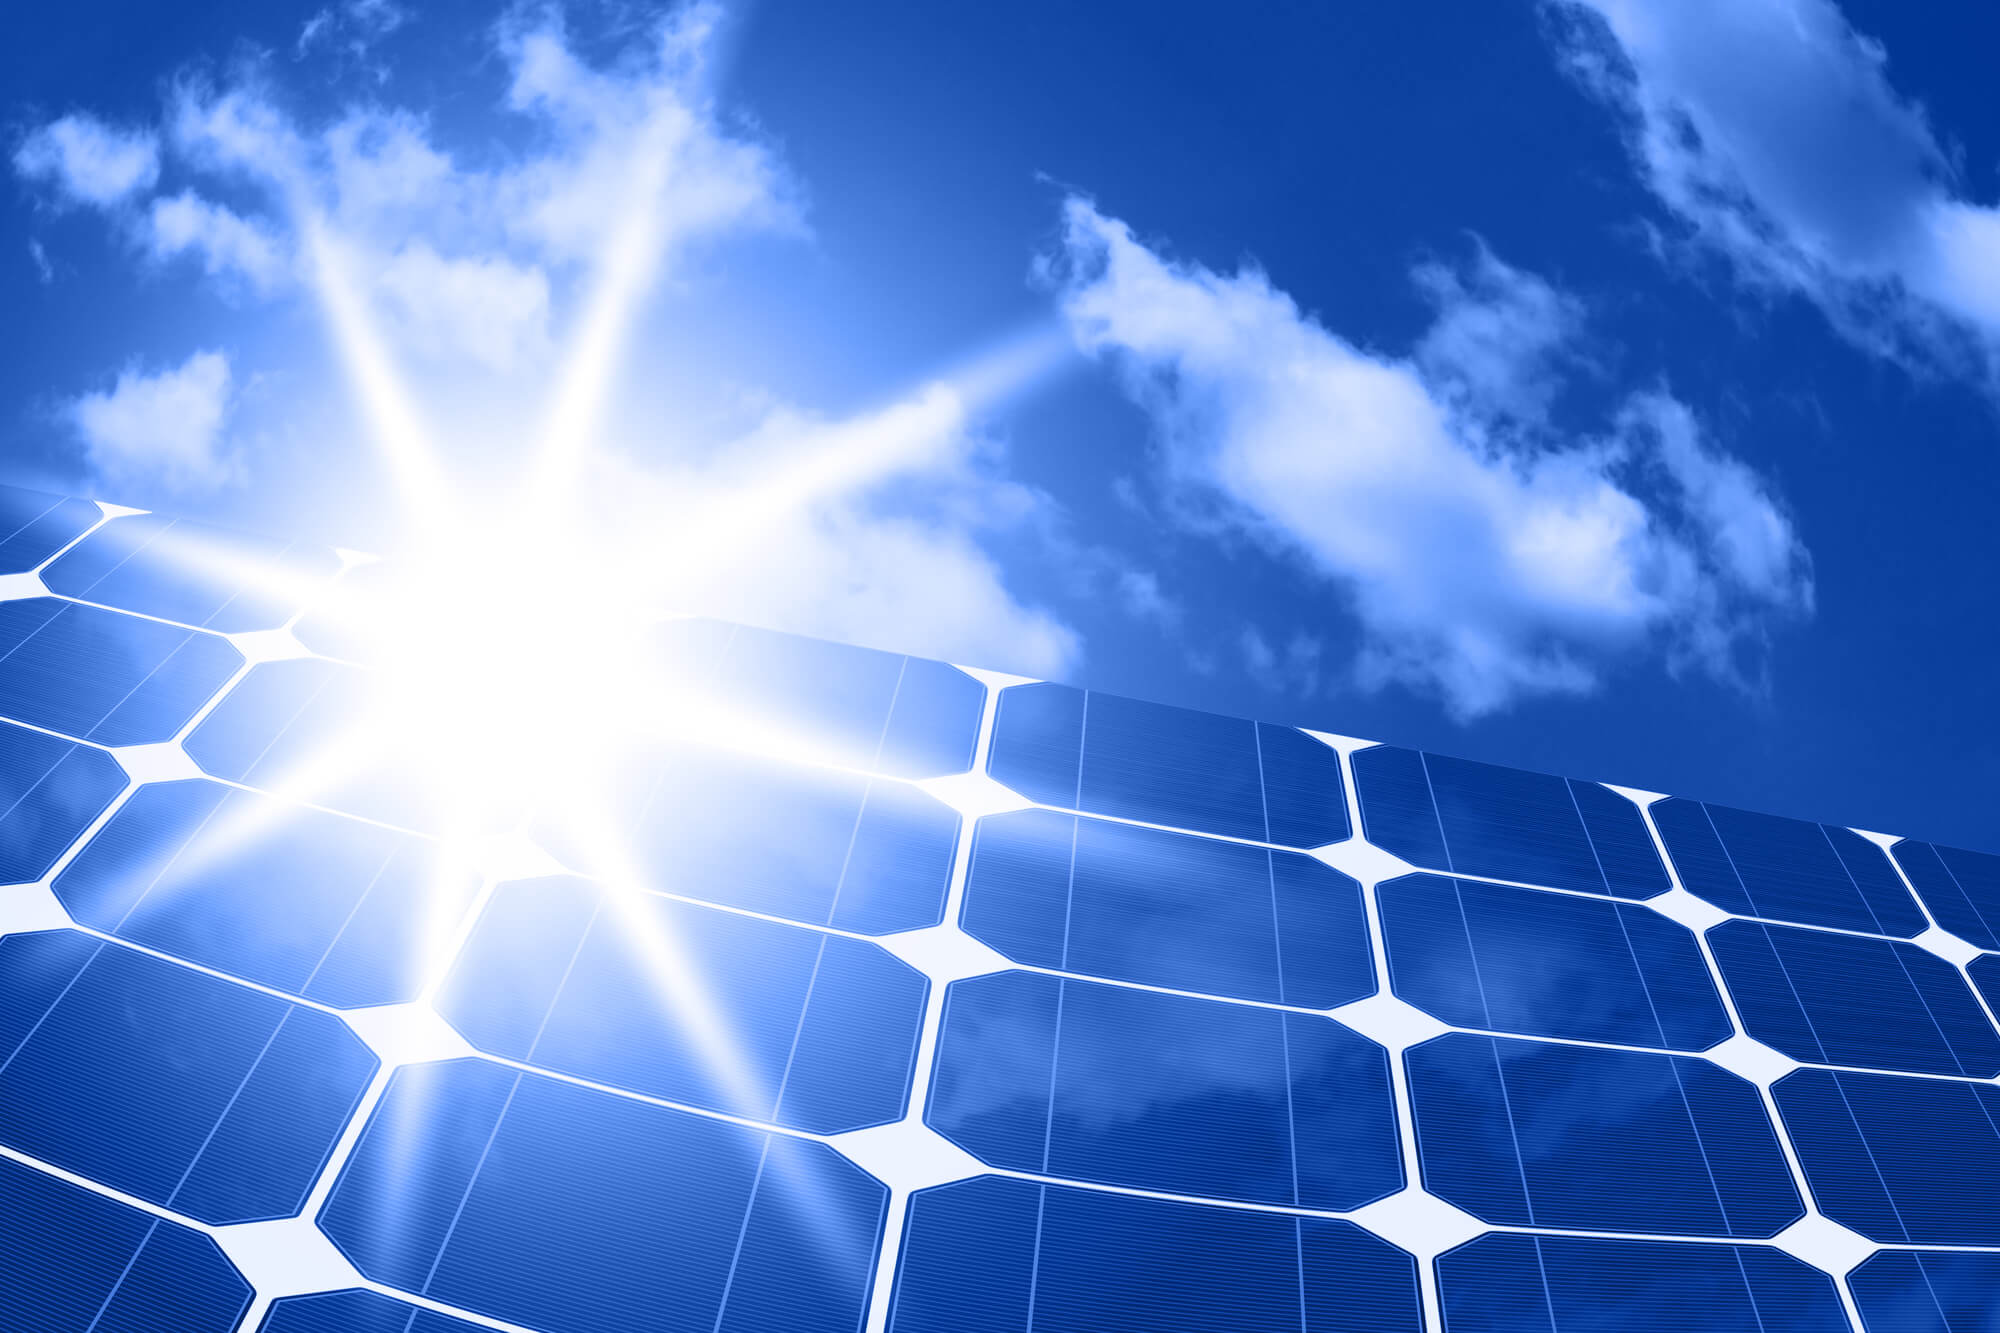
If the lights worked previously but now run for only 1–2 hours or dim out quickly, the battery isn’t charging fully. The most common reasons:
Panel location: Has nearby vegetation grown to shade the panel, or has the panel shifted from its optimal position? Even partial shading during peak hours significantly reduces charging. Reposition the panel to a location with 6+ hours of unobstructed direct sun.
Dirty panel: Dust, pollen, and bird droppings coat the panel surface over time, reducing light transmission. Wipe the panel with a slightly damp cloth and check whether the lights run longer the following night.
Panel angle: Many solar string lights are installed with the panel roughly horizontal. In northern latitudes, tilting the panel toward south at an angle equal to your latitude significantly improves charging — a 15° tilt versus horizontal can increase charging by 10–20%.
Season: In winter, days are shorter and sun angles are lower. A string light that runs 8 hours in July may run only 3–4 hours in December with the same battery charge — this is normal behavior, not a malfunction. Wait until spring to evaluate true performance.
Step 3: Replace the Battery
The battery is the most common cause of solar string light failure. NiMH batteries in string lights typically last 1–3 years of outdoor cycling before capacity degrades significantly. Signs of battery failure: lights that go dark within 1–2 hours of nightfall, lights that flicker and dim inconsistently, or lights that no longer illuminate at all despite a full day of sun.
Finding the battery: The battery is housed in the control box — the small plastic unit at the end of the wire near the solar panel. Open the compartment (usually a sliding door or screw-secured cover). Most solar string lights use 1–3 AA or AAA NiMH rechargeable batteries.
Selecting a replacement: Replace with NiMH rechargeable batteries of the same size (AA or AAA) and equal or higher capacity (mAh). Common capacities: 600–1,000 mAh for the slim batteries original to string lights; replacing with 1,000–1,200 mAh NiMH cells extends runtime. Do NOT use alkaline batteries — they are not designed to be recharged and will leak inside the compartment.
Installing and testing: Install fresh batteries, close the compartment, set the switch to ON, and leave in full sun for a full day. Check whether the lights run for a full night. If they do, the battery was the problem.
Step 4: Test Individual LED Sections
Solar string lights commonly have one or more “dead sections” — segments of the LED strand that don’t light up while the rest of the strand works. This usually indicates one of two things:
Single failed LED causing a string outage: Many solar string lights wire LEDs in series within each section. If one LED in a section fails (open circuit), the entire section goes dark. Identify which section is dark and look for a visibly damaged, discolored, or broken LED within that section. Replacing the single failed LED (if replaceable, typically a 3mm or 5mm through-hole LED) restores the section. However, most string lights use non-serviceable surface-mount LEDs in sealed waterproof covers, making this repair impractical.
Water in a section connector: Outdoor string lights have connectors between sections. Water infiltrating a corroded connector creates an open circuit that kills the downstream section. Dry the connector thoroughly, apply a small amount of dielectric grease, and reconnect. If the connector terminals are corroded beyond recovery, clip the connector and re-splice the wires with waterproof wire nuts or solder + heat-shrink tubing.
Practical assessment: For a strand where one section is dark and the remaining sections work correctly, the economic question is whether the repair cost and effort is worth it versus replacement. A $15 replacement strand takes 10 minutes to install; repairing LED strand failures typically takes much longer and may not succeed.
Step 5: Inspect the Control Box
The control box contains the charge controller circuit and the light sensor. Failures here cause symptoms like: lights never turning on, lights staying on all day (draining the battery), or lights flickering in an unusual pattern.
Water damage: Open the control box and look for corrosion, rust, or water stains on the circuit board. Even a small amount of moisture on the PCB can cause circuit failures. If you see corrosion, spray the board with isopropyl alcohol (90%+), allow to dry completely in a warm location for 24 hours, and test. Severe corrosion that affects solder joints or component connections usually means the control box needs replacement.
Light sensor check: The photosensor (LDR — light-dependent resistor) determines when to activate the lights. A failed or dirty LDR causes the lights to stay on all day (draining the battery) or never turn on. Some control boxes have the LDR accessible on the outside — clean it with isopropyl alcohol. If the LDR has failed open circuit, the replacement component costs $1–2 from electronics suppliers, though soldering skill is required.
Control box replacement: Many solar string lights use standardized control boxes (IP65-rated outdoor units, AA or AAA NiMH batteries, with an integrated solar panel input). Compatible replacement control boxes are available from Chinese electronics suppliers for $3–8. If the LED strand is intact but the control box has failed, replacing the control box restores the complete system.
Step 6: Check Wiring and Connections
UV exposure and physical stress degrade wire insulation and connection points over 3–5 years outdoors. Inspect the wire from the solar panel to the control box for:
— Cracked or brittle insulation that exposes bare conductor
— Pinched sections where a wire has been compressed under a mounting fastener or caught in a closing door/window
— Corroded wire terminals at the panel connection point
— Loose connectors between the panel, battery pack, and LED strand
Repair cracked insulation with self-amalgamating (self-fusing) tape — it creates a permanent, weatherproof repair that doesn’t require adhesive. Replace corroded terminals by cutting back to clean wire and fitting new crimp terminals or soldering new connections.
When to Replace Instead of Repair
Solar string lights under $15 with multiple simultaneous failures (dead battery, corroded control box, and a failed LED section) are usually more economically replaced than repaired. The total repair time and components can exceed the cost of a new strand. Reserve repair effort for:
— Mid-range or premium string lights ($25+) with a single identifiable failure
— Lights with a sentimental or design-specific value that makes replacement impractical
— Situations where the repair is simple (battery replacement only, or panel cleaning only)
Frequently Asked Questions
Why do only some of my solar string lights work?
The most common cause of partial strand failure is a single failed LED in a series-wired section, which breaks the circuit for the entire section. The next most common cause is a corroded or failed connector between sections. Check the connection points where sections join — clean or reseat corroded connectors. If one complete section (say, a 10-LED segment) is dark while adjacent sections work, and the connectors check out, a failed LED in that section is likely. For most budget string lights, replacing the strand is more practical than locating and replacing a single surface-mount LED.
Why are my solar string lights not working after rain?
Water has entered the control box or a connector. Open the battery compartment immediately and check for moisture — if wet, remove batteries, dry thoroughly with a cloth and then in a warm location for 24 hours. Inspect connectors between sections for water. Reseal any compromised waterproof covers with clear silicone. If the control box PCB shows corrosion, treat with isopropyl alcohol and dry completely before reassembling. For future prevention, check the IP rating of your string lights — IP44 is splash-resistant, while IP65 provides much better protection against rain.
How do I know if my solar string lights battery needs replacing?
Battery replacement is indicated when: the lights work for only 1–2 hours at night despite a full day of sun (rather than the 6–8 hours typical of new NiMH batteries); the lights dim gradually from full brightness to very dim over the course of the night; or the lights fail to illuminate at all after being charged in good sun. These symptoms all indicate the battery no longer holds a full charge. Open the control box, identify the battery size (usually AA or AAA NiMH), and replace with a fresh rechargeable NiMH cell of equal or higher capacity.
Can I extend my solar string lights with an additional strand?
Solar string lights can be connected in series (end-to-end) if the solar panel and battery capacity is sufficient to power the total number of LEDs. A typical solar string light panel and NiMH battery powers 50–100 LEDs. Adding a second strand doubles the LED count and roughly halves the runtime from a single charge. Some manufacturers design their string lights to be daisy-chained in this way and sell extension strands specifically for the purpose. If connecting two standalone solar string light strands, the combined LED load may exceed the original system’s capacity and result in very short runtime.
Why do my solar string lights stay on during the day?
The photosensor (LDR) that detects daylight and switches the lights off has failed or is blocked. If the LDR is on the outside of the control box, clean it with a damp cloth — coating from grime can make it read low light levels even in daylight. If the LDR has failed electrically (reading no light even in bright sun), the control circuit switches to night mode continuously, running the lights all day and draining the battery. This is a control box failure — replace the LDR component if you’re comfortable soldering, or replace the control box.
Summing Up
Most solar string light failures are fixable with simple steps: check the switch and pull tab, clean the solar panel, replace the NiMH batteries (the most common fix), inspect for water-damaged connectors, and check the control box for moisture. Battery replacement restores the majority of failed solar string lights and costs $2–5. For dead LED sections, assess whether repair is practical based on the strand’s value — budget strands are usually better replaced. Systematic troubleshooting from the basics (switch, panel, battery) through to individual components (connectors, LEDs, control box) resolves almost all common failure modes without requiring specialized tools.
Updated