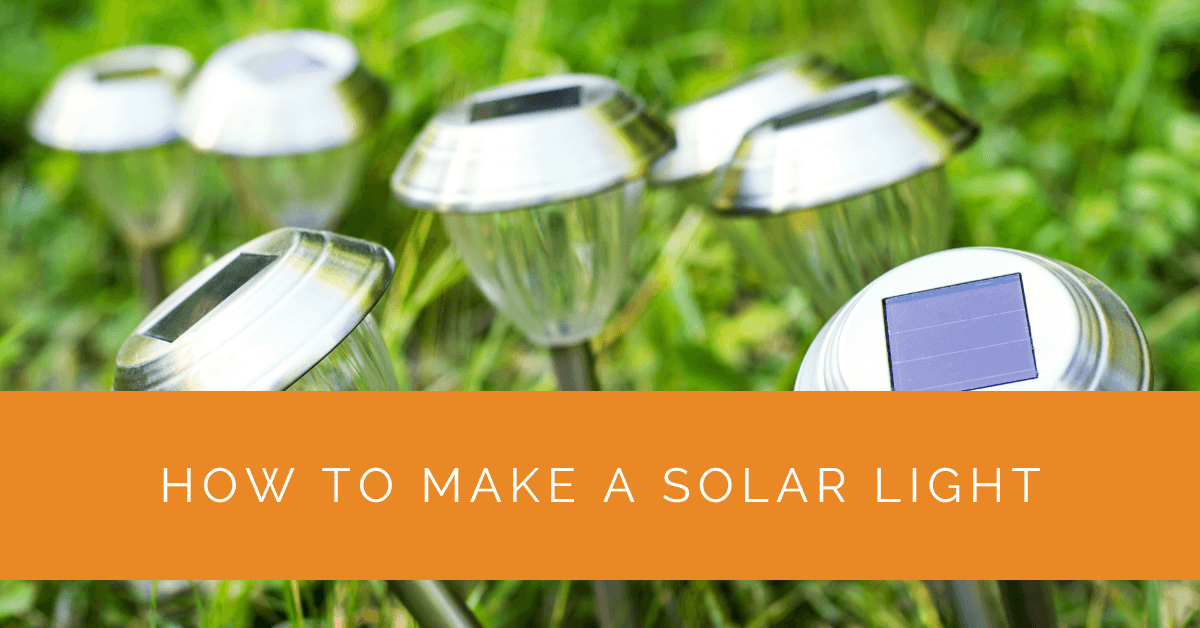
Solar lights are a fantastic way to harness renewable energy and illuminate your surroundings without relying on traditional power sources. This step-by-step guide will explore creating your solar light through a rewarding DIY solar project. By using a solar panel, rechargeable battery, and LED light, you can create an eco-friendly and cost-effective lighting solution for various applications.
Contents
- 1 Understanding Solar Lights
- 2 Selecting the Right Components
- 3 Building the Solar Light Circuit
- 4 Assembling the Solar Light
- 5 Testing and Troubleshooting
- 6 Installation and Maintenance
- 7 Case Study: Implementing DIY Solar Lights for a Community Garden
- 8 Expert Insights From Our Solar Panel Installers About How to Make a Solar Light
- 9 Our Expertise in Solar Lights
- 10 Conclusion
Understanding Solar Lights
Before diving into the DIY process, it’s important to understand how solar lights work. Solar lights utilize a solar panel to convert sunlight into electricity, then store it in a rechargeable battery. The stored energy is used to power an LED light, providing illumination at night. These lights offer an environmentally friendly alternative to conventional lamps by harnessing solar power.
Selecting the Right Components
When making a DIY solar light, selecting the right components is crucial for its functionality and performance. Here are the key factors to consider for each component:
Solar Panel
The solar panel is the heart of your solar light, responsible for capturing sunlight and converting it into usable electricity. Consider the wattage and size of the solar panel based on your lighting needs. A higher-wattage panel will provide more power for brighter illumination, while a larger panel will capture more sunlight for efficient charging. Additionally, ensure the panel is durable, weather-resistant, and compatible with your DIY project.
Rechargeable Battery
Choosing the right rechargeable battery is essential for storing the solar energy collected by the solar panel. Opt for a high-quality battery with sufficient capacity to meet your lighting requirements. The battery capacity will determine how long your solar light can operate after a full charge. Consider factors such as voltage, amp-hour (Ah) rating, and battery chemistry (such as lithium-ion or nickel-metal hydride) based on your specific needs and budget.
LED Light
LED lights are an energy-efficient and long-lasting choice for solar lights. Select an LED light with the desired brightness level and color temperature to match your preferences and application. Consider factors such as lumens output, color rendering index (CRI), and beam angle to ensure optimal lighting performance. Choose LED lights that are compatible with the voltage and power requirements of your solar panel and battery.
Additional Materials and Tools
In addition to the main components, you will need additional materials and tools to complete your solar light project. These may include wires, connectors, terminal blocks, soldering iron, heat shrink tubing, screws, and a suitable housing or enclosure for the light. Ensure that the materials are good quality and suitable for outdoor use if you install your solar light outside.
By carefully selecting the right components, you can build a solar light that meets your specific lighting needs and operates efficiently. Take the time to research and choose high-quality components compatible with each other to ensure a successful DIY solar light project. Remember, the components’ quality and compatibility will greatly impact your solar light’s performance and longevity.

Building the Solar Light Circuit
Building the solar light circuit is crucial in creating functional and efficient solar light. Here are the detailed steps involved in constructing the circuit:
Connecting the Solar Panel and Battery
Start by connecting the solar panel to the rechargeable battery. Ensure that the positive terminal of the solar panel is connected to the positive terminal of the battery and the negative terminal to the negative terminal. This connection allows the solar panel to charge the battery when sunlight is available during the day. Use appropriately sized wires and secure the connections using terminal blocks or soldering, ensuring a tight and reliable connection.
Incorporating a Charge Controller
To ensure proper charging and protection for your battery, it is advisable to include a charge controller in the circuit. The charge controller regulates energy flow from the solar panel to the battery, preventing overcharging and over-discharging. It also helps optimize the charging efficiency and protects the battery from damage. Connect the charge controller between the solar panel and battery, following the manufacturer’s instructions for proper wiring and configuration.
Connecting the LED Light
Next, connect the LED light to the circuit. Identify the positive and negative terminals of the LED light and ensure they are aligned with the corresponding battery terminals. Connect the positive terminal of the LED light to the positive terminal of the battery and the negative terminal of the LED light to the negative terminal of the battery. Depending on the LED light type, you may need to add a resistor in series to control the current flow and prevent any damage to the LED. Secure the connections using terminal blocks or soldering, ensuring proper insulation and reliable connections.
Ensuring Proper Wiring and Connections
Throughout the circuit-building process, pay close attention to the wiring and connections. Use appropriately sized wires that can handle your solar light’s current and voltage requirements. Double-check all connections to ensure they are secure and free from any loose or exposed wires. Insulate the connections using heat shrink tubing or electrical tape to protect against moisture and short circuits.
You can successfully build the solar light circuit by following these detailed steps. Take your time to ensure proper wiring, secure connections, and the inclusion of a charge controller for efficient and safe operation. A well-constructed circuit will contribute to your DIY solar light’s overall performance and longevity.
Assembling the Solar Light
Assembling the solar light is crucial in bringing your DIY project to life. Here are the detailed steps involved in assembling the solar light:
Preparing the Light Housing or Enclosure
Start by preparing the housing or enclosure for your solar light. Choose suitable housing that is weather-resistant and compatible with the size and design of your project. Consider using durable plastic or metal that can withstand outdoor conditions. Ensure that the housing provides enough space to accommodate the components comfortably.
Securing the Components within the Housing
Place the components within the housing in an organized and secure manner. Position the rechargeable battery, charge controller, and any other additional circuit components, ensuring they fit properly without any unnecessary movement. Consider using adhesive materials or brackets to secure the components in place. This step is crucial to protect the components from damage and ensure a stable assembly.
Sealing the Housing
It is important to seal the housing properly to protect the components from moisture and other environmental factors. Use appropriate sealants or gaskets to create a watertight seal between the housing components. Pay special attention to any openings or gaps where water could potentially enter. Sealing the housing will help extend the lifespan of your solar light and maintain its functionality in various weather conditions.
Mounting Options for the Solar Light
Consider the mounting options available for your solar light, depending on where you plan to install it. Common mounting options include stakes for ground installation, brackets for wall mounting, or poles for elevated positioning. Choose the appropriate mounting option that ensures stability and proper orientation of the solar panel for maximum sunlight absorption. Securely attach the mounting mechanism to the housing, following the manufacturer’s instructions or using suitable hardware.
By following these detailed steps, you can successfully assemble your solar light. Properly preparing the housing, securing the components, and sealing the assembly will contribute to the durability and performance of your DIY solar light. Additionally, selecting the appropriate mounting option ensures a secure installation and optimal positioning for effective solar charging. Enjoy the satisfaction of seeing your solar light come together and prepare to illuminate your chosen space with sustainable, solar-powered lighting.
Testing and Troubleshooting
Thoroughly testing your solar light is essential to ensure its functionality and identify potential issues. Here are the detailed steps involved in testing and troubleshooting your DIY solar light:
Testing the Functionality
Cover the solar panel to simulate darkness and observe if the LED light illuminates properly. If the solar light functions correctly, the LED light should turn on automatically when the solar panel is not exposed to light. Observe the brightness and ensure that it meets your desired lighting requirements. If the LED light does not turn on or the brightness is insufficient, follow the troubleshooting steps below.
Troubleshooting Common Issues
If you encounter any issues during testing, here are some common troubleshooting steps to consider:
- Check the wiring: Ensure all connections are secure and free from loose or exposed wires. Double-check the polarity of the connections, ensuring that positive terminals are connected to positive terminals and negative terminals to negative terminals.
- Verify the battery charge: Ensure that the battery is adequately charged. If the battery charge is low, place the solar light in direct sunlight for an extended period to allow for charging. Alternatively, check the connections between the solar panel and battery to ensure proper charging.
- Inspect the components: Examine the solar panel, battery, charge controller, and LED light for any signs of damage or defects. Replace any faulty components as necessary.
- Adjust the circuit configuration: If the LED light is not turning on or achieving the desired brightness, verify that the circuit configuration is correct. Ensure that the voltage requirements of the LED light match the battery output and that any necessary resistors are included in the circuit.
- Check the positioning of the solar panel: Ensure that the solar panel is properly positioned to receive maximum sunlight. Adjust the angle or direction of the solar panel if needed to optimize solar energy absorption.
Fine-Tuning and Optimizing Performance
Once any issues are resolved, you can fine-tune and optimize the performance of your solar light. Consider adjusting the position of the solar panel and LED light to achieve the desired lighting angle and coverage. Monitor the performance of the solar light over time and make any necessary adjustments to ensure optimal charging and illumination.
Following these detailed testing and troubleshooting steps, you can identify and resolve any issues with your DIY solar light. Remember to double-check the wiring, verify the battery charge, inspect the components, and make necessary adjustments to optimize the performance of your solar light. Enjoy seeing your solar light function flawlessly and provide sustainable illumination.
Installation and Maintenance
Proper installation and regular maintenance are crucial for your DIY solar light’s optimal performance and longevity. Here are the detailed steps involved in installing and maintaining your solar light:
Determining the Ideal Location
Before installation, assess where you plan to install your solar light. Choose an area that receives ample sunlight throughout the day for efficient charging. Ensure the chosen location is free from obstructions, such as trees or buildings that may shade the solar panel. Optimal sunlight exposure will maximize the charging capacity of your solar light.
Mounting the Solar Light
Select the appropriate mounting method depending on the type of solar light and its intended use. Ground installation may involve inserting stakes into the soil and securely attaching the light housing to the stakes. Use brackets to affix the housing to the desired surface for wall-mounted lights. Ensure the mounting mechanism provides stability and proper orientation for the solar panel.
Regular Maintenance Practices
To ensure consistent performance, incorporate regular maintenance practices for your solar light. Here are some important maintenance tips:
- Clean the solar panel: Dust, dirt, and debris can accumulate on the solar panel over time, reducing its charging efficiency. Clean the panel periodically using a soft cloth or sponge with mild soap and water. Gently wipe the surface to remove any dirt or residue, not scratching or damaging the panel.
- Check for damage or wear: Inspect the housing, solar panel, and other components regularly for any signs of damage, wear, or corrosion. Repair or replace any damaged parts promptly to maintain the integrity and functionality of your solar light.
- Replace the battery when needed: Rechargeable batteries have a limited lifespan. If you notice a significant decrease in performance or reduced illumination time, it may indicate that the battery needs replacement. Consult the manufacturer’s guidelines to determine the appropriate battery type and replacement procedure.
- Protect from extreme weather conditions: Although solar lights are designed to withstand outdoor conditions, they should be protected from extreme weather whenever possible. Consider temporarily removing the solar light or providing additional protection to prevent damage during severe storms, heavy rain, or snowfall.
By following these installation and maintenance practices, you can ensure that your DIY solar light continues to provide reliable illumination. Regular cleaning, checking for damage, and replacing components when necessary will help maintain the performance and longevity of your solar light. Embrace the eco-friendly benefits of your solar light and enjoy sustainable lighting for years to come.
Case Study: Implementing DIY Solar Lights for a Community Garden
Background
In our pursuit to promote renewable energy solutions, Solar Panels Network USA partnered with a local community garden to implement a DIY solar lighting project. This initiative aimed to provide sustainable lighting for the garden’s pathways and communal areas, ensuring safety and usability after sunset.
Project Overview
The community garden had several poorly lit areas that hindered evening activities and posed safety risks. Traditional lighting solutions were not feasible due to the absence of nearby power sources and the desire to maintain an eco-friendly environment. Our goal was to create cost-effective, solar-powered lights using readily available components.
Implementation
Selecting Components
We carefully selected high-quality solar panels, rechargeable batteries, and LED lights. The solar panels were chosen based on their wattage and weather resistance, ensuring they could withstand the local climate. We opted for lithium-ion batteries due to their high energy density and longevity. The LED lights were selected for their energy efficiency and bright illumination.
Building the Solar Light Circuit
Our team began by connecting the solar panels to the batteries, ensuring proper polarity and secure connections using terminal blocks. We incorporated charge controllers to prevent overcharging and protect the batteries. The LED lights were then connected, with resistors added to control the current flow.
Assembling and Housing
We used durable, weather-resistant enclosures to house the components, sealing them to protect against moisture and dust. The lights were mounted on poles positioned along the garden pathways, with solar panels angled to maximize sunlight exposure.
Results
The DIY solar lights provided the garden with reliable, sustainable lighting. Pathways were well-lit, enhancing safety and extending the usability of the garden into the evening hours. The project demonstrated that with careful planning and quality components, DIY solar lighting can be an effective and eco-friendly solution.
Summary
This case study highlights the effectiveness of DIY solar lighting projects in providing sustainable and reliable illumination. By leveraging high-quality components and ensuring proper assembly and testing, we successfully enhanced the safety and usability of a community garden. Solar Panels Network USA remains committed to promoting renewable energy solutions that are both practical and environmentally friendly.
Expert Insights From Our Solar Panel Installers About How to Make a Solar Light
Selecting the right components is critical to the success of your DIY solar light project. Ensuring compatibility between the solar panel, battery, and LED light can save you from many potential issues down the road. Always go for quality over cost to achieve optimal performance.
Senior Solar Installer
Proper wiring and connections are the backbone of a functional solar light. Pay close attention to the polarity and use the right tools for secure connections. A charge controller is also a must to protect your battery from overcharging and extend its life.
Lead Solar Technician
Testing and troubleshooting your solar light is crucial before final installation. Simulating nighttime conditions by covering the solar panel helps ensure your LED light activates correctly. Address any issues immediately to avoid future headaches.
Solar Installation Expert
Our Expertise in Solar Lights
At Solar Panels Network USA, we’re here to provide you with valuable information and support regarding solar lighting. With our experience and understanding of the solar lighting industry, our team of experts is prepared to assist you in finding the right lighting solution for your needs. Whether you’re interested in improving your outdoor spaces, conserving energy, or adopting a more sustainable approach, we’re well-equipped to help. Please feel free to contact us with any questions or inquiries.
Conclusion
Creating your own solar light through a DIY project is rewarding and sustainable. By utilizing a solar panel, rechargeable battery, and LED light, you can harness solar power to illuminate your surroundings. Embrace the eco-friendly advantages of solar energy while showcasing your creativity and DIY skills. So, embark on this exciting journey and make a DIY solar light that brightens up your space and contributes to a greener future. Following the step-by-step instructions in this guide, you can successfully make your own solar light and enjoy the benefits of using solar power. This DIY project allows you to customize your solar light’s design, brightness, and functionality, making it a unique addition to your outdoor or indoor spaces.
Not only does creating solar light provide a cost-effective lighting solution, but it also reduces your carbon footprint by utilizing renewable energy. Embrace the sun’s power and embark on this DIY adventure to create a sustainable and efficient lighting option for your home, garden, or any other area needing illumination. The satisfaction of knowing that you have harnessed the sun’s energy to power your creation is truly fulfilling.
So, gather the necessary components, follow the steps outlined in this guide, and embark on your DIY solar light project today. Illuminate your surroundings with clean and renewable energy while enjoying the ambiance and functionality of your handmade solar light. Start your journey towards a greener lifestyle, one DIY project at a time.
About the Author
Solar Panels Network USA stands at the forefront of solar energy solutions, driven by a team of seasoned solar engineers and energy consultants. With over decades of experience in delivering high-quality solar installations and maintenance, we are committed to promoting sustainable energy through customer-centric, tailored solutions. Our articles reflect this commitment, crafted collaboratively by experts to provide accurate, up-to-date insights into solar technology, ensuring our readers are well-informed and empowered in their solar energy decisions.

