
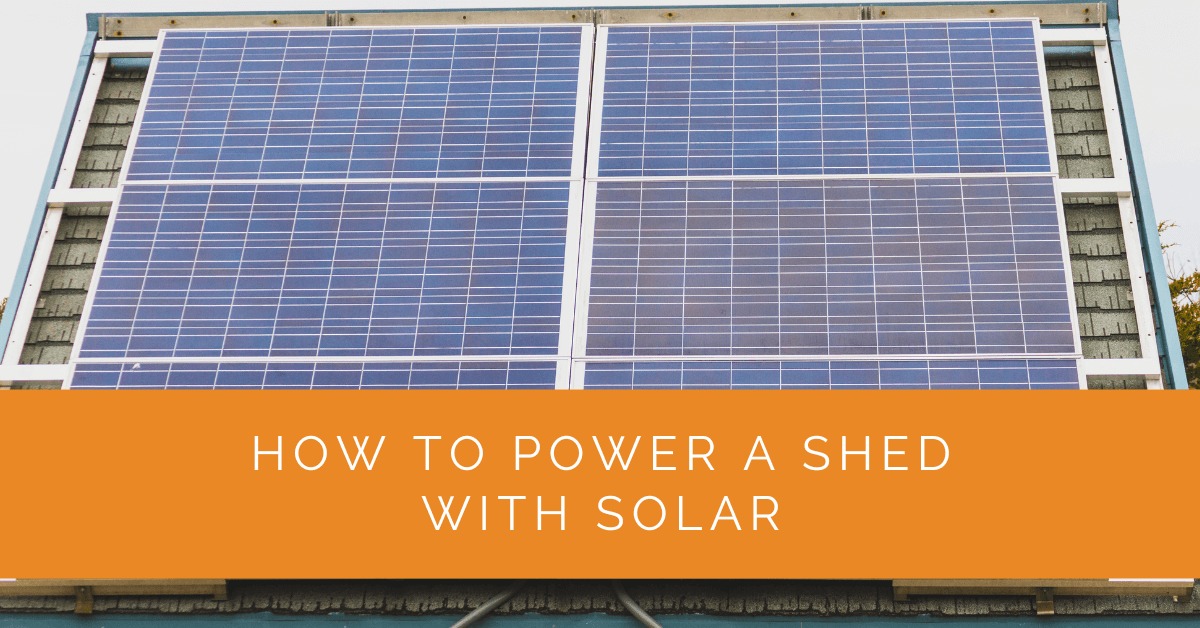
Powering a shed with solar is one of the most practical and cost-effective solar applications for homeowners. Running a grid circuit to a detached shed typically costs $1,500–$4,000+ in trenching, conduit, and electrical work. A well-designed solar system for a typical workshop or garden shed runs $300–$2,000 depending on the load requirements, with no trenching needed and no monthly utility cost.
Step 1: Determine Your Power Needs
The most common mistake in shed solar is undersizing. Before selecting any components, list everything you plan to run in the shed and how long you run it each day.
Common shed loads and their approximate wattage:
LED shop lights: 15–40W each | Electric drill: 600–800W (motors, not continuous) | Circular saw: 1,200–1,800W (intermittent) | Shop vac: 800–1,200W (intermittent) | Battery charger (for tools): 100–200W | Small refrigerator/mini-fridge: 80–150W (runs ~30% duty cycle) | Phone/tablet charging: 10–25W | Radio/Bluetooth speaker: 10–30W | Fan (ventilation): 20–75W | Space heater: 1,000–1,500W (power-intensive, see note below)
Multiply each item’s wattage by its daily run hours to get watt-hours (Wh) per day. Example: Two 20W LED shop lights for 4 hours/day = 160 Wh. A battery charger at 150W for 2 hours = 300 Wh. A radio at 20W for 4 hours = 80 Wh. Total: 540 Wh/day.
Important note on high-draw loads: Power tools (circular saws, table saws, air compressors) draw 1,000–2,000W when running. These require larger inverters and substantial battery capacity to handle surge loads. If you plan to run heavy power tools from solar, your system cost increases significantly. Many shed solar users run power tools from a small generator for occasional heavy use and use solar for lighting and tool charging.

Step 2: Size the Solar System
Once you know your daily Wh requirement, size the system to meet it with margin. The key formula:
Panel capacity (W) = Daily Wh needed ÷ Peak sun hours × 1.25 (for system losses)
Peak sun hours vary by location: 3.5–4.5 hours for the Northeast and Pacific Northwest, 4.5–6 hours for the Midwest and Southeast, 5.5–7 hours for the Southwest. Use the conservative (lower) end of your location’s range for sizing.
Example: 540 Wh/day ÷ 4 peak sun hours × 1.25 = 169W of panel. A single 200W panel covers this with margin.
For a more capable workshop shed running lights, battery chargers, and occasionally a small compressor or drill: 1,000–1,500 Wh/day is a typical total. That requires 400–600W of panels in a 4-hour sun climate, or 2–3 standard 200W panels.
Step 3: Size the Battery Bank
Battery capacity determines how many days of autonomy you have (the ability to run without sun). For a shed used occasionally and not dependent on solar power for critical operations, 1–1.5 days of autonomy is sufficient. For a shed-based workspace used daily, 2 days of autonomy provides resilience through overcast weather.
Battery capacity needed = Daily Wh × Autonomy days ÷ Depth of discharge (DoD)
For LiFePO4 batteries, DoD = 0.80 (80%) is appropriate. For AGM/lead-acid, DoD = 0.50 (50%) to prevent premature aging.
Example: 540 Wh/day × 2 days ÷ 0.80 = 1,350 Wh (1.35 kWh) of LiFePO4 battery capacity. A single 100Ah 12V LiFePO4 battery (1,280 Wh usable at 80% DoD) covers this nearly exactly.
Common battery options for shed solar:
100Ah 12V LiFePO4 ($200–$350): ~1,280 Wh usable. Good for basic lighting and charging.
200Ah 12V LiFePO4 ($350–$600): ~2,560 Wh usable. Covers most hobby and light workshop loads with 2 days of autonomy.
100Ah 12V AGM ($80–$130): ~600 Wh usable at 50% DoD. Much cheaper upfront but shorter lifespan (3–5 years vs 10+ for LiFePO4) and less usable capacity.
Step 4: Choose an Inverter (If Running AC Loads)
If your shed runs only 12V DC loads (LED strip lights, USB charging, 12V fans), you don’t need an inverter — run the loads directly from the battery through the charge controller’s load output. This is the simplest and most efficient approach.
If you need standard 120V AC outlets (to plug in power tools, a standard lamp, a mini-fridge, etc.), you need an inverter.
Inverter sizing: The inverter’s continuous watt rating must exceed your maximum simultaneous load. Add a 25–50% surge buffer for motor-starting loads (drills, fans, compressors). Examples: Light workshop with 500W peak load → 1,000W inverter. General purpose shed with occasional power tools at 1,500W → 2,000W inverter.
Types: Pure sine wave inverters ($150–$400 for 1,000–2,000W) are required for sensitive electronics, tool battery chargers, and motor loads. Modified sine wave inverters ($50–$150) are cheaper but can cause problems with some motors and chargers. For a workshop shed, pure sine wave is the correct choice.
A combined inverter/charger (inverter with a built-in battery charger for when you have grid access) is useful if you want the option to supplement solar with grid power when the battery is low or during extended cloudy periods.
Step 5: Charge Controller Selection
The charge controller sits between the solar panels and the battery, preventing overcharge and managing the charge profile. For shed solar, MPPT (Maximum Power Point Tracking) controllers are preferred for systems above 200W:
MPPT controllers extract 15–30% more power from the panels than PWM controllers in real-world conditions and handle the voltage mismatch between a 12V battery and a 20–40V panel voltage efficiently. For a 400W panel system charging a 12V battery bank, a 40A MPPT controller ($80–$150 from Victron, Renogy, or EPever) is appropriate.
PWM controllers are acceptable for small systems (under 200W, 12V battery) where cost is a priority — they’re simple, reliable, and cheaper than MPPT ($20–$50 for 20–30A). Their limitation is voltage conversion: a 20V panel output cannot be efficiently stepped down to 14V battery voltage with PWM, wasting 20–30% of panel capacity.
Size the charge controller by panel current: Panel watts ÷ Battery voltage × 1.25 (safety factor). A 400W panel array ÷ 12V × 1.25 = 41.7A. Choose a 40–50A MPPT controller.
Step 6: Panel Mounting on the Shed
Shed roof mounting is simpler than house roof mounting: sheds generally don’t have the structural complexity, permitting requirements, or interconnection concerns of grid-tied residential systems. Common approaches:
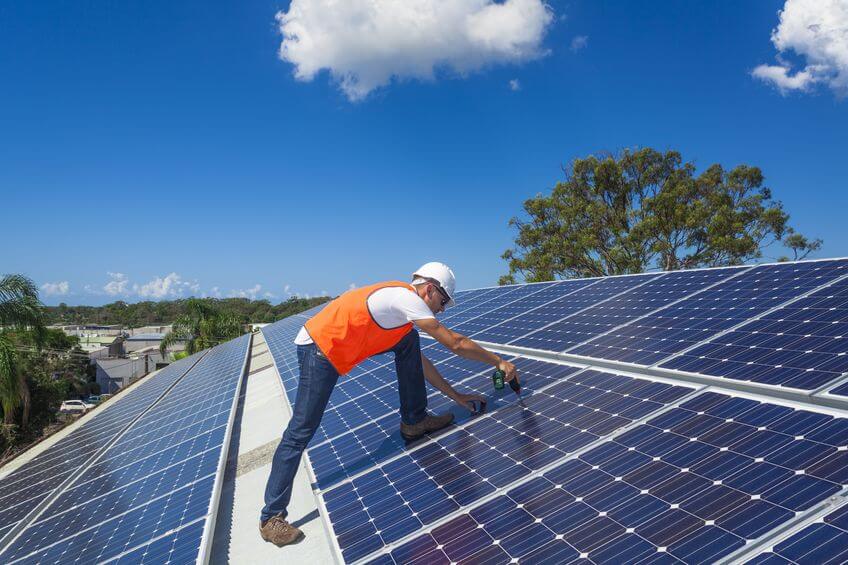
Roof mount with L-feet and rail: Standard solar racking (L-feet bolted through the roof, rails running horizontally, panel clamps) creates a clean installation. Seal every roof penetration with waterproof flashing or butyl tape. This is appropriate for permanent, full-size shed installations.
Ground mount near the shed: For sheds in a sunny yard, a simple ground-mounted frame (aluminum or steel posts with tilt angle) eliminates roof penetrations and allows optimal panel orientation regardless of shed roof direction. Wire runs in weatherproof conduit from the ground mount to the shed interior.
Portable/tiltable bracket on flat roof or ground: For renters or situations where permanence isn’t desired, adjustable tilt brackets that hold 1–2 panels are available for $50–$100 and can be repositioned seasonally for optimal angle.
Panel orientation: South-facing, tilted at an angle equal to your latitude (35° in the southern US, 45° in the northern US) provides maximum annual production. East-west split installations are an option where south exposure is blocked.
Sample System Configurations by Use Case
Basic lighting shed (garden tools, no power tools): 1 × 200W panel | 100Ah 12V LiFePO4 battery | 20A MPPT controller | No inverter needed | 12V LED strip lights | Estimated cost: $400–$600
Hobby workshop (lights, small tools, battery charging): 2 × 200W panels (400W total) | 200Ah 12V LiFePO4 battery | 40A MPPT controller | 1,000W pure sine wave inverter | Estimated cost: $900–$1,400
Active workshop (power tools, compressor, lighting): 4 × 200W panels (800W total) | 200Ah 24V LiFePO4 battery (or two 200Ah 12V in series) | 40A MPPT controller (24V) | 3,000W pure sine wave inverter | Estimated cost: $2,000–$3,500
Permitting Considerations
Standalone off-grid shed solar systems (not connected to the grid) typically require minimal or no permits in most US jurisdictions, but requirements vary by municipality. A ground-mount installation may require a building permit for the racking structure. Check with your local building department before installing. Off-grid shed systems don’t require utility interconnection agreement or net metering enrollment since they don’t connect to the grid.
If you’re considering connecting the shed solar system to the grid (to sell excess power or import from the grid when the battery is low), that changes the regulatory picture significantly and requires full utility interconnection, which is handled by a licensed electrician and requires permits.
Frequently Asked Questions
Can solar power a shed with a mini-fridge?
Yes — a mini-fridge is one of the most compatible shed loads for solar because it cycles on and off continuously, averaging around 100–150W draw at a ~30% duty cycle, meaning actual daily consumption is around 700–1,100 Wh. A 400W panel with a 200Ah LiFePO4 battery will reliably power a mini-fridge plus lighting in most US climates. In winter with shorter days and reduced charging, you may need to reduce other loads to prioritize the fridge, or add an additional panel.
How much does it cost to solar power a shed?
A basic lighting and phone-charging shed system costs $400–$700 in components (1–2 panels, small battery, charge controller). A functional workshop setup with inverter for power tools and battery charging costs $900–$1,500. A full-capability system capable of running all workshop equipment costs $2,000–$3,500. DIY installation is normal for off-grid shed solar — there’s no grid connection, so no licensed electrician is required for the solar components themselves (though check local code requirements for any permanent wiring).
What size solar panel do I need for a shed?
For a basic lighting shed: one 100W–200W panel. For a light hobby shed: 200W–400W. For an active workshop: 400W–800W. The sizing depends on your daily load (watt-hours) and your location’s peak sun hours. Use the formula: Panel W = Daily Wh ÷ Peak sun hours × 1.25. Most residential workshops fall in the 400–600W range once you account for lighting, battery charging, and occasional power tool use.
Do I need a permit to install solar on my shed?
For off-grid shed solar (not connected to the utility grid), most US jurisdictions do not require an electrical permit for the solar system itself, though some require permits for panel mounting structures. Requirements vary significantly by municipality — always check with your local building department before installation. If the shed is a permanent structure and you’re adding permanent wiring (conduit, junction boxes), local electrical code may apply regardless of whether the source is solar or grid.
Can I run a space heater in my shed from solar?
Electric space heaters (1,000–1,500W) are the most power-intensive load and impractical for solar in most shed setups. A 1,500W heater running 4 hours per day requires 6,000 Wh of daily solar production — roughly 1,500W of panels in a 5-hour sun climate. That’s 4–6 standard panels and a large battery bank just for heating. Solar-heated sheds are better served by passive solar design (south-facing windows, insulation) and propane or wood heating for the actual heat load.
Summing Up
Powering a shed with solar is a straightforward project that pays for itself faster than a grid extension in most cases. Start by calculating your daily watt-hour load, size panels and batteries using the formulas above, and select a charge controller and inverter (if needed) to match. A 200–400W panel system with a 100–200Ah LiFePO4 battery covers the needs of most garden sheds, hobby spaces, and light workshops. For an experienced DIYer, the installation takes a weekend and eliminates the need to trench power to the shed at all. To get a quote for a larger solar system that includes home installation, call (855) 427-0058 or get a free quote here.
Updated