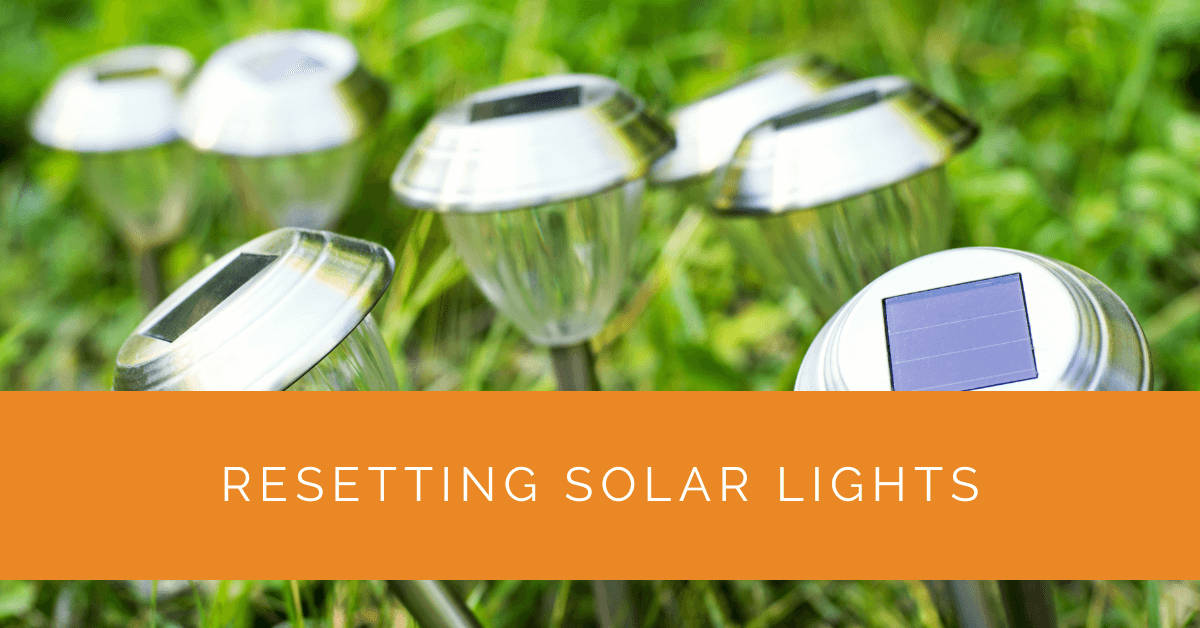
Solar lights are designed to work automatically, but sometimes they stop functioning the way they should. Lights that won’t turn on, stay on all the time, or behave erratically often just need a reset. The good news: resetting solar lights is almost always simple, and you don’t need any tools to do it.
This guide covers every reset method for every common solar light type, along with what causes lights to malfunction in the first place and how to prevent it happening again.
Contents
- 1 Key Takeaways
- 2 Why Solar Lights Stop Working Correctly
- 3 The Standard Reset Method (Works for Most Solar Lights)
- 4 Battery Removal Reset
- 5 Mode Button Reset (For Multi-Mode Lights)
- 6 Smart Solar Light Factory Reset
- 7 When a Reset Isn’t Enough: Other Fixes to Try
- 8 Troubleshooting by Symptom
- 9 Case Study: Resetting a Garden Light Array After Winter
- 10 Expert Insights From Our Solar Panel Installers
- 11 Frequently Asked Questions
- 12 Summing Up
Key Takeaways
- Most solar lights can be reset using the on/off switch or by removing and reinserting the battery.
- Common causes of malfunction include low battery charge, faulty light sensors, and firmware glitches in smart lights.
- Placing solar lights in shade for 48 hours to discharge the battery fully is a proven reset technique.
- Cleaning the solar panel and the light sensor resolves many apparent malfunctions without any reset needed.
- Factory resets for smart solar lights usually involve holding the power button for 5 to 10 seconds.
Why Solar Lights Stop Working Correctly
Before resetting anything, it helps to understand what’s actually going wrong. Solar lights fail or misbehave for a handful of predictable reasons.
Battery issues are the most common culprit. Rechargeable batteries degrade over time. An old battery may hold only a fraction of its original charge, causing lights to turn off earlier than expected or flicker. Batteries can also develop memory effect if repeatedly partially discharged before being fully recharged, which distorts how the battery management system reads charge levels.
Light sensor confusion is the second most frequent cause. Solar lights use a photoresistor or photodiode to detect darkness and switch on. If the sensor is dirty, damaged, or aimed toward an artificial light source, it may not trigger correctly. A street lamp or porch light shining on your solar garden lights can fool the sensor into thinking it’s still daytime.
Firmware glitches affect smart solar lights and those with multiple lighting modes. After a power interruption, mode settings can get stuck or corrupted. A full reset clears whatever the controller was storing and returns the light to factory defaults.
The Standard Reset Method (Works for Most Solar Lights)
This method works for the vast majority of basic solar garden lights, pathway lights, and security lights.
Start by turning the light off using the on/off switch. If there’s no switch, skip to the battery removal method below. Leave the light off and bring it indoors or place it in a dark area away from sunlight. Leave it for 48 to 72 hours. This allows the battery to discharge almost completely.
After the discharge period, bring the light back outside and place it in direct sunlight for a full day, ideally 8 or more hours of direct sun. Don’t turn the light on during this charging period. Once fully charged, turn the switch back to the on position and test at dusk.
This deep discharge and recharge cycle recalibrates the battery management system and often resolves erratic behavior that no amount of switch-flipping will fix.
Battery Removal Reset
If your light has an accessible battery compartment, this is the quickest reset method. Open the battery compartment, usually located on the underside of the light or behind a small panel. Remove the rechargeable battery. Wait 60 seconds, then reinsert it. This clears any stored electrical charge and resets the controller chip.
While you have the battery out, check its condition. A swollen, corroded, or leaking battery needs replacing, not resetting. Replacement batteries are inexpensive (usually $3 to $8 for standard AA or AAA NiMH cells) and available at most hardware stores. Make sure you match the voltage and capacity of the original battery.
Mode Button Reset (For Multi-Mode Lights)
Many solar security lights and motion-sensor lights have multiple modes: steady on, motion-activated, dim-with-motion-boost, and so on. If your light seems stuck in the wrong mode, a mode reset is what you need.
With the light switched on and dark outside (or with the sensor covered), press and hold the mode button for 5 to 10 seconds. The light will usually flash or cycle through all modes to indicate a reset. Release the button and wait for the light to settle into its default mode.
If there’s no dedicated mode button, rapidly pressing the power button 5 times often cycles the firmware to the factory default setting. Refer to your light’s manual for the exact sequence, as this varies by manufacturer.
Smart Solar Light Factory Reset
Smart solar lights that connect to an app require a more involved reset process. The exact steps depend on the brand. For most brands, the process involves: switching the light off and on three times rapidly, or holding the reset button (sometimes a pinhole button requiring a paperclip) for 10 seconds until the light flashes twice.
After a factory reset, you’ll need to re-pair the light with your app and reconfigure any scheduling, sensitivity, or zone settings. This takes a few minutes but is often the only way to resolve connectivity issues or app sync failures.
When a Reset Isn’t Enough: Other Fixes to Try
Clean the solar panel. A dirty panel can reduce charging efficiency by 15 to 25%. Use a damp cloth to wipe dust, pollen, and bird droppings from the panel surface. Avoid abrasive materials that could scratch the glass.
Check the light sensor position. If a nearby artificial light source is shining on your solar light’s sensor, the light will never trigger. Reposition the light or shield the sensor from the interfering source.
Replace the battery. If the light has been in use for 2 or more years, the battery may simply be worn out. NiMH batteries in solar lights typically last 1.5 to 3 years. Replacing the battery is the single most effective fix for lights that turn off too early or won’t reach full brightness.
Check connections. Corrosion on the battery terminals prevents proper electrical contact. Use a cotton swab dipped in white vinegar or isopropyl alcohol to clean corroded terminals, then dry thoroughly before reinserting the battery.
Troubleshooting by Symptom
Light won’t turn on at all: Check switch position, verify battery is installed correctly, check for corrosion, try battery replacement, check panel for dirt or shade.
Light stays on during the day: Light sensor is dirty or being fooled by shade — the sensor thinks it’s dark. Clean the sensor. If the panel is in shade but the sensor isn’t, the battery is charging while the light is on, draining it faster than it charges.
Light turns on briefly then off: Battery is nearly dead and can’t sustain the load. Replace the battery after first confirming the panel is getting direct sun.
Motion sensor doesn’t trigger: Check sensitivity setting and detection angle. Make sure nothing is blocking the PIR sensor. Cold weather reduces PIR sensitivity range.
Light flickers: Loose battery connection, corrosion, or failing battery. Check terminals and replace battery if needed.
Case Study: Resetting a Garden Light Array After Winter
Background
A homeowner in Wisconsin had a set of 12 solar pathway lights that stopped working reliably after the first winter. By spring, only four lights were turning on at night, and those turned off after just two hours.
What They Did
Rather than replacing the entire set, they opened each light, removed the AA NiMH batteries, and tested voltage with a multimeter. Eight of the batteries read below 0.9V, well below the 1.2V nominal for NiMH cells. They replaced all 12 batteries with fresh 600mAh NiMH AAs, cleaned the solar panels, and performed the full discharge-recharge cycle for three days of clear spring weather.
Results
All 12 lights came back to full operation. Total cost: $18 for replacement batteries. The homeowner reported the lights ran consistently for 6 to 8 hours each night through summer, exactly as they had when new. Battery replacement, not a replacement product, was the right fix.
Expert Insights From Our Solar Panel Installers
One of our senior solar panel installers with over 10 years of experience shares this advice: “Nine times out of ten, a solar light that’s stopped working just has a dead battery. People assume the light is broken and throw it away when a $5 battery pack would fix it. The second thing I always check is the panel angle. If someone’s moved a garden bed, added a fence, or a tree has grown up, the panel might be spending most of the day in shade now. Solar lights need direct sun, not just bright sky. Four to six hours of direct sun is the minimum for reliable overnight performance.”
Frequently Asked Questions
Turn the light off, place it in a dark area for 48 to 72 hours to fully discharge the battery, then put it in direct sunlight for a full day to recharge. This deep cycle reset fixes most erratic behavior. For quick results, remove and reinsert the battery to clear the controller chip.
The most common causes are a dead or depleted battery, a dirty solar panel that isn’t charging properly, or a light sensor that’s being confused by artificial light. Try cleaning the panel, replacing the battery, and ensuring the sensor isn’t facing a porch or street lamp.
A solar light that received 6 to 8 hours of direct sun should run 8 to 12 hours at low-to-medium brightness. At maximum brightness, expect 4 to 6 hours. If your lights are shutting off after 1 to 2 hours, the battery is likely depleted and needs replacing.
No. Solar lights require rechargeable NiMH or NiCd batteries. Standard alkaline batteries cannot handle the repeated charge-discharge cycles and may leak or damage the light. Always use rechargeable batteries rated at the same voltage and a similar or higher capacity as the original.
Every 1.5 to 3 years, depending on quality and climate. Harsh winters accelerate degradation. If your lights are failing before that window, check that the panel is receiving adequate direct sun, as shallow daily charge cycles shorten battery life.
Summing Up
Resetting solar lights is almost always straightforward. The full discharge-recharge cycle fixes most behavioral issues, while battery replacement resolves the majority of performance problems in lights that are more than a year or two old. Before assuming a light is broken, run through the troubleshooting steps above. In most cases, a $5 battery or a good panel cleaning is all it takes to get your solar lights working like new again.
For more solar maintenance tips, see our solar panel maintenance checklist and our guide on why solar lights stop working.
Updated