Wiring solar panels correctly determines whether your system produces at its rated capacity, operates safely, and complies with electrical code. The two fundamental configurations — series and parallel — produce different voltage and current combinations that affect which inverter you can use and how shading impacts your output. Getting this right before installation saves significant rework later.
This guide covers both wiring configurations, the tools and materials required, NEC code requirements, and the practical decisions most installers face on a residential rooftop system.
Contents
- 1 Series vs. Parallel Wiring: The Core Difference
- 2 How String Inverters Handle Series Wiring
- 3 Wiring Components You’ll Need
- 4 Step-by-Step: Wiring Panels in Series
- 5 Step-by-Step: Wiring Panels in Parallel
- 6 NEC 690 Requirements to Know
- 7 Common Wiring Mistakes to Avoid
- 8 Frequently Asked Questions
- 9 Summing Up
Series vs. Parallel Wiring: The Core Difference
Every multi-panel solar array is wired in series, parallel, or a combination of both. Understanding what each does to voltage and current is essential before picking up a wire.
Series wiring connects panels positive-to-negative in a chain. Voltage adds up across each panel; current stays the same as a single panel. If you have four 400W panels each rated at 40V and 10A, a series string produces 160V at 10A.
Parallel wiring connects all positive terminals together and all negative terminals together. Current adds up; voltage stays the same as a single panel. Four 400W panels at 40V/10A wired in parallel produce 40V at 40A.
Series-parallel combines both: groups of panels are wired in series (increasing voltage), then those series strings are wired in parallel (increasing current). This is the standard configuration for larger residential systems — it lets you hit the optimal input voltage range for your inverter while handling higher current loads.
| Configuration | Effect on Voltage | Effect on Current | Best For |
|---|---|---|---|
| Series | Multiplies (adds) | Same as one panel | String inverters, high-voltage systems |
| Parallel | Same as one panel | Multiplies (adds) | Low-voltage battery systems, shaded arrays |
| Series-parallel | Moderate increase | Moderate increase | Larger residential arrays, multiple strings |
How String Inverters Handle Series Wiring
String inverters — the most common inverter type in residential solar — accept DC voltage from a series string and convert it to AC power for your home. They have a Maximum Power Point Tracking (MPPT) input range, typically 200–600V DC for residential units. Your series string voltage must fall within this range at all temperatures.
The critical shading weakness: a string inverter processes the entire string at the weakest panel’s performance level. If one panel in a six-panel series string is 50% shaded, the entire string’s output drops significantly — not just one-sixth of it. This is why roof layout and shading analysis matter before deciding on series wiring with a string inverter.
For roofs with shading (trees, chimneys, multiple roof planes), microinverters or DC power optimizers are the superior solution. Each panel operates independently, so one shaded panel does not drag down the rest of the array.
Wiring Components You’ll Need
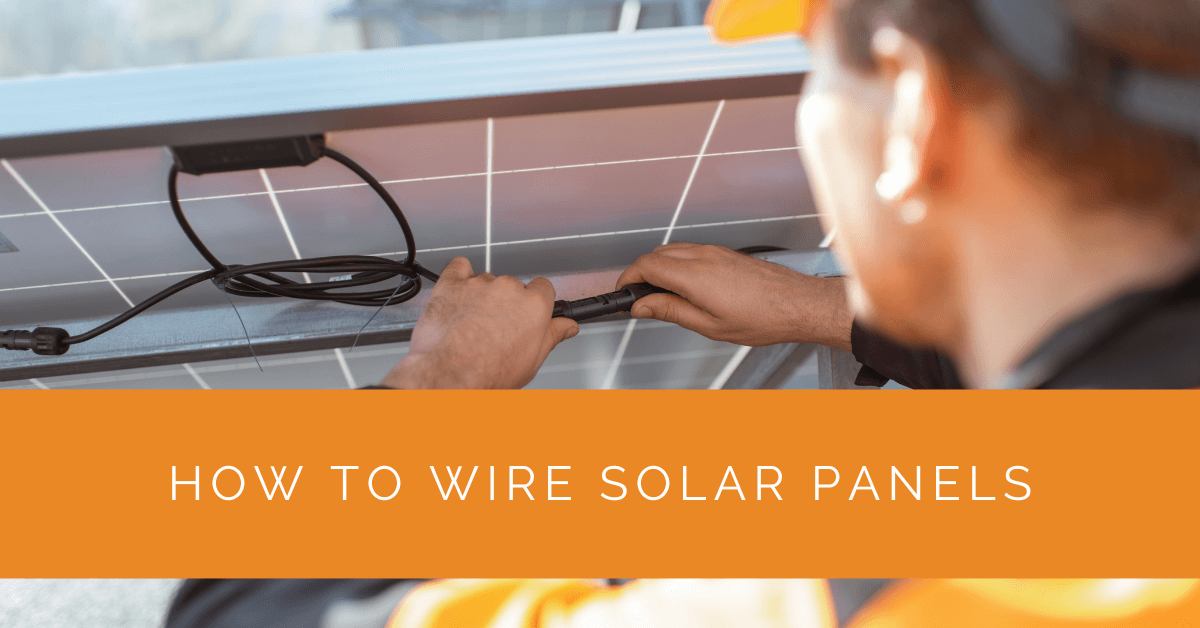
MC4 connectors: The industry-standard weatherproof connector for solar panel wiring. Most panels come with short lead wires already terminated in MC4 connectors. Extension cables with MC4 connectors connect panels in series or parallel using branch connectors (Y-connectors). Always use genuine MC4 or certified-compatible connectors — counterfeit MC4s are a fire risk.
Wire gauge: Residential solar typically uses 10 AWG or 12 AWG copper wire for panel-to-combiner runs. The correct gauge depends on the current in that circuit. NEC 690 requires conductors rated for at least 125% of the maximum circuit current. Undersized wire creates resistive losses and a fire hazard.
Combiner box: For series-parallel systems with multiple strings, a combiner box brings the strings together before the wire run to the inverter. It contains fuses or breakers for each string and the combined output wire going to the inverter. Many modern string inverters have built-in MPPT inputs that eliminate the need for a separate combiner box.
Conduit: NEC 690 requires all wiring outside the array itself (the run from the roof to the inverter and from the inverter to the main panel) to be run in conduit — typically EMT (electrical metallic tubing) or PVC conduit. Exposed wire runs on a roof within the array footprint may be acceptable under certain conditions, but runs along fascia, down walls, or through attic space require conduit.
Step-by-Step: Wiring Panels in Series
Step 1 — Plan your string. Calculate your string voltage: multiply the panel’s Voc (open-circuit voltage) by the number of panels in the string. The result must not exceed your inverter’s maximum input voltage at the coldest expected temperature (voltage increases as temperature drops — use the temperature coefficient in the panel datasheet). It must also fall within the inverter’s MPPT operating range under normal conditions.
Step 2 — Connect the first panel’s positive to the second panel’s negative. Using MC4 extension cables, connect the positive lead of Panel 1 to the negative lead of Panel 2. Continue this chain across all panels in the string. At the end of the string, you have one positive lead and one negative lead — these connect to the inverter’s DC input (or combiner box).
Step 3 — Run homerun cables. Route the positive and negative homerun cables from the end of the string, through conduit if required, to the inverter. Maintain polarity — positive to positive, negative to negative.
Step 4 — Do not connect to the inverter until all DC and AC connections are complete. Solar panels generate voltage in daylight. Cover the panels with an opaque tarp before making connections, or work only at dusk/dawn. Never disconnect MC4 connectors under load — this can cause arcing.
Step-by-Step: Wiring Panels in Parallel
Step 1 — Calculate parallel current. Add the Isc (short-circuit current) of all panels together. This is the current your homerun cables and fusing must handle. Parallel configurations produce lower voltage but higher current — ensure your inverter accepts the lower voltage and that your wire and fuse ratings accommodate the higher current.
Step 2 — Connect all positive leads together, all negatives together. Use MC4 branch connectors (T-connectors or Y-connectors) rated for the combined current. Combine all positive leads into one homerun positive; combine all negative leads into one homerun negative.
Step 3 — Fuse each parallel branch. NEC 690.9 requires each source circuit (each panel or each series string going into a parallel combiner) to be fused at the combiner. Fuse rating is based on panel backfeed current — the fuse protects the panel’s wiring from overcurrent if current from other parallel strings flows backward through it.
NEC 690 Requirements to Know
National Electrical Code Article 690 governs solar photovoltaic systems. Key requirements for residential installations:
Maximum voltage: NEC 690.7 limits DC voltage to 600V for one- and two-family dwellings. Some modern systems exceed this (up to 1,000V) but require special equipment rated for higher voltage.
Rapid Shutdown: NEC 690.12 requires all new residential rooftop systems to have rapid shutdown capability — the ability to de-energize the array conductors within 30 seconds of a rapid shutdown initiation (for firefighter safety). This is built into modern inverters and module-level power electronics.
Ground fault protection: NEC 690.5 requires ground fault protection to detect and interrupt faults between the PV source conductors and grounding conductors.
Arc fault protection: NEC 690.11 requires arc fault circuit interrupter (AFCI) protection for PV systems operating at greater than 80V, to protect against arcing faults that could cause fires.
Permits and inspections: All grid-tied solar installations require a permit and electrical inspection in virtually all US jurisdictions. DIY wiring that bypasses permits is illegal, voids warranties, creates insurance liability, and is dangerous. Even experienced DIYers should pull a permit.
Common Wiring Mistakes to Avoid
Reversed polarity is the most common error — connecting positive to negative at the inverter. Modern inverters typically have reverse polarity protection, but it can still cause damage. Always double-check with a multimeter before connecting to the inverter.
Mixing panel models in a series string causes performance loss. All panels in a series string should be identical (same brand, model, and wattage). Mismatched panels force the string to operate at the worst-performing panel’s current.
Improper MC4 connector crimping is a frequent cause of connection failures and fires. Use an MC4 crimping tool rated for the connector brand — not generic pliers. Pull-test each crimp before routing cables.
Undersized wire on long runs causes voltage drop. For homerun cable runs over 30 feet, calculate voltage drop and upsize wire if necessary to keep losses under 2%.
Frequently Asked Questions
Should I wire solar panels in series or parallel?
For grid-tied systems with a string inverter, series wiring is standard — it matches the inverter’s high-voltage DC input range. For battery-based off-grid systems with lower voltage charge controllers (12V, 24V, 48V), parallel or series-parallel may be more appropriate. For systems with microinverters, each panel has its own inverter, so panel-to-panel wiring is not required.
What wire do you use for solar panels?
USE-2 (Underground Service Entrance, 90°C rated) or PV Wire (specifically designed for photovoltaic arrays) is required for exposed outdoor DC wiring between panels. THWN-2 is commonly used inside conduit runs. Minimum 10 AWG for most residential source circuits, with actual gauge determined by current and run length.
Can I wire solar panels myself?
The physical wiring of panels on the roof (connecting MC4 connectors) can technically be done by a homeowner in many jurisdictions. However, the electrical connections to the inverter, conduit runs, and main panel interconnection must be done by a licensed electrician in most states, and all work requires a permit and inspection. DIY errors in solar wiring are a significant fire and electrocution risk.
How do I know if my panels are wired correctly?
Before connecting to the inverter, use a multimeter to measure open-circuit voltage (Voc) at the end of the string. Compare to the calculated Voc (number of panels x panel Voc rating). If the measured voltage is lower than expected, you likely have a connection problem or a reversed panel in the string.
Summing Up
Solar panel wiring comes down to two principles: series adds voltage, parallel adds current. For most residential grid-tied systems with a string inverter, series wiring is the default configuration — it hits the inverter’s optimal voltage range with minimal components. For shaded roofs, microinverters or power optimizers eliminate the string-level weakest-link problem at the cost of higher equipment expense.
Whatever configuration you choose, follow NEC 690 requirements, use properly rated wire and connectors, pull a permit, and have the installation inspected. The upfront cost of doing it right is far less than the cost of fixing a failed inspection or, worse, a wiring-related fire.
For professional solar installation with properly designed and permitted wiring, contact Solar Panels Network USA at (855) 427-0058. Our network of NABCEP-certified installers designs systems to code and handles all permitting and interconnection paperwork.
Updated