Installing a solar panel system involves careful planning, precise execution, and regulatory compliance. From the initial site assessment through final system activation, the process typically spans 4–8 weeks and involves multiple specialized trades (roofers, electricians, engineers). Understanding each phase helps you prepare for the work, manage expectations, and ensure a quality installation that will serve you for 25+ years.
This guide walks through the complete solar installation process, from contract to your first kilowatt-hour of solar production.
Contents
- 1 Phase 1: Consultation and System Design (Weeks 1–2)
- 2 Phase 2: Permitting and Approvals (Weeks 2–8)
- 3 Phase 3: Installation Preparation (Week Before Installation)
- 4 Phase 4: Installation Days 1–2: Mechanical and Electrical Work
- 5 Phase 5: Inspections (Days 3–7)
- 6 Phase 6: System Activation and Handoff (Day 7–8)
- 7 Complete Timeline: Contract to Operation
- 8 Common Installation Challenges and Solutions
- 9 After Installation: First-Year Operation and Monitoring
- 10 Frequently Asked Questions
- 11 Summing Up
Phase 1: Consultation and System Design (Weeks 1–2)
Initial consultation: You meet with a solar company representative (often at your home). They discuss your energy goals, budget, roof condition, and utility bill to estimate your energy needs and system size. This conversation is free and typically takes 30–60 minutes.
Site assessment: A solar engineer visits your home to:
Evaluate roof orientation, pitch, and shading from trees or nearby buildings
Assess roof material and age (replacement may be needed for very old roofs)
Identify the electrical service panel location and capacity
Discuss aesthetic preferences and optimal panel placement
Take measurements and photos for design
System design: Using specialized software (Aurora Solar, SketchUp with PVcase plugin, or Helioscope), the solar company creates a detailed 3D model of your home and the proposed system. The design specifies:
Panel placement (location, orientation, tilt angle)
Electrical specifications (panel model, inverter type, wire sizing)
Production estimates (based on your location, panel efficiency, and shading)
Bill reduction projections (annual savings estimate)
Equipment warranty and system cost breakdown
Quote and contract: The solar company provides a detailed quote including equipment costs, labor, permitting fees, tax incentives (ITC savings), and financing options. Once you sign the contract, the design moves to permitting.
Phase 2: Permitting and Approvals (Weeks 2–8)
This phase is critical but often the longest due to municipal and utility backlogs.
Permit application preparation: The solar company compiles all required documents:
Detailed electrical single-line diagrams and equipment specifications
Structural calculations for roof load capacity
Site plans and 3D renderings of panel placement
Proof of contractor licensing, insurance, and bonding
Building department submission: Applications are filed with your local building/code enforcement office. Review timeline: 1–8 weeks depending on jurisdiction backlog. SolarAPP+ jurisdictions (100+ cities as of 2026) often approve within days; slower jurisdictions may take months.
Utility interconnection: Simultaneously, the utility company reviews the system for grid-tie interconnection. They verify anti-islanding protection, net metering eligibility, and bidirectional meter requirements. Timeline: 2–12 weeks depending on utility efficiency.
Approval outcomes:
Pass: Permits are issued. You receive formal approval to proceed with installation.
Conditional pass: Inspectors request clarifications or minor modifications. You resubmit; re-review takes 2–4 weeks.
Rejection: Significant deficiencies require major redesign. Rare for experienced installers, but possible if roof conditions are poor or unusual.
Equipment procurement: During permitting, the solar company orders equipment (panels, inverter, mounting hardware, wiring). Lead times are typically 2–4 weeks as of 2026, though supply chains have normalized since 2021–2023 shortages.
Phase 3: Installation Preparation (Week Before Installation)
Final site walkthrough: A representative visits a few days before installation to:
Confirm access (parking, roof access, electrical panel location)
Verify you understand the installation schedule and any disruptions (noise, interior access)
Discuss any last-minute questions or changes
Confirm weather conditions; installations are typically rescheduled for rain or extreme wind
Crew assignment: The company assigns a lead installer and crew based on system complexity and regional workload. Experienced crews typically complete 5–6 kW residential systems in 1–2 days.
Homeowner preparation: You should:
Clear roof access (trim tree branches if shading can be eliminated safely)
Ensure electrical panel accessibility (remove items from around the panel)
Plan for noise and activity (consider arranging childcare or being elsewhere during drilling)
Document current meter readings for your records
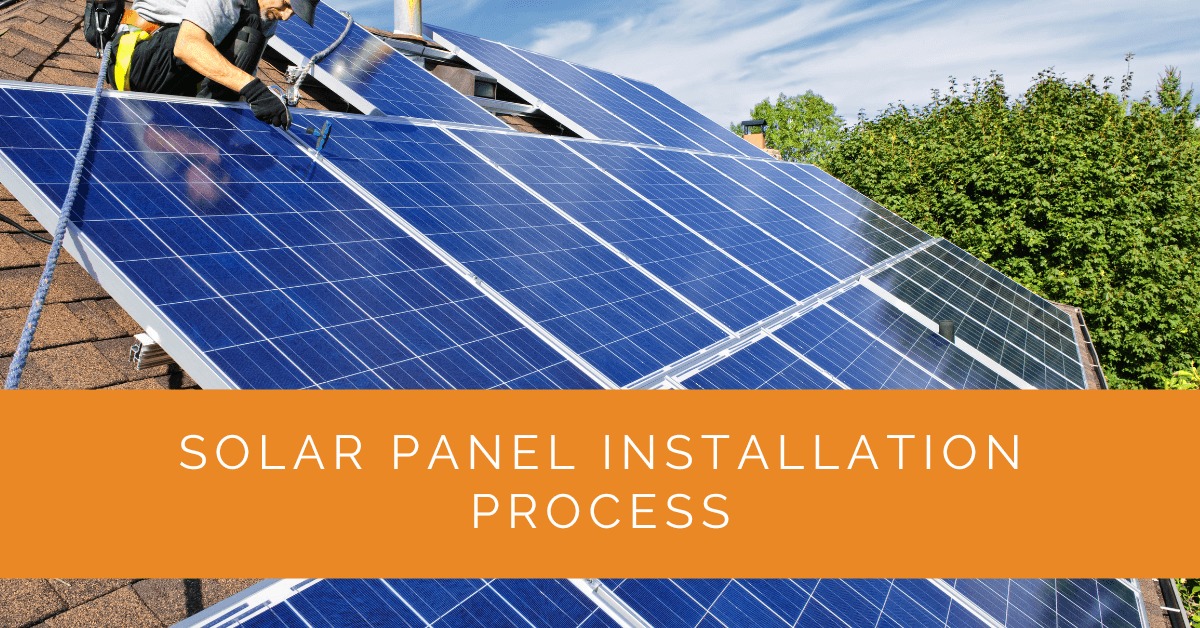
Phase 4: Installation Days 1–2: Mechanical and Electrical Work
Day 1 morning: Roof preparation and mounting installation
Crew arrives with equipment (panels, rails, hardware, tools, safety gear). They inspect the roof closely, identifying the optimal mounting locations and verifying no hidden damage. Mounting hardware (lag bolts, flashing, rails) is installed using:
Structural bolts anchored 4–6 inches into the roof rafter
Flashing (metal or rubber collars) around each bolt to prevent water intrusion
Roofing cement and sealant to waterproof penetrations
This process is noisy (impact hammers, drilling) and typically takes 2–4 hours.
Day 1 afternoon: Panel installation
Once rails are secure, panels are mounted using mechanical clamps. Each panel is positioned and fastened, working methodically from bottom to top. Grounding wires are attached to each panel frame, creating a low-resistance path. DC conduit (black PVC tubing) is routed along the rails to house electrical wiring.
By end of Day 1, all panels are mechanically mounted and roof work is complete.
Day 2 morning: DC electrical connections
Electricians run DC cables from panels down the side of the house to a combiner box (consolidating multiple panel strings). Cables are properly sized (typically 10 AWG or 8 AWG copper) to handle panel output currents.
Day 2 afternoon: Inverter installation and AC integration
The inverter is mounted on an exterior wall or inside (garage/basement). DC cables from the combiner box connect to the inverter. A DC disconnect switch and breaker are installed between combiner and inverter. Then AC cables (typically 6 AWG or larger) are run from the inverter to the home’s electrical service panel, where a new circuit breaker (60–100 amps) is installed and dedicated to solar.
All connections are torqued, grounded, and bonded per electrical code.
Day 2 end: Testing and safety verification
Before powering up, extensive testing occurs:
Insulation resistance testing: Confirming all DC and AC circuits are properly insulated
Grounding continuity: Verifying all frames, conduit, and equipment are bonded to ground
String voltage and current testing: Confirming each panel string produces correct voltage and current
Polarity verification: Ensuring DC connections are correct (reversed polarity damages inverters)
All defects are corrected before activation.
Phase 5: Inspections (Days 3–7)
Building department inspection: An inspector visits to verify:
Roof flashing is proper and waterproof
Mounting is secure and doesn’t overstress the structure
Electrical routing and breaker placement comply with code
Pass: Inspection approval granted. Fail: Defects must be corrected and inspection rescheduled (adds 1–2 weeks).
Electrical inspection: An electrician or electrical inspector verifies all electrical work (wire sizing, breaker ratings, grounding, conduit routing, equipment installation).
Utility interconnection inspection: The utility company inspects the AC disconnect, meter-ready equipment, and anti-islanding safety features.
Permission to operate (PTO): Once all inspections pass, you receive written permission to operate. Your installer activates the system.
Phase 6: System Activation and Handoff (Day 7–8)
Inverter and system startup: With PTO in hand, the DC disconnect is switched on. The inverter powers up and begins converting sunlight to AC electricity (assuming daytime). You should see real-time production on the monitoring app.
Utility meter swap: If your utility requires a bidirectional meter (to track both consumption and export), they swap your old meter for the new one. This typically happens during interconnection or shortly after PTO.
Monitoring system activation: The installer helps you set up the monitoring app (usually smartphone-based). You can now track:
Real-time solar production (kW and kWh)
Daily, monthly, and annual energy totals
System faults or alerts
Estimated bill savings
Final walkthrough and handoff: The installer reviews:
How to read the monitoring app and interpret data
Location of the DC and AC disconnect switches (for emergency shutdown)
Maintenance needs (panel cleaning schedule, inverter health monitoring)
Warranty documentation (panel, inverter, installation warranties)
Performance guarantees and support contact information
Financing details (if applicable)
Complete Timeline: Contract to Operation
Week 1: Consultation, site assessment, quote, contract signing
Weeks 2–8: Permitting and approvals (varies greatly by jurisdiction; fast permitting is 4–6 weeks, slow permitting can be 12–20 weeks)
Week 6–8: Equipment procurement and staging
Week 8: Installation (Days 1–2 of active work)
Week 8–9: Inspections and approvals
Week 9: System activation and first power generation
Total: 8–20 weeks depending primarily on permitting speed
Common Installation Challenges and Solutions
Roof damage discovered during installation: If rot, structural weakness, or deterioration is found, the roof may require repair before solar can be installed. This adds 1–4 weeks and $1,000–$5,000+ to the project. Good site assessments catch this early; some solar companies offer roof repair financing.
Electrical service panel too small: Homes with 60–100 amp service may require panel upgrades (100–200 amps) to accommodate solar. This is a separate electrical project ($1,500–$3,000) and adds 1–2 weeks. Modern homes (100+ amps) rarely need this.
Unexpected roof complexity: Multiple roof pitches, dormers, skylights, or unusual orientations can complicate design and installation. Good design work anticipates this; installations on complex roofs take 3–4 days instead of 1–2.
Utility delays: If your utility is backlogged, interconnection approval may take 12+ weeks. This is often the longest-pole item. Once you have building approval, you can usually request expedited utility review.
Bad weather: Rain, wind, or extreme temperatures may delay installation. Most crews reschedule in poor conditions rather than risk poor workmanship.
After Installation: First-Year Operation and Monitoring
Month 1: System familiarization — Get comfortable with your monitoring app, observe daily production patterns, and verify that production matches the installer’s estimates under sunny conditions.
Month 2–3: First utility bill after solar activation — Your July/August bill (if installed in summer) should be dramatically lower than previous years at this time. Compare to baseline bills from prior years.
First year: Monitor monthly production and consumption. Annual production should roughly match the installer’s estimate (within 10%). If actual production is significantly lower (>15% gap), contact your installer to investigate (soiling, shading, inverter faults).
Ongoing maintenance: Panel cleaning 1–2 times per year in dusty/coastal climates. Annual system performance review. Most systems need essentially zero maintenance.
Frequently Asked Questions
Active installation work: 1–3 days depending on system size. Full timeline from consultation to activation: 8–20 weeks depending primarily on permitting speed. Fast jurisdictions with SolarAPP+: 4–6 weeks total. Slow jurisdictions: 12–20 weeks. Permitting is almost always the longest-pole item.
Yes, but expect noise (drilling, hammering) during roof work on Day 1. Electricians need access to your electrical panel (typically in garage/basement). Most homeowners stay home but plan to be away during the loudest roof work, especially if sensitive to noise or you have small children.
Your installer will assess roof condition during the site visit. Minor wear is acceptable; solar can be installed on roofs with 10+ years remaining life. If major damage or rot is found, roof repair (or replacement) is recommended before solar. This adds time and cost but protects your long-term investment.
The month after activation, if that month aligns with high solar production (summer). In the Northeast or Pacific Northwest, summer months (June–August) show dramatic bill reductions. Winter bills remain higher due to lower solar production. Over the course of a year, bill reduction should match your installer’s annual savings estimate.
Verify on sunny days (no clouds). If production is consistently 15%+ lower than estimate, investigate: soiling (dust/pollen), undetected shading, inverter faults, or monitoring errors. Contact your installer; issues are usually fixable (cleaning, inverter reset, shade removal). If the system is undersized due to installer error, this should be addressed under warranty.
Summing Up
The solar installation process is methodical and well-choreographed: design and permitting (4–12 weeks), equipment procurement (2–4 weeks), installation (1–3 days), inspections, and activation. The full timeline from consultation to first power generation is typically 8–20 weeks, with permitting speed being the primary variable. Once installed, your system requires minimal maintenance and begins reducing your electric bill immediately. Understanding each phase helps you prepare for the work and manage expectations for a successful, long-term solar investment.
Ready to start your solar installation journey? Call (855) 427-0058 for a free site assessment and installation timeline.
Updated