
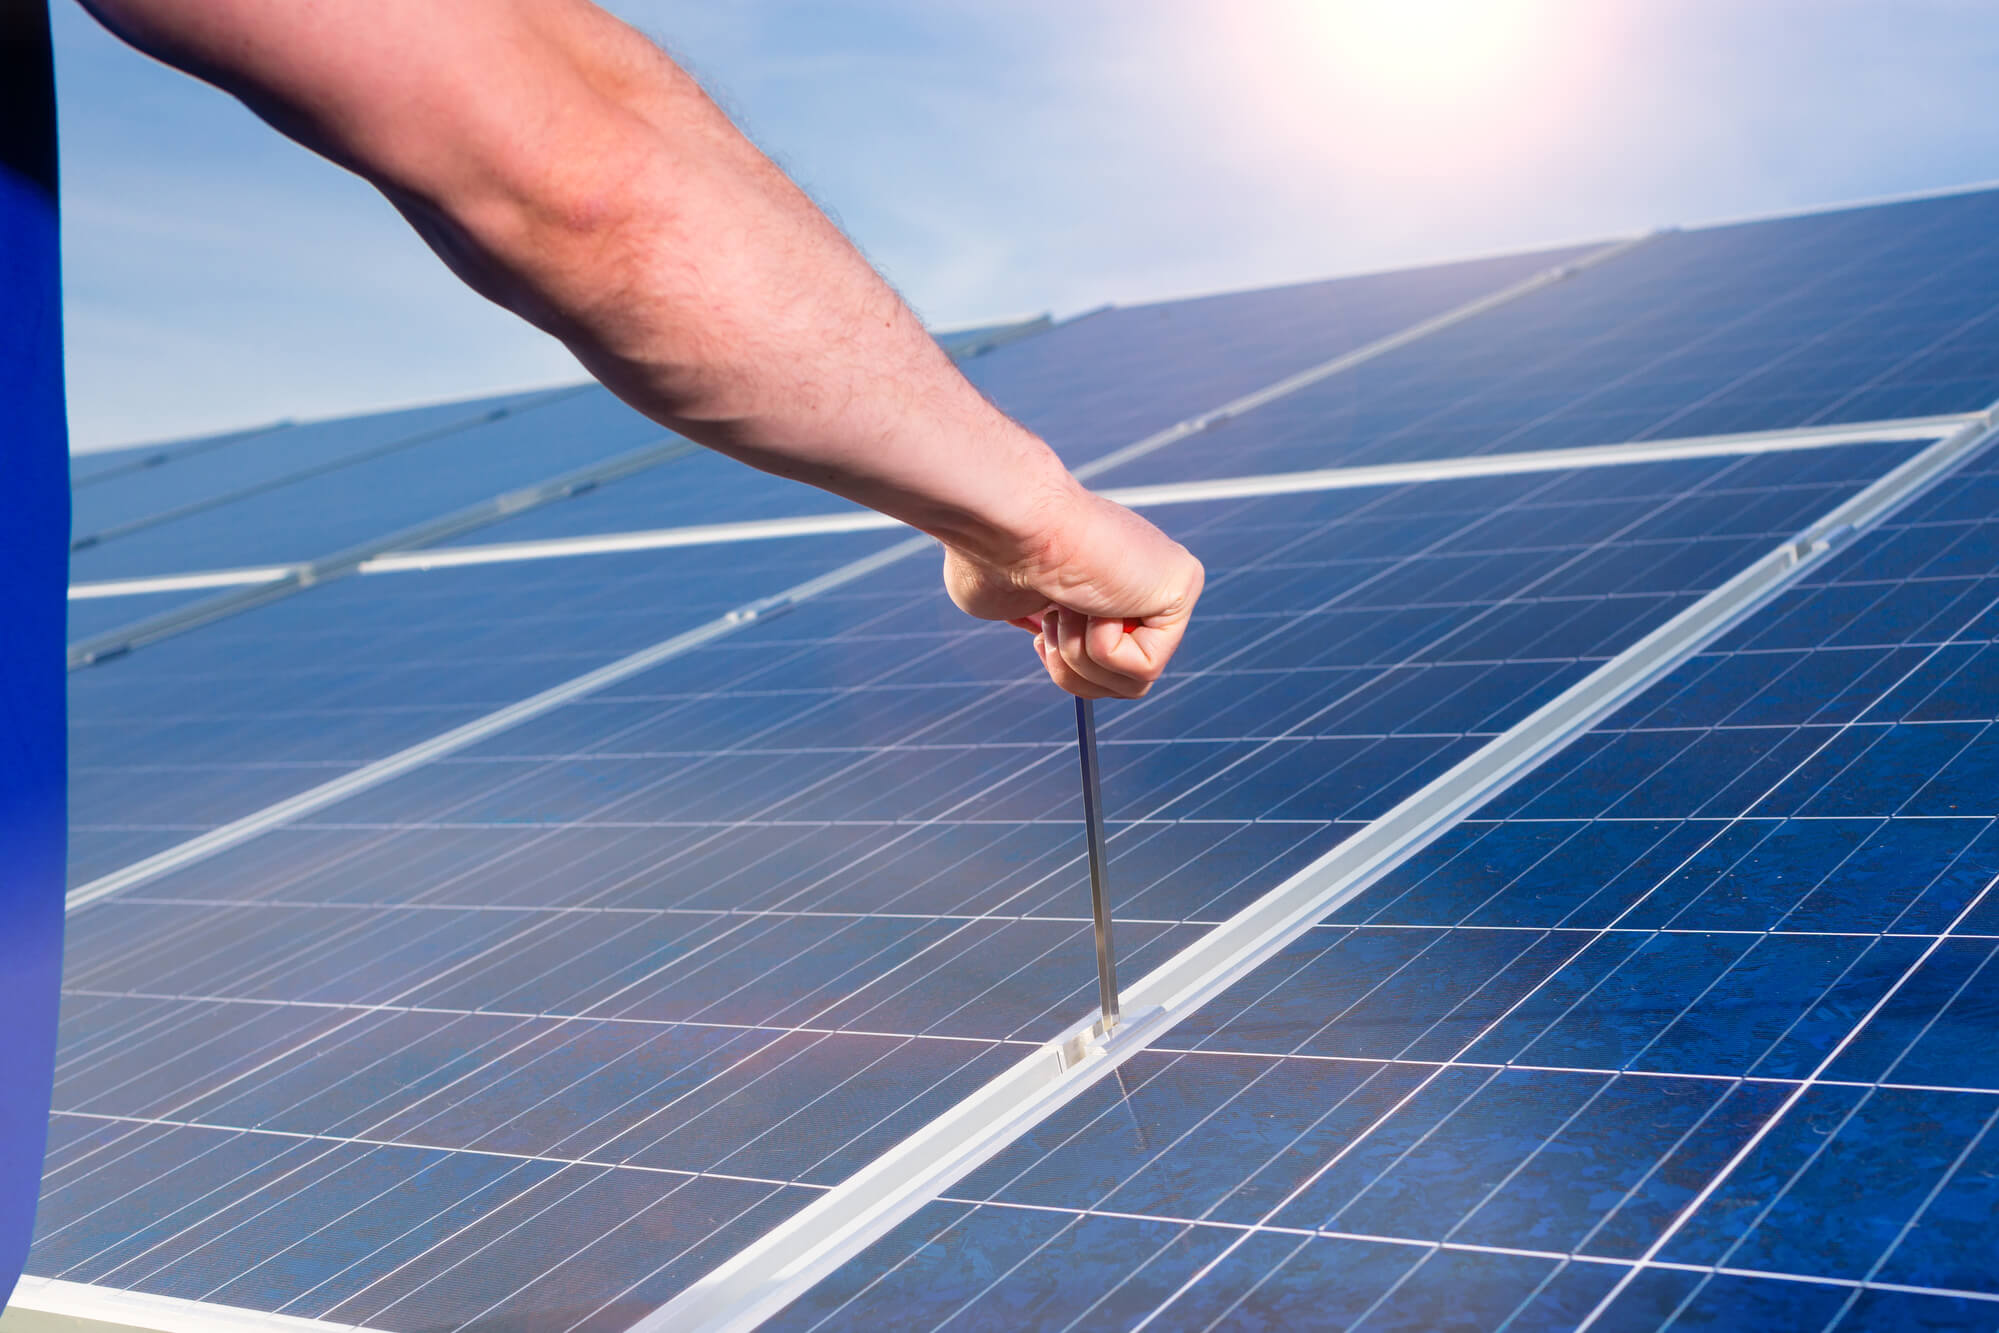
Solar panels are one of the lowest-maintenance electrical systems you can own — no moving parts, no fuel, no filters. But a simple annual maintenance routine ensures your system maintains peak production across its 25–30 year lifespan. The primary tasks are cleaning, visual inspection, monitoring review, and electrical connections check. Most of these can be done by a homeowner in 1–2 hours per year; electrical connection checks should be done by a licensed electrician or solar professional every 3–5 years.
Solar Panel Maintenance Checklist Overview
For a residential grid-tied solar system, the core maintenance tasks fall into four categories:
Quarterly: Check monitoring data for unusual production drops; visual inspection of panels from ground level
Annually (spring): Panel cleaning; visual inspection of mounting and roof penetrations; inverter status check; monitoring data review for the past year
Every 3–5 years: Professional electrical connection inspection; torque check on mounting hardware; detailed inverter diagnostics
As needed: Clean after dust storms, pollen season, significant bird activity, or any visible soiling event
Panel Cleaning
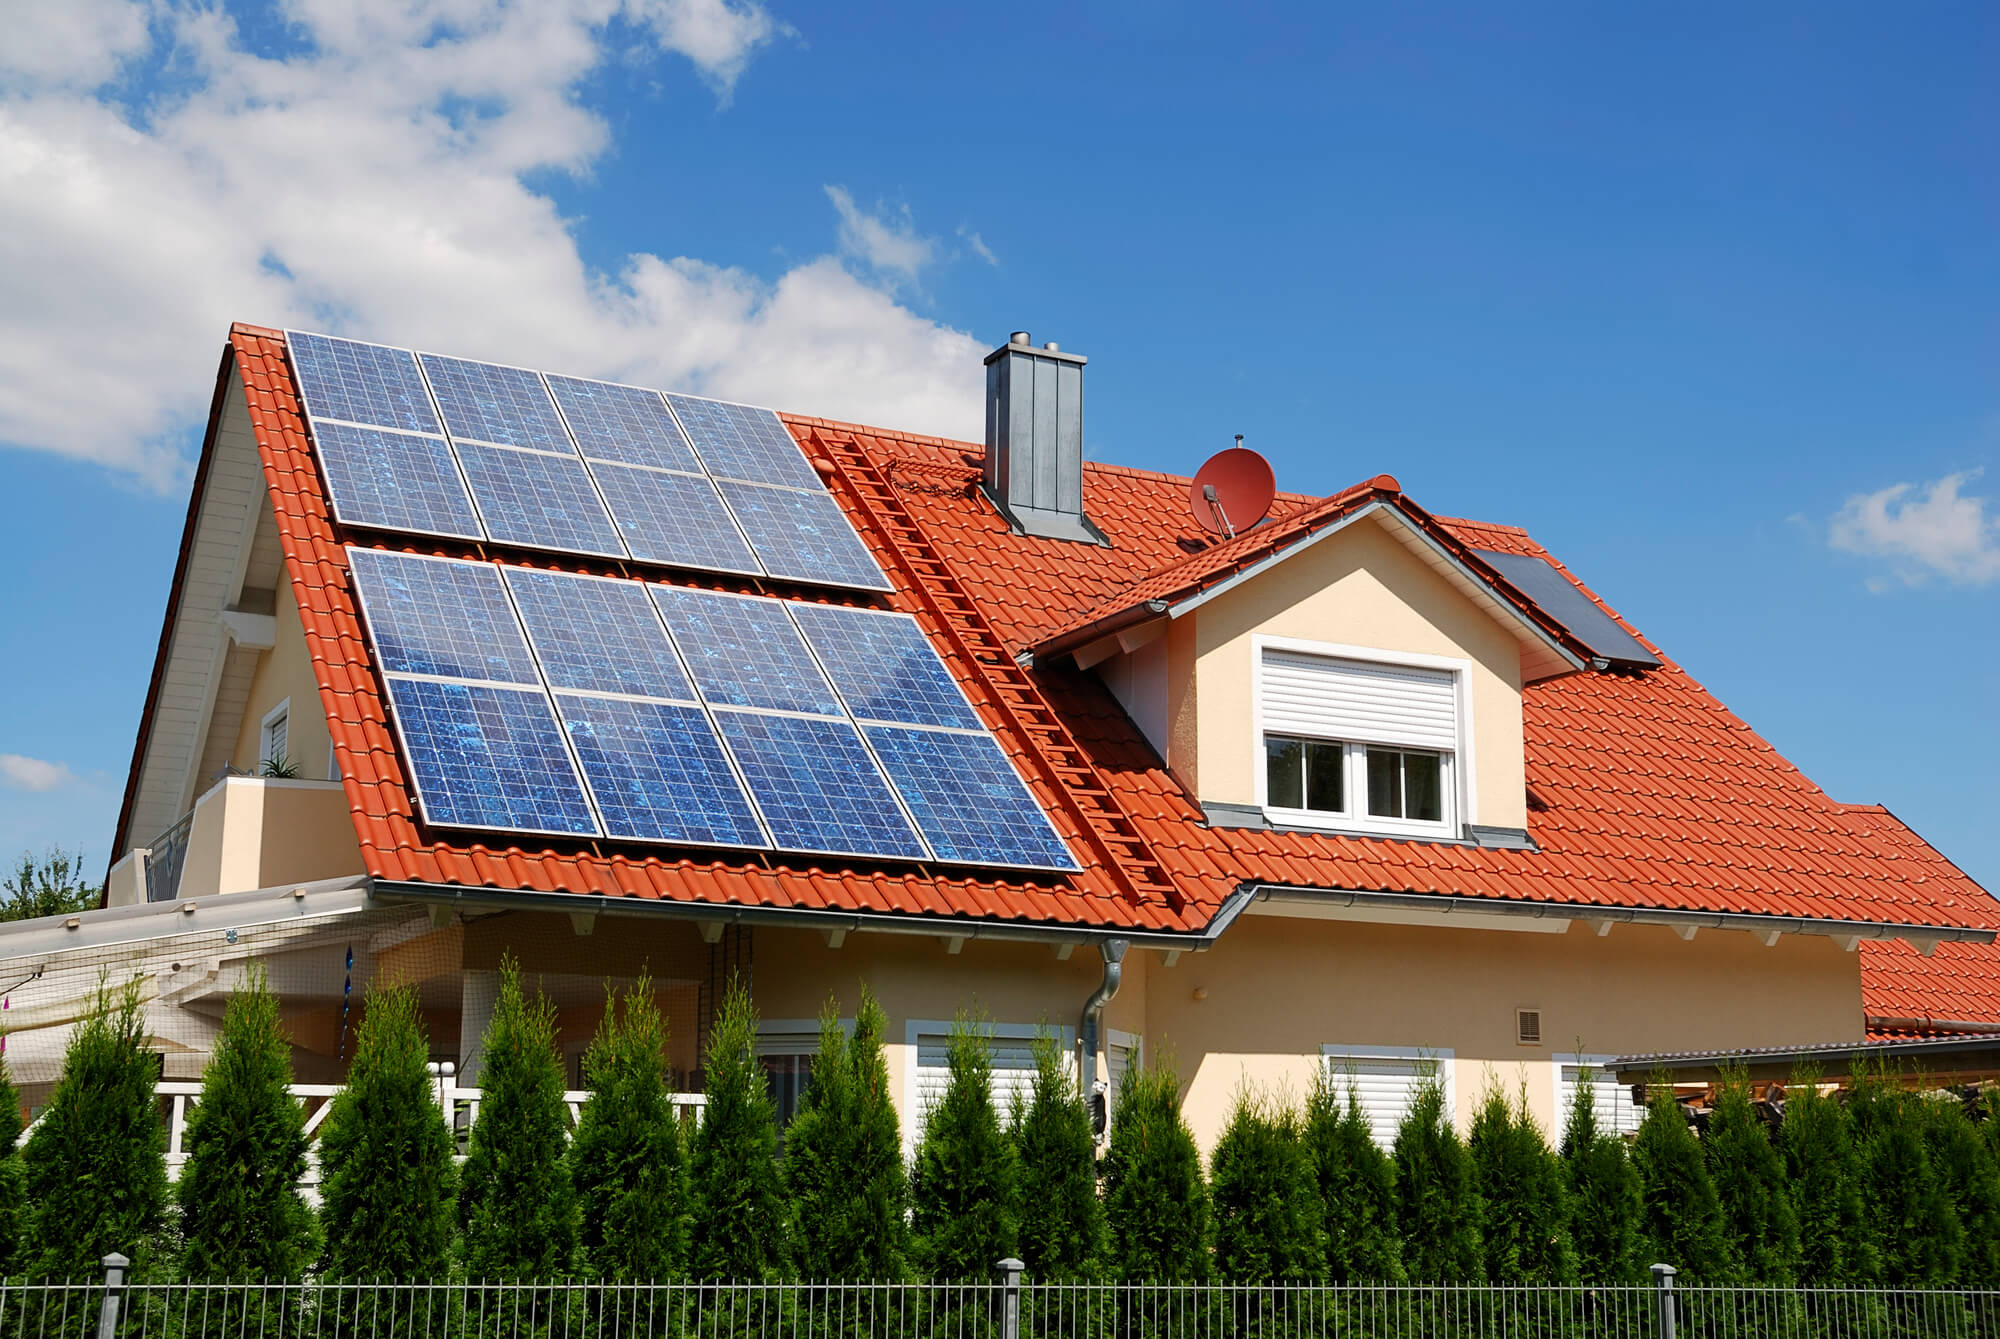
Soiling (dirt, dust, pollen, bird droppings) reduces solar panel output by blocking light reaching the solar cells. The impact varies by location: desert climates (Arizona, Nevada) can see 5–10% annual output reduction from soiling; humid coastal and Midwest climates that receive regular rainfall may see only 1–3% reduction. Bird droppings are the most impactful soiling because they create heavy localized shading that disproportionately reduces cell output.
When to clean: In most US climates, once per year (spring, after pollen season) is sufficient. In dry, dusty climates, 2–4 times per year. After any visible soiling event (bird activity, dust storm, wildfire ash). Monitor your production data — if you see unexplained output reduction of 5%+ compared to the same period in previous years, check for soiling.
Safe cleaning method for roof-mounted panels:
Use a soft-bristle brush or squeegee on an extension pole designed for roof solar cleaning (avoid climbing on the roof if possible). Wet the panel surface with plain water first, then gently scrub away debris. Rinse with plain water. Do not use high-pressure washers — the high pressure can infiltrate under the frame, damage edge seals, and void warranties. Do not use abrasive materials, bleach, or harsh chemical cleaners that could scratch the glass or damage the frame.
Best time to clean: Early morning before panels have warmed up, or in the evening after they’ve cooled. Cleaning cool panels avoids thermal shock from cold water on hot glass (which can stress the panel structure) and prevents water from evaporating rapidly, leaving mineral deposits. Never clean panels in direct midday sun.
Water quality: In areas with hard water, use deionized or distilled water for the final rinse to avoid mineral deposits (water spots) as water evaporates. In most areas with moderate hardness, standard tap water is acceptable.
Visual Inspection Checklist
A thorough visual inspection should be done annually. From the ground, inspect the panel surfaces and array condition; closer inspection requires roof access and should be done with appropriate fall protection.
Panel surface inspection:
☐ Glass surface intact — no cracks, chips, or impact damage visible
☐ No visible discoloration (browning or yellowing of the encapsulant indicates EVA degradation)
☐ No hot spots — areas of significantly different color or texture (hot spots appear as dark patches and indicate cell damage)
☐ No snail trails — brown or black trail-like marks across the cell surface (caused by microcracks plus silver contact oxidation)
☐ No delamination — bubbles or separating layers visible under the glass
☐ Frame intact — no bent, cracked, or corroded aluminum frame sections
Mounting and roof inspection:
☐ Racking rails — no visible corrosion, deformation, or loose sections
☐ Mid-clamps and end-clamps — still tight with no panels visibly shifted from original position
☐ Lag bolts and flashing — inspect roof penetrations for sealant integrity; any cracking or separation of sealant around lag bolt flashings needs resealing
☐ No debris accumulation under panels — leaves, bird nesting material, or other debris accumulated under panels can create fire risk and wildlife habitat problems
☐ No new shading sources — check for tree growth or new structures that may now shade panels during peak hours
Wiring (visible sections):
☐ DC wiring visible on the array is intact — no UV degradation (cracking or brittleness of wire insulation), no rodent damage
☐ MC4 connectors are seated and locked — none visibly disconnected or damaged
☐ Any cable management (clips, zip ties, conduit) is intact — no wiring hanging loose under panels
Inverter Maintenance
String inverter (indoor mounted — SMA, Fronius, Sungrow):
☐ Check status LEDs — all green or normal operating status indicators
☐ No error or fault codes on the display
☐ Ventilation grilles are clear of dust and not blocked by debris (inverters are air-cooled and need airflow)
☐ No unusual sounds (humming is normal; buzzing, clicking, or high-pitched noise may indicate a fault)
☐ Inverter enclosure exterior is intact — no water infiltration marks, no corrosion
☐ Confirm AC and DC disconnect switches are in normal operating position
Microinverter systems (Enphase) or power optimizer systems (SolarEdge):
☐ All panels reporting normally in the monitoring app — no offline or fault panels
☐ Envoy (Enphase) or gateway (SolarEdge) communicating with the cloud (check app for last-updated timestamp)
☐ No persistent fault alerts outstanding in the monitoring system
Monitoring Data Review
Your solar monitoring system (Enphase Enlighten, SolarEdge mySolarEdge, SMA Sunny Portal) stores years of production data. An annual monitoring review is one of the most effective maintenance activities — it catches performance degradation that visual inspection can’t reveal.
Year-over-year production comparison: Compare annual kWh production for the most recent 12 months against the prior year’s same months. Account for weather variation (a particularly cloudy year will show lower production). If production is down 10%+ after accounting for weather, investigate the cause — potential issues: increased shading from tree growth, panel degradation, inverter efficiency decline, soiling, or a specific panel/string fault.
Compare against original production estimate: Your installer should have provided a first-year production estimate (typically from a PVWatts simulation). Compare your actual first-year production against this estimate. Most systems perform within ±15% of the estimate accounting for weather. Significant underperformance in year 1 (more than 15% below estimate) warrants a detailed investigation.
Panel-level review (Enphase or SolarEdge systems): Once per year, review each panel’s performance relative to its neighbors in the monitoring app’s historical view. Any panel consistently producing 20%+ below neighboring panels may have a fault — failed microinverter, developing hot spot, or localized shading that appeared after installation. Report persistent panel underperformance to your installer.
Professional Electrical Inspection
Every 3–5 years, have a licensed electrician or solar professional perform a more thorough electrical inspection:
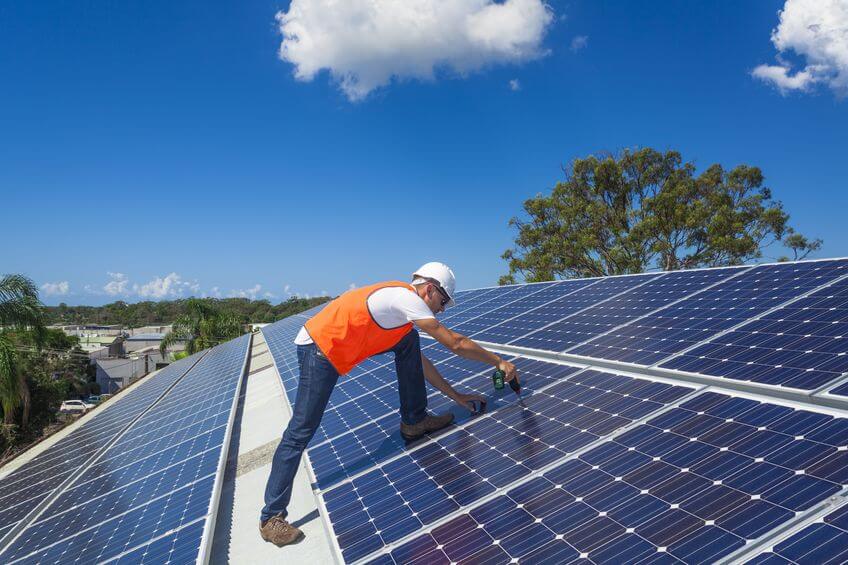
Torque verification: All electrical connections in solar systems are exposed to years of thermal cycling (heating and cooling as panels heat up and cool down each day). This thermal cycling causes connections to loosen slightly over time. A professional should use a torque wrench to verify all terminals — at the combiner box, disconnect switch, inverter, and main panel connection — are torqued to specification.
Thermal imaging (optional but valuable): An infrared camera inspection of the array identifies hot spots (overheating cells from damage or shadowing), overheating connections (high resistance from loose or corroded connections), and inverter component issues that aren’t visible to the naked eye. Thermal imaging can be done from the ground with a drone-mounted camera or from the roof. Some solar operations and maintenance companies offer this as a standalone service.
Ground fault testing: The solar system’s ground fault protection device (built into most modern inverters) should be tested to verify it operates correctly. This is a professional-only test that should be included in any comprehensive 3–5 year inspection.
Frequently Asked Questions
How often do solar panels need maintenance?
Most residential solar systems need only basic cleaning once a year (in spring) and a quick visual inspection quarterly. The monitoring system does continuous remote monitoring automatically. A professional electrical inspection every 3–5 years completes the maintenance picture. Compare this to a car (oil every 5,000 miles, major service annually) or HVAC system (filter monthly, tune-up annually) — solar systems are dramatically lower maintenance than most home systems of equivalent cost.
Do solar panels need to be inspected after a hailstorm?
Yes — after any significant hailstorm (hail 1 inch diameter or larger), inspect panels from the ground for visible glass cracking. Most panels are certified to withstand 1-inch diameter hail at 50 mph under IEC 61215 testing, but larger hail can damage them. If you see damage, contact your homeowner’s insurance (most policies cover solar panel hail damage) and your solar installer. Even if panels appear undamaged, a hailstorm that causes visible damage to roof shingles may have caused microcracking in solar cells — thermal imaging or electroluminescence testing can detect this invisible damage.
What happens if I don’t maintain my solar panels?
In most climates, neglecting cleaning for 2–3 years costs 5–15% in annual production due to soiling accumulation. Neglecting inspections means faults (loose connections, developing hot spots, failed microinverters) may go undetected for months or years. A loose electrical connection left unattended can develop arcing that creates a fire hazard. Proper monitoring catches most faults quickly — the biggest risk from maintenance neglect is missing a monitoring alert and letting a small problem become a larger one.
Should I hire a professional solar cleaning service?
Professional cleaning services typically charge $100–$300 for a residential system. For homeowners uncomfortable working at heights or without the equipment for safe roof access, professional cleaning is worthwhile. For homeowners with ground-level access or low-slope roofs, DIY cleaning with an extension-pole brush is straightforward and saves the service cost. In dusty climates where 2–4 cleanings per year are needed, the annual cost of professional service ($300–$800/year) may justify purchasing a deionized water brush system for DIY use.
Summing Up
Solar panel maintenance is minimal but not zero. Follow this checklist annually: clean panels in spring with a soft brush and plain water, review monitoring data for year-over-year production trends, do a visual inspection of panels, mounting hardware, and roof penetrations, and verify your inverter shows normal operating status. Every 3–5 years, have a licensed professional perform an electrical connection torque check. Use your monitoring system alerts as your first line of defense against developing faults — most issues are caught and flagged automatically before they cause significant production loss. A consistent light-maintenance routine extends system life and protects the return on your solar investment. For professional maintenance service or to schedule an inspection, call (855) 427-0058.
Updated