
A solar standoff is the hardware connection point between a solar panel racking rail and your roof structure. Every roof-mounted solar system relies on standoffs — also called roof mounts, lag mounts, or L-feet — to anchor the entire system to the rafters or roof deck below the shingles. Getting standoffs right is the most critical structural element of a roof-mount solar installation: properly flashed and torqued standoffs protect against roof leaks and carry the full weight and wind load of the array for 25+ years.
This guide covers how solar standoffs work, the main types, installation requirements, flashing for waterproofing, weight and spacing guidelines, and what to look for when evaluating a solar installation quote.
What Is a Solar Standoff?
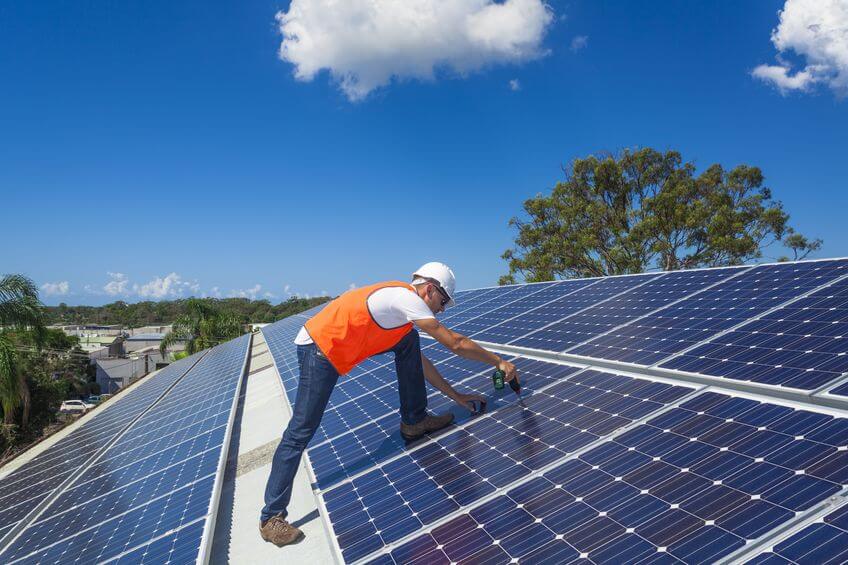
A solar standoff (also called a roof mount or lag mount) is a threaded fastener assembly that penetrates through the roofing material into the structural framing below and provides an attachment point for the aluminum racking rails that support solar panels. The basic anatomy:
Lag bolt: A 5/16″ or 3/8″ diameter stainless steel lag bolt that threads into a rafter or blocking. Length is determined by the racking system’s requirements — typically 3–5″ of embedment into solid wood. Lag bolts are always driven into structural members, never just the roof deck sheathing.
Standoff body: A stainless steel or aluminum post that rises from the roof surface and threads onto the lag bolt. The height of the standoff determines the gap between the rail and the roof surface, allowing for airflow under panels and accommodation of roof pitch variation.
Flashing: A piece of aluminum or lead that slides under the uphill shingles and over the standoff base to prevent water infiltration. This is the most critical element for long-term leak prevention.
Rail clamp or L-foot: The interface between the standoff and the aluminum racking rail. Different racking systems use different attachment methods — some integrate the L-foot into the standoff design, others use separate components.
Types of Solar Roof Standoffs
Flashed lag bolt standoffs (most common for asphalt shingle roofs): A lag bolt penetrates through the shingle and into the rafter, with a flashing piece slid under the uphill course of shingles and sealant applied. Systems include IronRidge XR100/XR1000 mounts, QuickMount PV QBase/Classic Tile mounts, and ProSolar mounts. This is the industry standard for most residential asphalt shingle installations.
Metal roof clamps (standing seam roofs): No roof penetrations required. Clamps attach directly to the seam ridges of a standing seam metal roof — the seam provides adequate structural connection when appropriately spaced and torqued. S-5! clamps are the dominant brand, rated to IEC and ASCE 7 wind load standards. This is the preferred method for standing seam metal roofs because zero penetrations means zero leak risk.
Tile hooks (concrete and clay tile roofs): A specially designed hook slides under a tile, hooks onto the tile batten or rafter, and extends through the tile surface to accept the racking rail. Popular systems: SunModo tile hooks, Ecofasten RoofMount tile. Tile hook installation is more complex than shingle standoffs and typically costs more.
TPO/EPDM ballasted systems (flat commercial roofs): Panels sit in weighted aluminum frames that hold down the array without roof penetrations. Used on flat commercial roofing where penetrations risk voiding the membrane warranty. Not suitable for high-wind zones without additional anchoring.
Penetrating wood/sheathing mounts (low-slope roofs): For low-slope applications where rafter layout makes standard lag bolt installation difficult, specialized mounts can attach to roof deck blocking or through-bolt to a backing plate below. Less common in residential applications.
Flashing — The Most Important Detail
A poorly flashed standoff is the leading cause of solar-related roof leaks. The correct method is the “flash and boot” or “flash and seal” technique:
Step 1: Locate the rafter with a stud finder or by counting from a known reference point under the eave. Confirm rafter location by probing with a small pilot hole or nail before drilling the full lag pilot hole.
Step 2: Drill a pilot hole through the shingle, felt paper, and sheathing into the center of the rafter. Pilot hole diameter should be approximately 70% of the lag bolt’s thread diameter.
Step 3: Apply butyl tape or flashing sealant to the standoff base.
Step 4: Slide the flashing piece under the uphill course of shingles so water draining down the roof passes over the flashing, not under it. The flashing must extend at least 6 inches up the roof (uphill direction) and overlap the standoff base on all sides.
Step 5: Drive the lag bolt through the standoff base and flashing into the pre-drilled pilot hole. Torque to manufacturer specification — typically 12–25 ft-lbs depending on lag diameter and rafter wood species.
Step 6: Apply additional sealant around the standoff penetration point.
The result: water flowing down the roof hits the uphill flashing and channels around the standoff rather than entering the roof assembly. When properly installed, a flashed standoff penetration should not leak for the life of the solar system.
Standoff Spacing and Structural Requirements
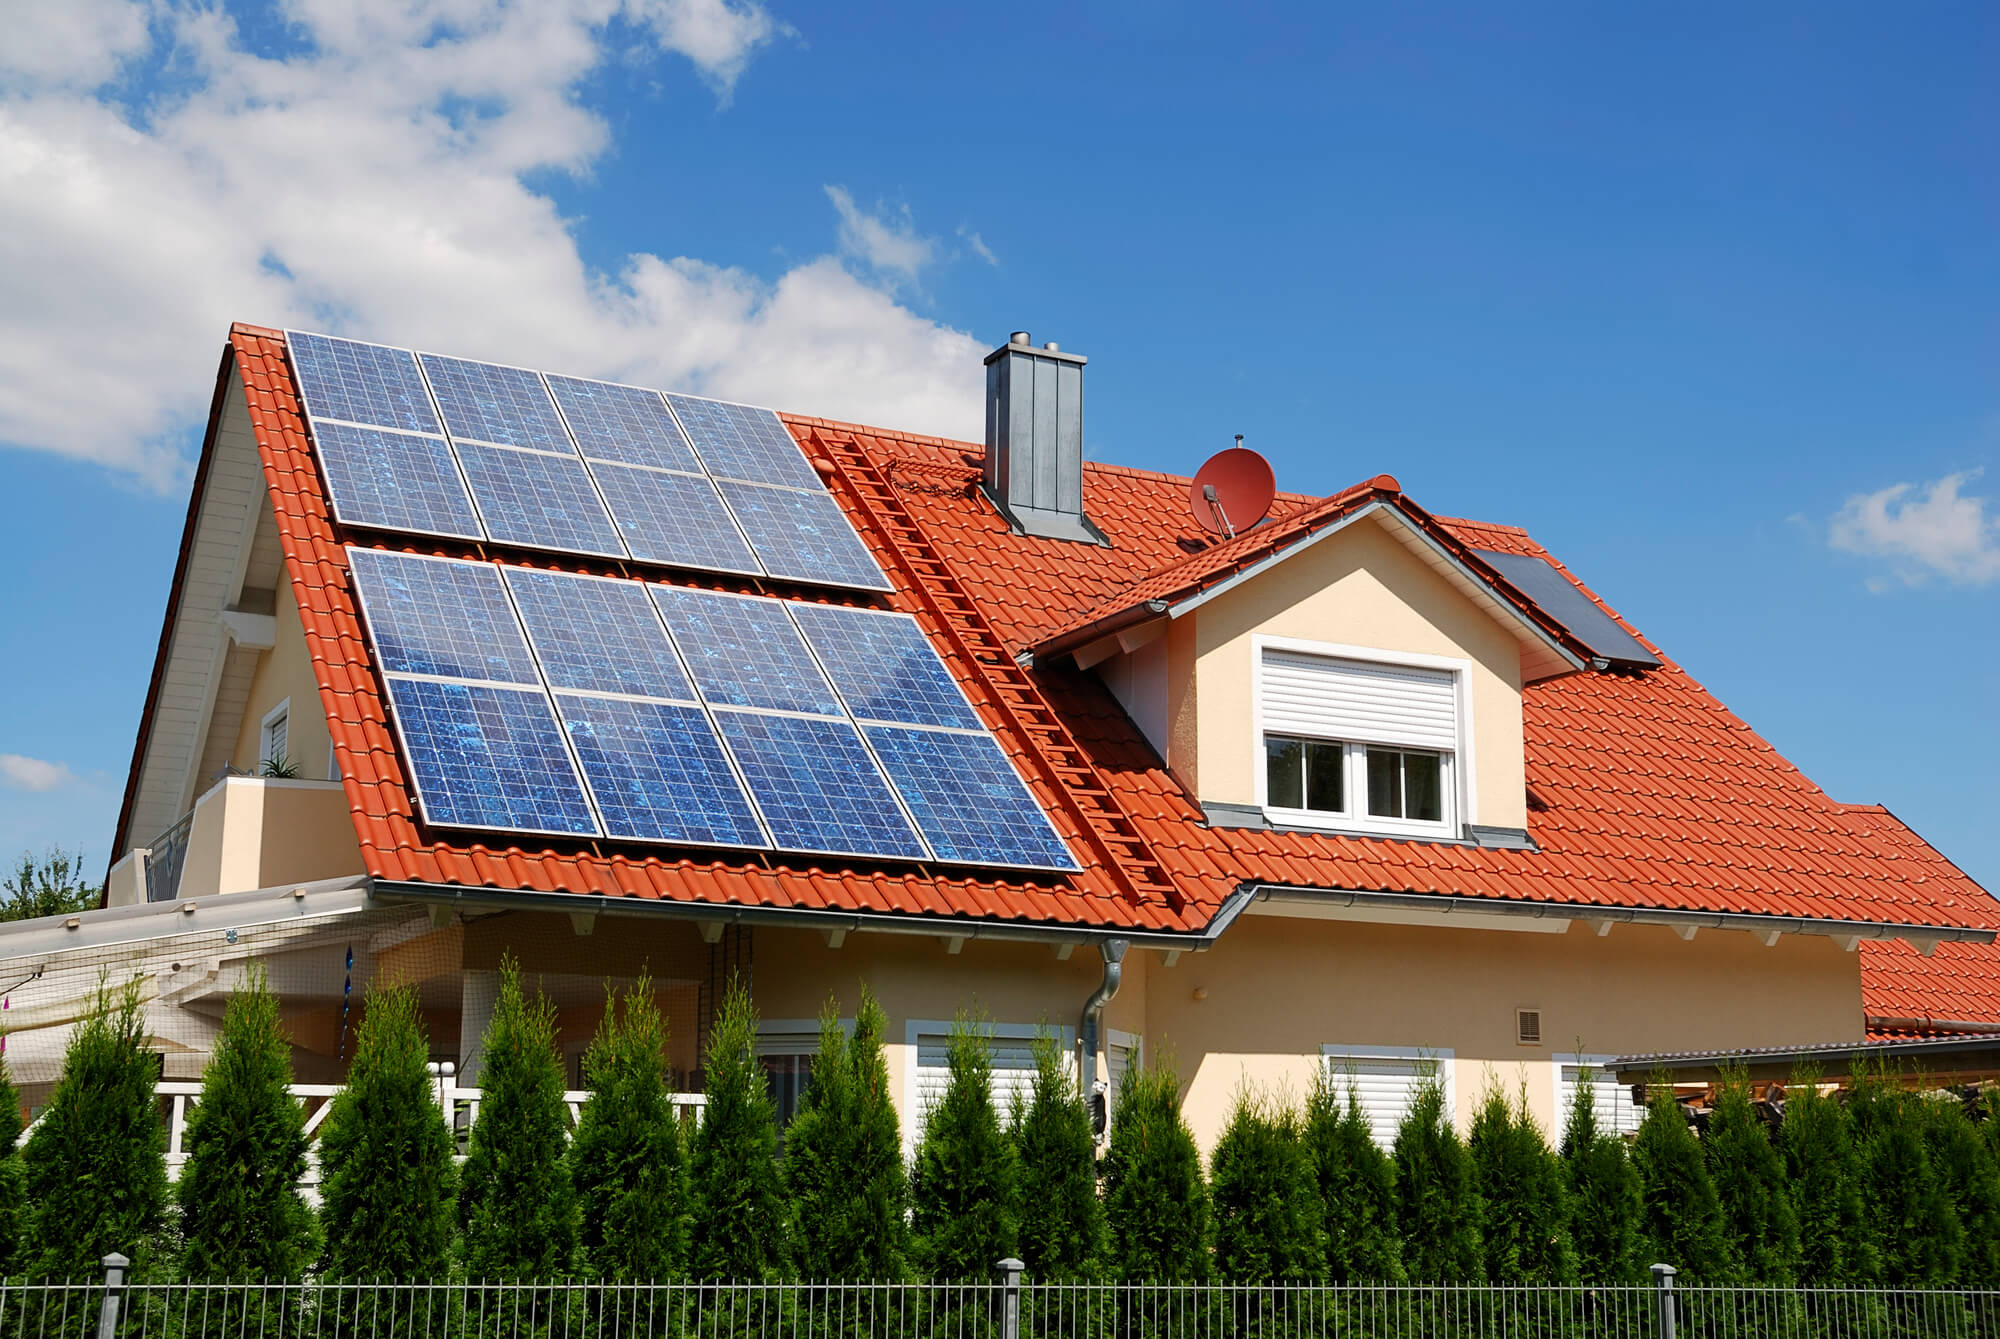
Standoff spacing is governed by the racking manufacturer’s specifications and local building codes, primarily to ensure the system can withstand wind uplift and snow load without damaging the roof or failing structurally.
Typical residential standoff spacing guidelines:
IronRidge XR10/XR100 rails: Standoffs every 48–72 inches along each rail, with end standoffs 12–24 inches from rail ends. More frequent spacing required in high-wind zones (ASCE 7 Exposure Category C/D, coastal areas).
Unirac SolarMount: Standoff spacing 48–64 inches for standard wind loads, with closer spacing in regions with design wind speed above 115 mph.
Panel-specific cantilever limits: Racking rails should not extend more than 25–30% of the span distance beyond the last standoff (cantilever). A 6-foot span between standoffs allows a maximum 18-inch cantilever at each end.
Every standoff must penetrate into a structural rafter or blocking — never just the 1/2″ or 5/8″ OSB roof deck sheathing. A lag bolt driven into sheathing alone has far less than the required pullout strength and can fail under wind load. Installers who skip rafter-finding and lag into sheathing are creating both a structural and warranty issue.
Standoff Count for a Typical System
A standard residential solar installation uses two racking rails per row of panels, with each rail requiring standoffs every 4–6 feet. For a typical system:
10-panel system (2 rows of 5 panels, ~20 ft wide): Each rail has 4–5 standoffs. Two rails per row, two rows = 16–20 standoffs total.
20-panel system (2 rows of 10 panels, ~40 ft wide): Each rail has 8–9 standoffs. Two rails per row, two rows = 32–36 standoffs total.
The exact count varies based on array layout, roof configuration, and local wind zone requirements. High-wind coastal installations may require 30–50% more standoffs than the same system in a moderate-wind inland location.
Roof Warranty Implications
Most asphalt shingle manufacturers (GAF, Owens Corning, CertainTeed) do not void roof warranties for solar installations when the standoffs are properly flashed and installed according to their guidelines. Some manufacturers have specific requirements:
Minimum rafter embedment depth (typically 2–2.5 inches into solid wood). Use of approved sealants. Flashing installed per manufacturer’s method. Installation performed by a licensed contractor.
Always check the specific language in your roofing manufacturer’s warranty and consult your solar installer about whether they use that manufacturer’s approved installation method. A quality installer can provide documentation showing compliance with the roof manufacturer’s requirements, which preserves both the roof warranty and the solar installation warranty.
A practical rule: if your roof is within 5 years of its expected end of life, replace the roof before installing solar. Removing and reinstalling solar panels to replace a worn roof costs $1,500–$4,000 in labor — a significant penalty that’s best avoided by sequencing the two projects correctly.
Common Standoff Installation Mistakes
Missing the rafter: The lag bolt passes through sheathing only, with inadequate pullout strength. This is detectable at inspection by pulling on the standoff and by looking for the rafter location mismatch. Some inspectors will require removal and re-installation of incorrectly placed standoffs.
Insufficient flashing uplap: Flashing installed without adequate overlap under the uphill shingles, leaving a gap where water can enter. Requires the installation to be redone — there is no patch that reliably fixes a structurally inadequate flashing.
Over-torquing: Driving the lag bolt too aggressively can strip the wood fibers in the rafter, permanently reducing pullout strength. Some installers use torque-limited drivers or torque wrenches to prevent this.
Butyl tape omitted: Relying on sealant alone without the butyl tape backing layer at the standoff base. Sealant can crack and fail after years of thermal cycling; butyl tape provides a more durable primary seal.
Frequently Asked Questions
Do solar standoffs cause roof leaks?
When properly installed with correct flashing, solar standoffs do not cause roof leaks. The flashing-under-shingles method creates a water-shedding barrier that channels rain around the standoff penetration. Improperly flashed standoffs — particularly those with insufficient uphill overlap or missing sealant — are a documented cause of roof leaks in poorly installed solar systems. Always verify your installer uses properly flashed mounts, not just sealant over the standoff base.
How deep should a solar lag bolt go into the rafter?
Racking manufacturer specifications typically require 2.5–3 inches of embedment into solid rafter wood beyond the sheathing and any air gap. For a 3/4″ sheathing and 1″ roofing assembly, the lag bolt needs to be 4–5 inches long. A 5/16″ × 4″ or 3/8″ × 4.5″ stainless lag bolt is common in residential installations, but always follow the specific racking system’s engineering documentation.
Can solar panels be installed on a roof without penetrating it?
Yes, for standing seam metal roofs using clamp-on mounts (no penetrations required). For flat commercial roofs using ballasted systems. For ground mounts. For sloped asphalt shingle and tile roofs, penetrating standoffs are the standard method — non-penetrating ballasted systems are not suitable for sloped residential roofs due to wind uplift forces.
What is the difference between a standoff and a roof mount?
The terms are often used interchangeably. A standoff is the structural post that rises from the roof surface. A roof mount is the broader assembly including the lag bolt, standoff post, flashing, and L-foot or rail attachment hardware. Some manufacturers use “roof mount” to refer to the complete assembly; others use “standoff” for the riser post specifically. In practice, both terms refer to the same function: connecting the racking rail to the roof structure.
How many standoffs does a 10kW solar system need?
A 10kW system of 25 × 400W panels arranged in two rows of 12–13 panels (approximately 55 feet wide) typically requires 36–50 standoffs depending on standoff spacing (48–72 inches) and local wind requirements. High-wind coastal installations at 48-inch spacing would use the higher end of this range.
What happens if a solar standoff is installed between rafters?
A standoff installed into roof deck sheathing alone — missing the rafter — has far lower pullout strength than one properly installed in a rafter. The American Wood Council’s NDS tables show that a 5/16″ lag bolt in SPF lumber has a pullout value of ~250 lbs per inch of embedment in solid wood, dropping significantly in OSB sheathing. In severe wind events, standoffs that miss rafters can pull out, damaging the roof and potentially dropping part of the array. This is why rafter location verification is a critical installation step.
Summing Up
Solar standoffs are small components with an outsized impact on installation quality. Properly installed, they hold a solar array safely for 25+ years through wind, rain, and thermal expansion without leaks or structural movement. Improperly installed — with missed rafters, inadequate flashing, or insufficient lag bolt embedment — they’re the source of the most common solar installation problems. Evaluating a solar quote should include asking the installer specifically what standoff and flashing system they use and whether the system meets your roof manufacturer’s requirements.
If you want to get solar installed correctly the first time — with proper permits, engineering-reviewed standoff layouts, and a workmanship warranty — call (855) 427-0058 for a free consultation. Qualified local installers can assess your roof structure and provide a complete proposal at no cost.
Get a Free Solar Installation Quote
Updated