Our blog is reader-supported. When you buy through links on our site, we may earn an affiliate commission. Thank you for your support!
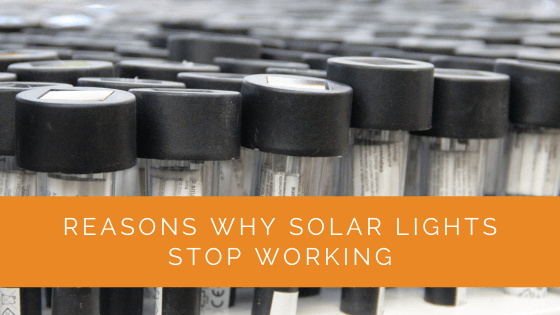
Solar lights are one of the most low-maintenance ways to light up a garden, pathway, or patio. But even good ones eventually stop working, and when yours go out, it’s rarely a sign that they’re done for good. Most of the time, the fix is simpler than you’d expect.
The most common reasons solar lights stop working are dead batteries, dirty solar panels, or poor positioning that limits the charge they receive each day. This guide walks you through each cause in plain terms and tells you exactly what to do about it.
Contents
- 1 Key Takeaways
- 2 The Most Common Reasons Solar Lights Stop Working
- 3 How to Troubleshoot Solar Lights Step by Step
- 4 When to Replace vs. When to Repair
- 5 Case Study: Diagnosing a Failed Pathway Light System
- 6 Expert Insights From Our Solar Panel Installers About Why Solar Lights Stop Working
- 7 Frequently Asked Questions
- 8 Summing Up
Key Takeaways
- Dead rechargeable batteries cause the majority of solar light failures and should be the first thing you check
- Dirty panels can reduce charging efficiency by 50% or more, and a quick clean often restores full output
- Solar lights need at least 6 hours of direct sunlight per day to perform reliably at night
- A faulty or obstructed light sensor can prevent lights from turning on even when the battery is fully charged
- Water damage, loose wiring, and cold temperatures are less obvious causes that often get overlooked
- Most problems can be fixed at home without any special tools or expertise
The Most Common Reasons Solar Lights Stop Working
1. Dead or Worn-Out Batteries
This is the most likely culprit if your lights have been working fine for a year or two and then suddenly start performing poorly or not at all. Rechargeable batteries don’t last forever. Most NiMH and NiCd batteries in solar lights are rated for 300 to 500 charge cycles, which translates to roughly one to three years of daily use depending on your climate and how often the light runs at full brightness.
When the battery can no longer hold a charge, the lights will either turn on very dimly, stay on for only an hour or two instead of all night, or stop working entirely. The fix is straightforward: buy a replacement battery that matches the voltage and capacity specs printed inside the battery compartment. Most solar lights use standard AA or AAA 1.2V NiMH cells, typically 600mAh to 1200mAh.
Open the battery compartment, swap in fresh rechargeable batteries, and give the light a full sunny day to charge. If it performs normally after that, the battery was the problem.
One thing to check on brand new lights: look for a small plastic pull tab inside the battery compartment. Manufacturers insert this tab to prevent the battery from draining during shipping and storage. Pulling it out is all that’s needed to get a new light working. It’s easy to miss, and it causes a surprising number of “my new solar lights don’t work” calls.
2. Dirty Solar Panels
The solar panel on a garden light is small, and it sits outside through all weather conditions. Over time, dust, pollen, bird droppings, and algae build up on the surface and block sunlight from reaching the photovoltaic cells underneath. Even a thin film of grime can reduce charging efficiency by 50% or more.
This is one of the most common causes of solar lights gradually getting dimmer over weeks or months, rather than failing suddenly. The solution is a quick clean. Wipe the panel with a soft microfiber cloth dampened with warm soapy water, rinse with clean water, and let it dry in the sun. Don’t use abrasive pads or harsh chemicals because those can scratch the panel surface and cause permanent damage.
Make cleaning your solar panels part of a regular routine, especially after pollen season, autumn leaf fall, or dry dusty spells. Doing it two or three times a year makes a noticeable difference to both output and runtime.
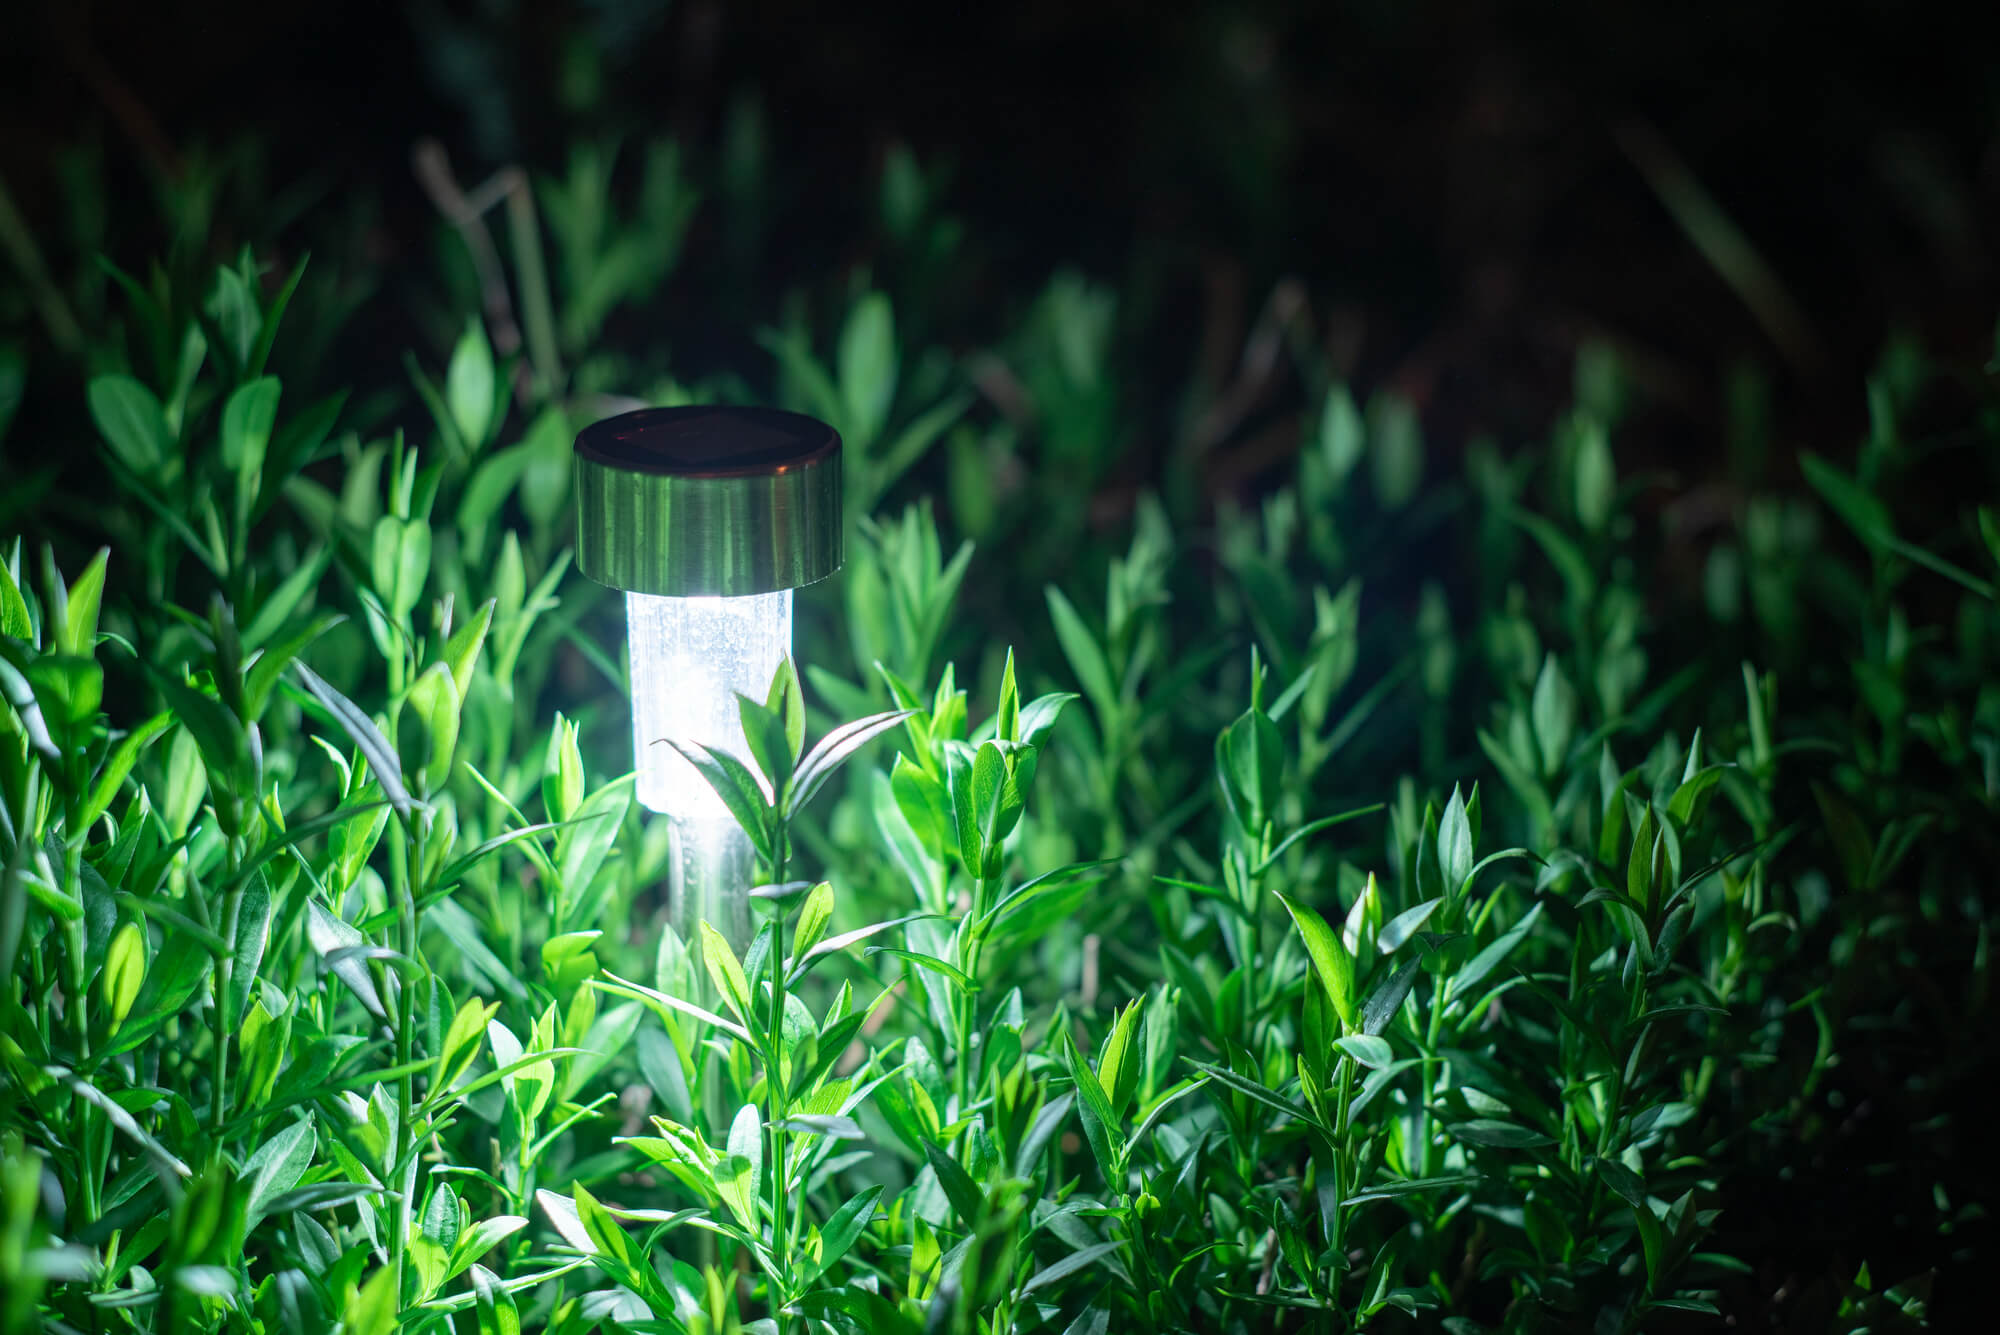
3. Not Enough Sunlight
Solar lights need at least 6 hours of direct sunlight each day to charge fully and run reliably through the night. If a light is placed under a tree, beside a wall that casts an afternoon shadow, or anywhere that limits direct sun to just a few hours, it won’t receive enough energy to do its job.
This is especially common in summer when trees are in full leaf, or in winter when the sun sits lower in the sky and shadows extend much further than they do in June. A light that worked fine last summer may struggle in the same spot during December simply because the sun angle has changed and the neighbor’s fence now casts a shadow across the panel for most of the afternoon.
The fix is to move the light. Walk around your outdoor space at midday and identify spots that get full, unobstructed sun for the longest period. South-facing positions work best in the northern hemisphere. Even shifting a light a few feet can make a significant difference if it gets it clear of a shadow zone.
4. Faulty or Obstructed Light Sensor
Solar lights have a small photoresistor built in that detects darkness and signals the light to switch on. If this sensor is covered, dirty, or damaged, the light won’t respond to darkness correctly. It might stay off all night, switch on during the day, or behave inconsistently.
A common scenario: a light is mounted near a wall, fence, or other reflective surface that bounces enough ambient light onto the sensor to trick it into thinking it’s still daytime. The light never triggers, even on a completely dark night. Moving the light a foot or two away from that surface often solves it immediately.
To clean the sensor (a small clear window on the housing, usually near the solar panel), use a cotton swab dampened with isopropyl alcohol and wipe gently. If the sensor is physically cracked or discolored from UV exposure, the light may need to be replaced since sensor components are rarely sold separately.
5. Water Damage or Moisture Buildup
Most solar lights are rated IP44 or higher, meaning they handle rain and splashing in normal use. But they’re not fully waterproof. In heavy rain, flooding, or after years of outdoor exposure where the seals have degraded, water can work its way inside the housing and cause corrosion on the battery contacts or circuit board.
Signs of water damage include rust-colored stains inside the battery compartment, condensation visible behind the LED cover, or intermittent failures that seem to come and go after wet weather. If you catch it early, remove the batteries, open the housing as far as it will go, and let everything dry out completely in direct sun for two to three days. Once dry, clean any corrosion off the battery contacts with a cotton swab dipped in white vinegar, let it evaporate, then reassemble.
If the internal wiring or circuit board shows heavy corrosion or burn marks, the light has reached the end of its useful life. Repair at that stage is rarely practical, and replacement makes more sense.
6. Loose Wires or Damaged Connections
Solar garden lights take a lot of mechanical stress over time: temperature swings, wind movement, frost heave in the soil, and the occasional lawn mower incident. Any of these can loosen a wire connection or damage the thin cable between the solar panel and the body of the light, especially on stake-mounted designs where the panel and the housing are two separate pieces connected by a wire.
If cleaning, repositioning, and new batteries haven’t helped, it’s worth opening the housing and checking that all internal connections are seated properly. A loose wire at the battery terminal is easy to spot and simple to reseat. A damaged cable can be identified by looking for fraying, pinching, or obvious cuts. Basic soldering can fix a bad connection, and a damaged cable can often be spliced or replaced if you’re comfortable with a bit of simple electrical work.
7. Cold Weather and Winter Conditions
Rechargeable batteries lose capacity in cold temperatures. A battery that works fine at 70°F can deliver 30 to 40% less energy at 20°F. This is why solar lights often perform poorly during winter even when they’ve been cleaned and moved to sunnier spots. It’s a chemistry issue, not a defect.
Shorter days make it worse. In northern states, you may get only 4 to 5 hours of usable sunlight in December compared to 10 or more in June. Combined with reduced battery capacity, that can drop a light’s runtime from 8 to 10 hours down to just 1 or 2. If your lights seem fine in summer and fail every winter, this is almost certainly what’s happening.
Some higher-end solar lights use lithium batteries instead of NiMH, which handle cold temperatures significantly better. If winter performance is important to you, that’s a feature worth prioritizing when you’re shopping for replacements.
8. Protective Film Left On New Lights
This one is easy to overlook on a brand new light. Many manufacturers apply a thin plastic protective film over the solar panel to prevent scratches during shipping and handling. If you set the light up without peeling it off, the panel generates barely any power.
The film is usually clear or very slightly tinted and may not be obvious until you look closely at the panel surface and notice it lifting slightly at the edges. Before installing any new solar light, check the panel for a film and remove it. If you’re troubleshooting a new light that has never worked well despite being in a sunny spot, this is the first thing to check.
How to Troubleshoot Solar Lights Step by Step
If you’re not sure where the problem lies, work through this sequence before assuming the light is broken:
- Remove the battery pull tab if the light is new and has never worked
- Peel off any protective film from the solar panel surface
- Clean the solar panel with a damp microfiber cloth
- Move the light to a sunnier location and leave it to charge for a full sunny day
- Check that the switch is set to ON (it should stay in that position permanently once the first charge is complete)
- Replace the batteries with fresh NiMH rechargeables that match the original spec
- Clean the light sensor and check that it isn’t being obstructed by a wall or reflective surface nearby
- Open the housing and inspect for water damage or loose wire connections
Most solar lights that fail will be fixed somewhere between steps 1 and 6. Steps 7 and 8 are for persistent problems that don’t respond to the basics. If a light still doesn’t work after going through all eight steps, replacement is the practical next move.
When to Replace vs. When to Repair
Knowing when a solar light is worth fixing and when to cut your losses saves time and frustration. As a general rule, a light is worth repairing when it’s less than two years old, the problem is clearly one of the common causes above, and the parts needed cost less than a replacement unit.
A light is ready to be retired when the battery compartment shows heavy corrosion that cleaning won’t fix, the circuit board or LED is damaged, the housing has cracked enough to let moisture in consistently, or it has been repaired multiple times and keeps failing. Budget lights in the $10 to $20 range usually aren’t worth anything beyond a battery swap. Mid-range and premium models, especially those with larger panels and higher-capacity batteries, are generally worth more effort.
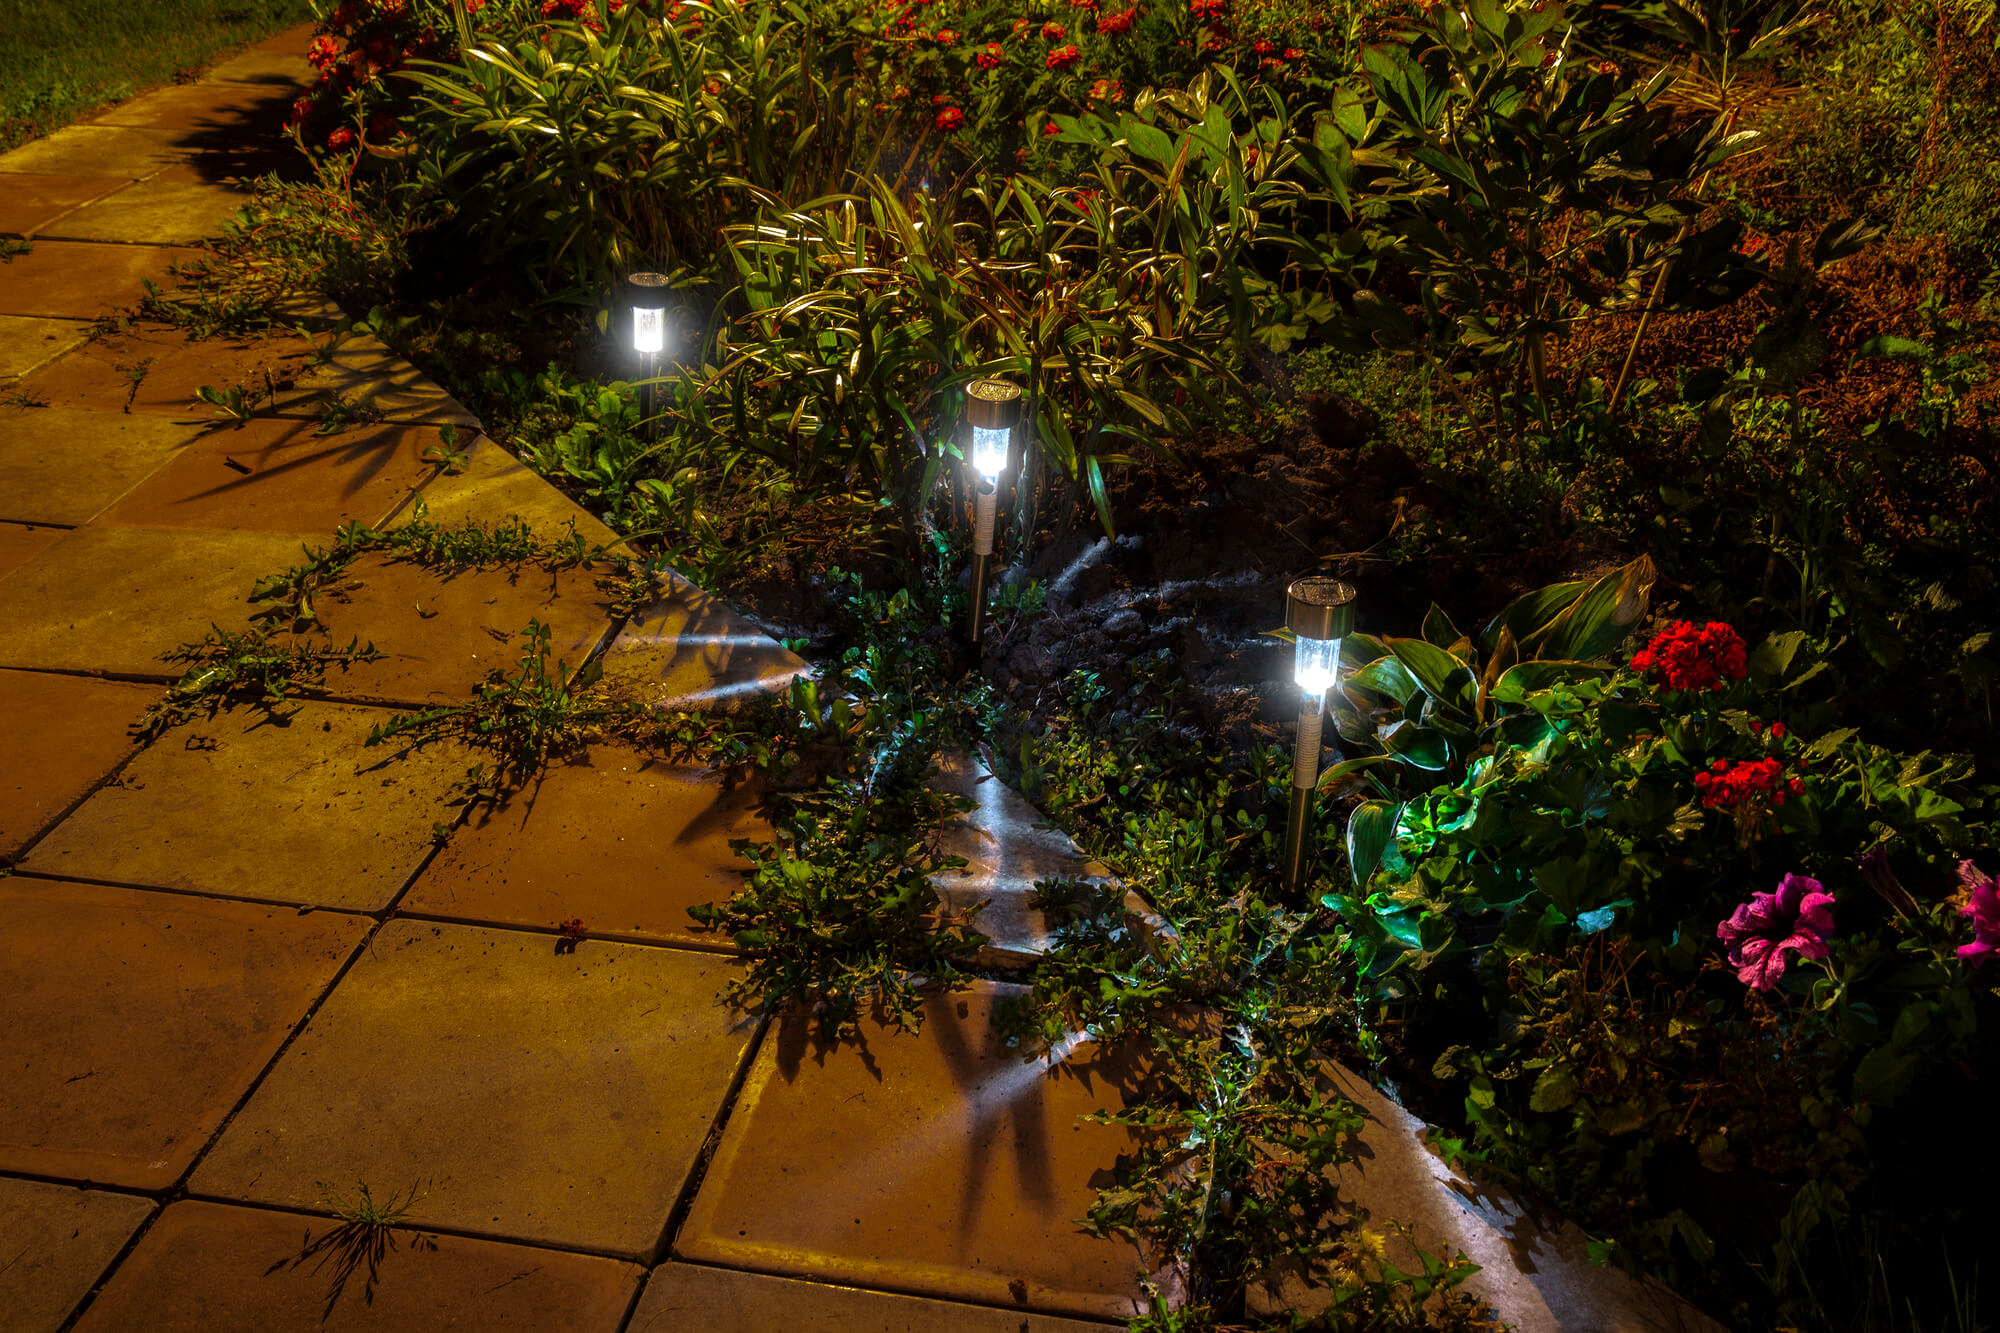
Case Study: Diagnosing a Failed Pathway Light System
Background
A homeowner in the Pacific Northwest had six solar pathway lights installed along a garden walkway. They’d worked well for about five years, but over a single winter, three stopped working completely, two became noticeably dim, and only one kept performing normally.
Project Overview
Rather than replacing all six, the homeowner decided to work through the troubleshooting steps above and identify what was actually causing each failure before spending any money.
Implementation
Checking the batteries first, they found that two lights had dead NiMH cells. Two more had corroded battery contacts from moisture ingress. The rubber seals on those units had degraded after years of heavy Pacific Northwest rainfall, letting water pool inside the housing. A fifth light had a sensor that was pointed toward a white-painted garden wall, which was reflecting enough ambient light to prevent it from switching on at night. The sixth light was functioning normally and needed only a panel clean.
They replaced the batteries in all six units with fresh AA 1200mAh NiMH cells, cleaned the corroded contacts with vinegar, moved the one light with the sensor issue away from the wall, and wiped all six panels down while they were at it. Total parts cost was under $15.
Results
Five of the six lights came back to full function that same evening. The sixth, which had the heaviest internal corrosion and a damaged circuit board, was replaced separately. The whole process took about 45 minutes from start to finish. A much better outcome than replacing the entire set.
Expert Insights From Our Solar Panel Installers About Why Solar Lights Stop Working
One of our senior solar panel installers with over 12 years of experience in the field shared this perspective:
“The number one thing I see is people giving up on solar lights too fast. They stop working, and the assumption is that the product is broken or cheap. But nine times out of ten, it’s just a battery that’s hit the end of its cycle life or a panel that needs a clean. Before you throw anything out, spend five minutes going through the basics. Try a fresh battery. Wipe the panel down. Move it somewhere sunnier. You’ll fix it most of the time.”
He also pointed out that placement decisions tend to get set and forgotten: “People set lights up in February when the garden looks open and sunny, then wonder why they fail in July when the tree they planted two years ago has grown enough to shade the area through the afternoon. Where you put a solar light isn’t a one-time decision. It’s worth checking every spring to make sure nothing has changed.”
Frequently Asked Questions
Short runtime usually means the battery can no longer hold a full charge. Rechargeable NiMH batteries in solar lights last around 300 to 500 charge cycles before capacity drops significantly, which is roughly one to three years of daily use. Replacing the battery with a fresh one of the same spec is almost always the fix. Insufficient charging time during the day can also reduce runtime, so make sure the panel is getting at least 6 hours of direct sun.
Most solar lights don’t have a dedicated reset function. The closest equivalent is to turn the switch off, remove the battery, leave it out for 10 to 15 minutes, reinsert the battery, move the light to direct sun, and leave it to charge for a full day with the switch off. Then switch it on at dusk. This clears any sensor confusion and gives the battery a clean start. If the light still doesn’t work after a full charge, replace the battery.
Sometimes. If the light is caught early before corrosion spreads, removing the battery, opening the housing, and drying everything out in direct sun for two to three days can restore function. Clean any rust from battery contacts with white vinegar. If the circuit board or wiring shows heavy corrosion or burn marks, the light is usually beyond practical repair and replacement is the better option.
Two to three times a year is usually enough for most climates. In dusty areas or regions with heavy pollen seasons, quarterly cleaning is worth it. Use a soft microfiber cloth with warm soapy water and rinse with clean water. Avoid abrasive materials. Regular cleaning prevents the gradual performance loss that often gets mistaken for a failing battery or defective panel.
This usually points to a problem with the light sensor. The sensor (a small photoresistor) detects darkness and triggers the light to switch on. If it’s coming on during the day, the sensor may be malfunctioning and detecting false darkness. If it fails to come on at night, the sensor may be dirty, obstructed, or receiving reflected light from a nearby wall or surface that tricks it into thinking it’s still daytime. Clean the sensor with isopropyl alcohol and try moving the light away from reflective surfaces.
Most NiMH and NiCd batteries in solar lights last one to three years with daily use, depending on climate and how long they run each night. Colder climates and lights that run at full brightness all night will drain batteries faster. When runtime starts dropping noticeably (from 8 or 10 hours down to just 2 or 3), that’s a clear sign the battery is nearing the end of its useful life and should be replaced.
Summing Up
Most solar lights that stop working can be brought back with a battery swap, a panel clean, or a better position in the garden. The eight reasons covered in this guide account for the vast majority of failures, and most of them cost nothing beyond a few minutes of your time.
Start with the basics before assuming the worst. Clean the panel, check the battery, make sure the light is getting enough sun each day, and confirm the switch is on. Work through the full troubleshooting sequence above, and you’ll fix most problems before you reach step 5.
If you’ve just bought new solar lights and want to make sure they charge correctly from the start, our guide on how to charge solar lights for the first time covers everything you need to know. And if you’re looking to upgrade to a more reliable set, take a look at our roundup of the best indoor solar lights for top-rated options worth considering.
Updated